Get 30+ FREE Crochet Patterns — Join Our Newsletter
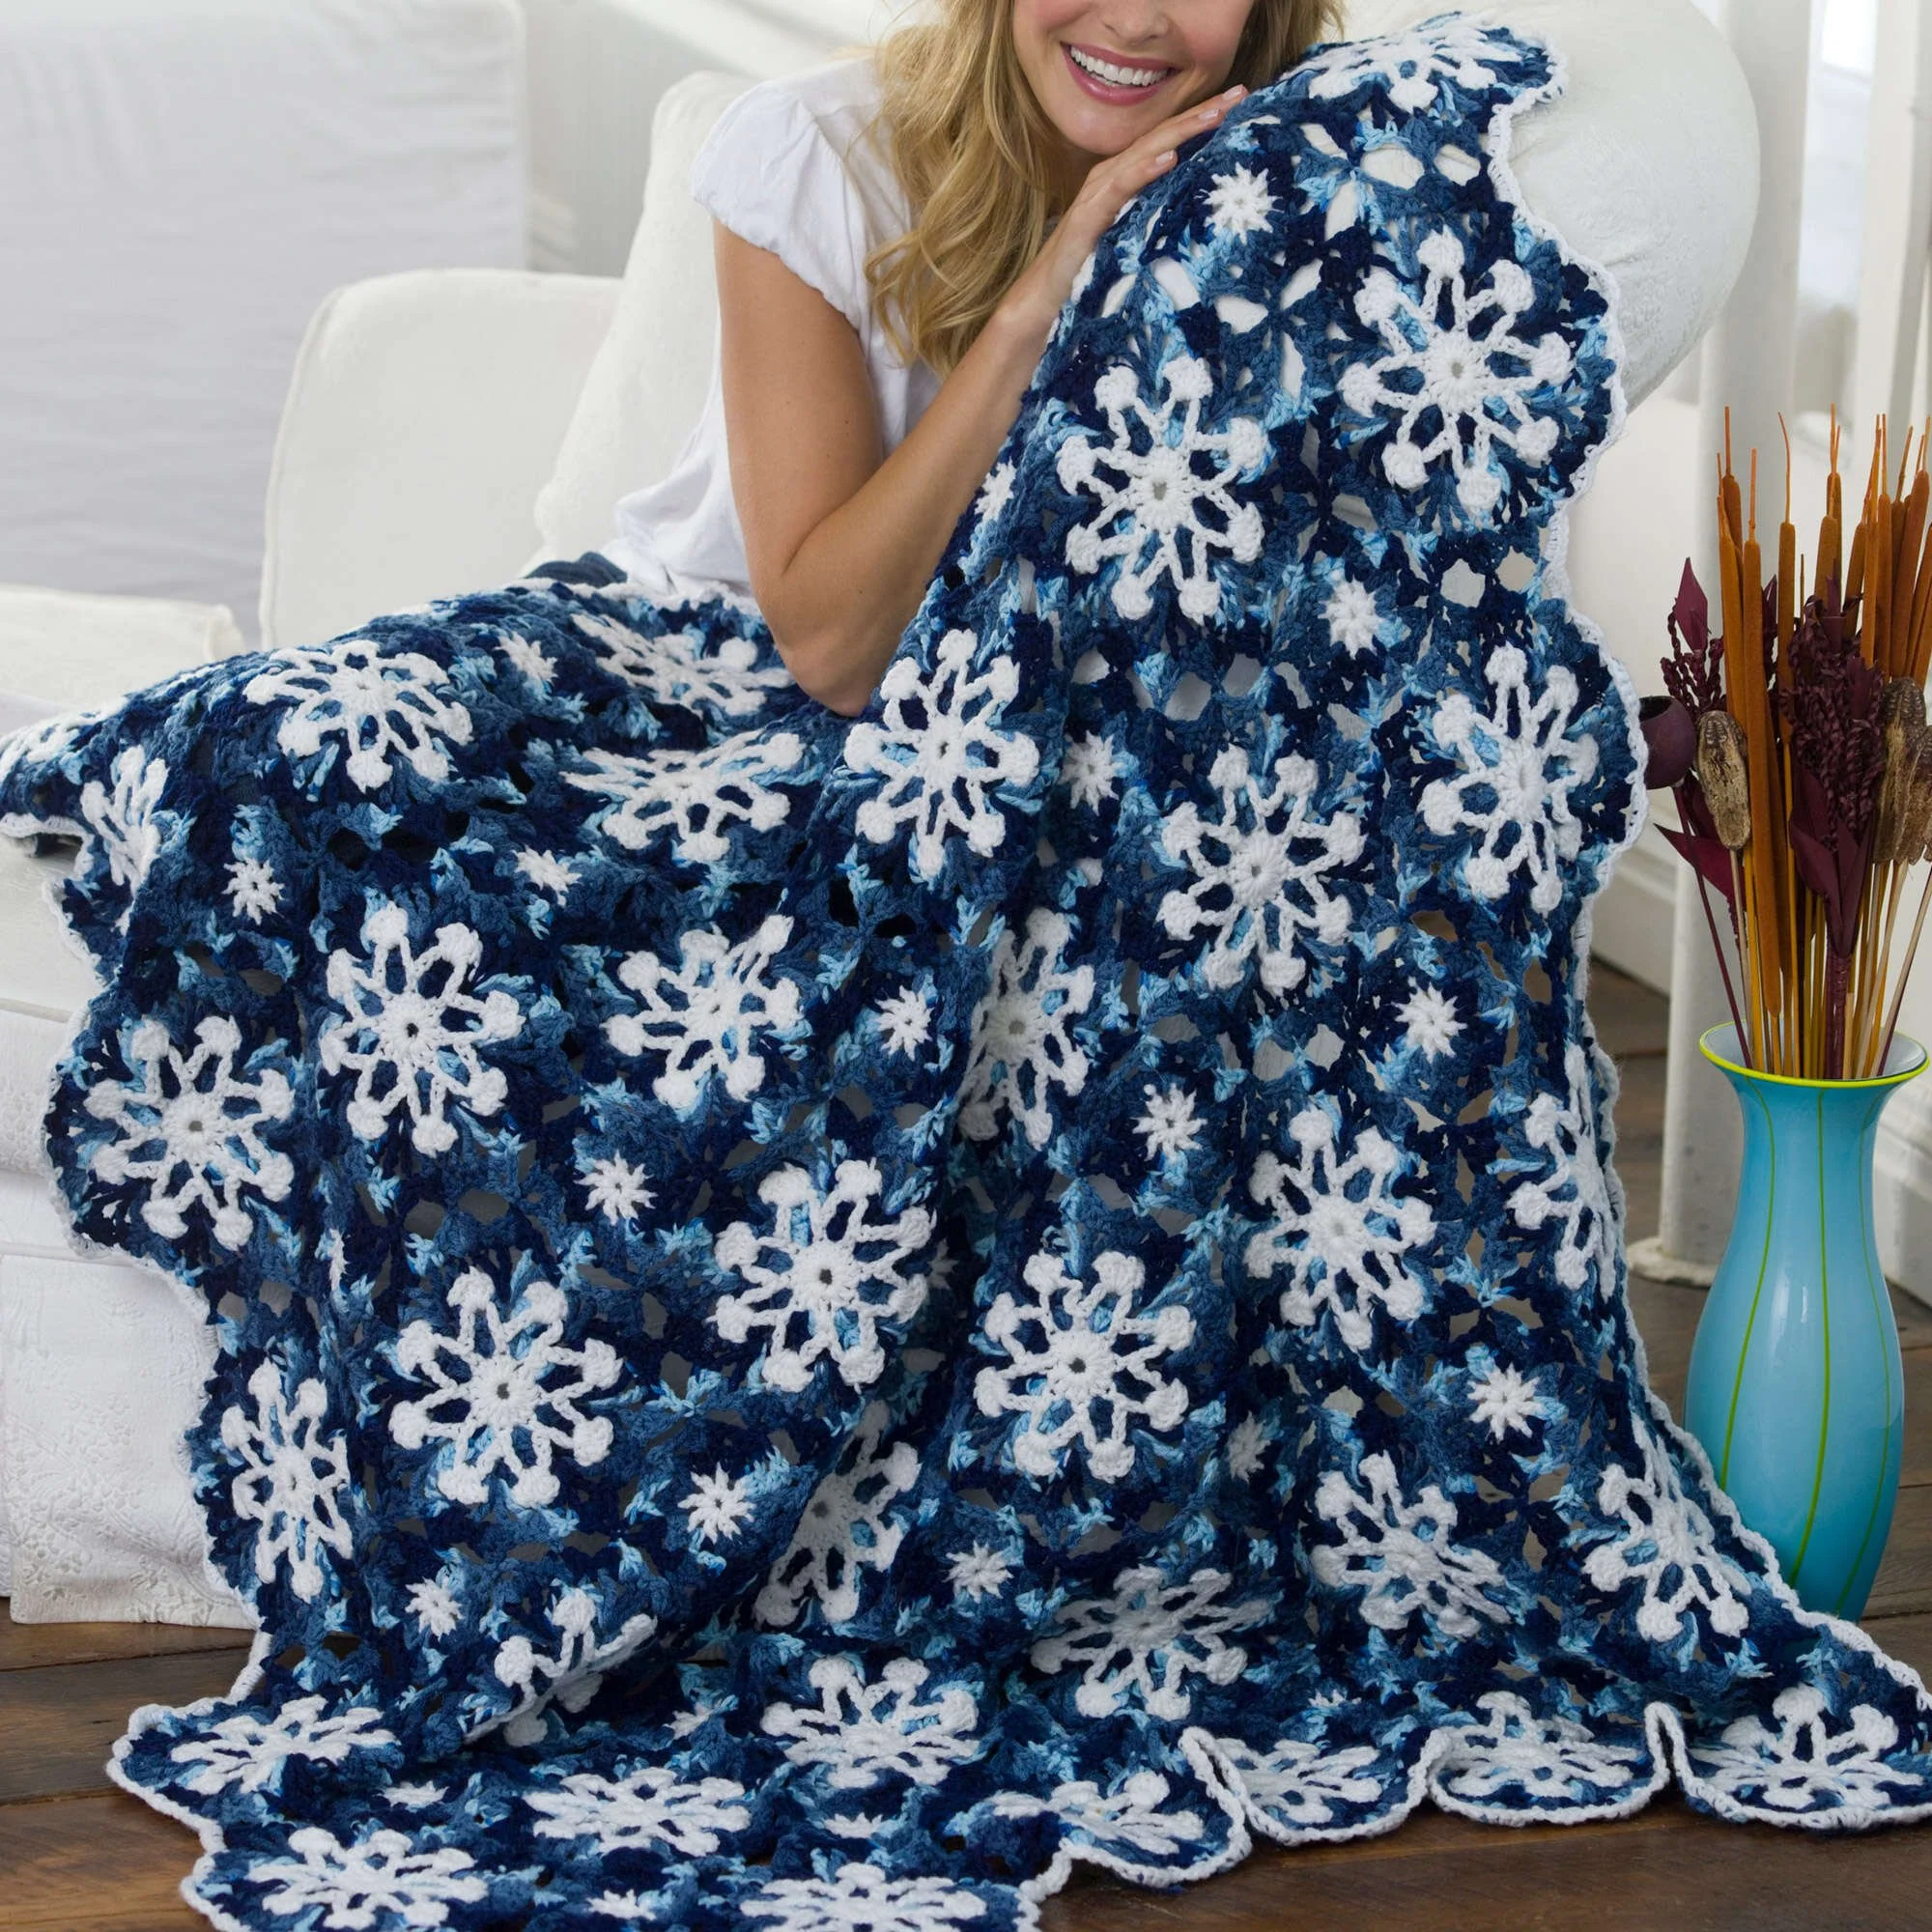
Dusty Snowflake Crochet Throw Pattern
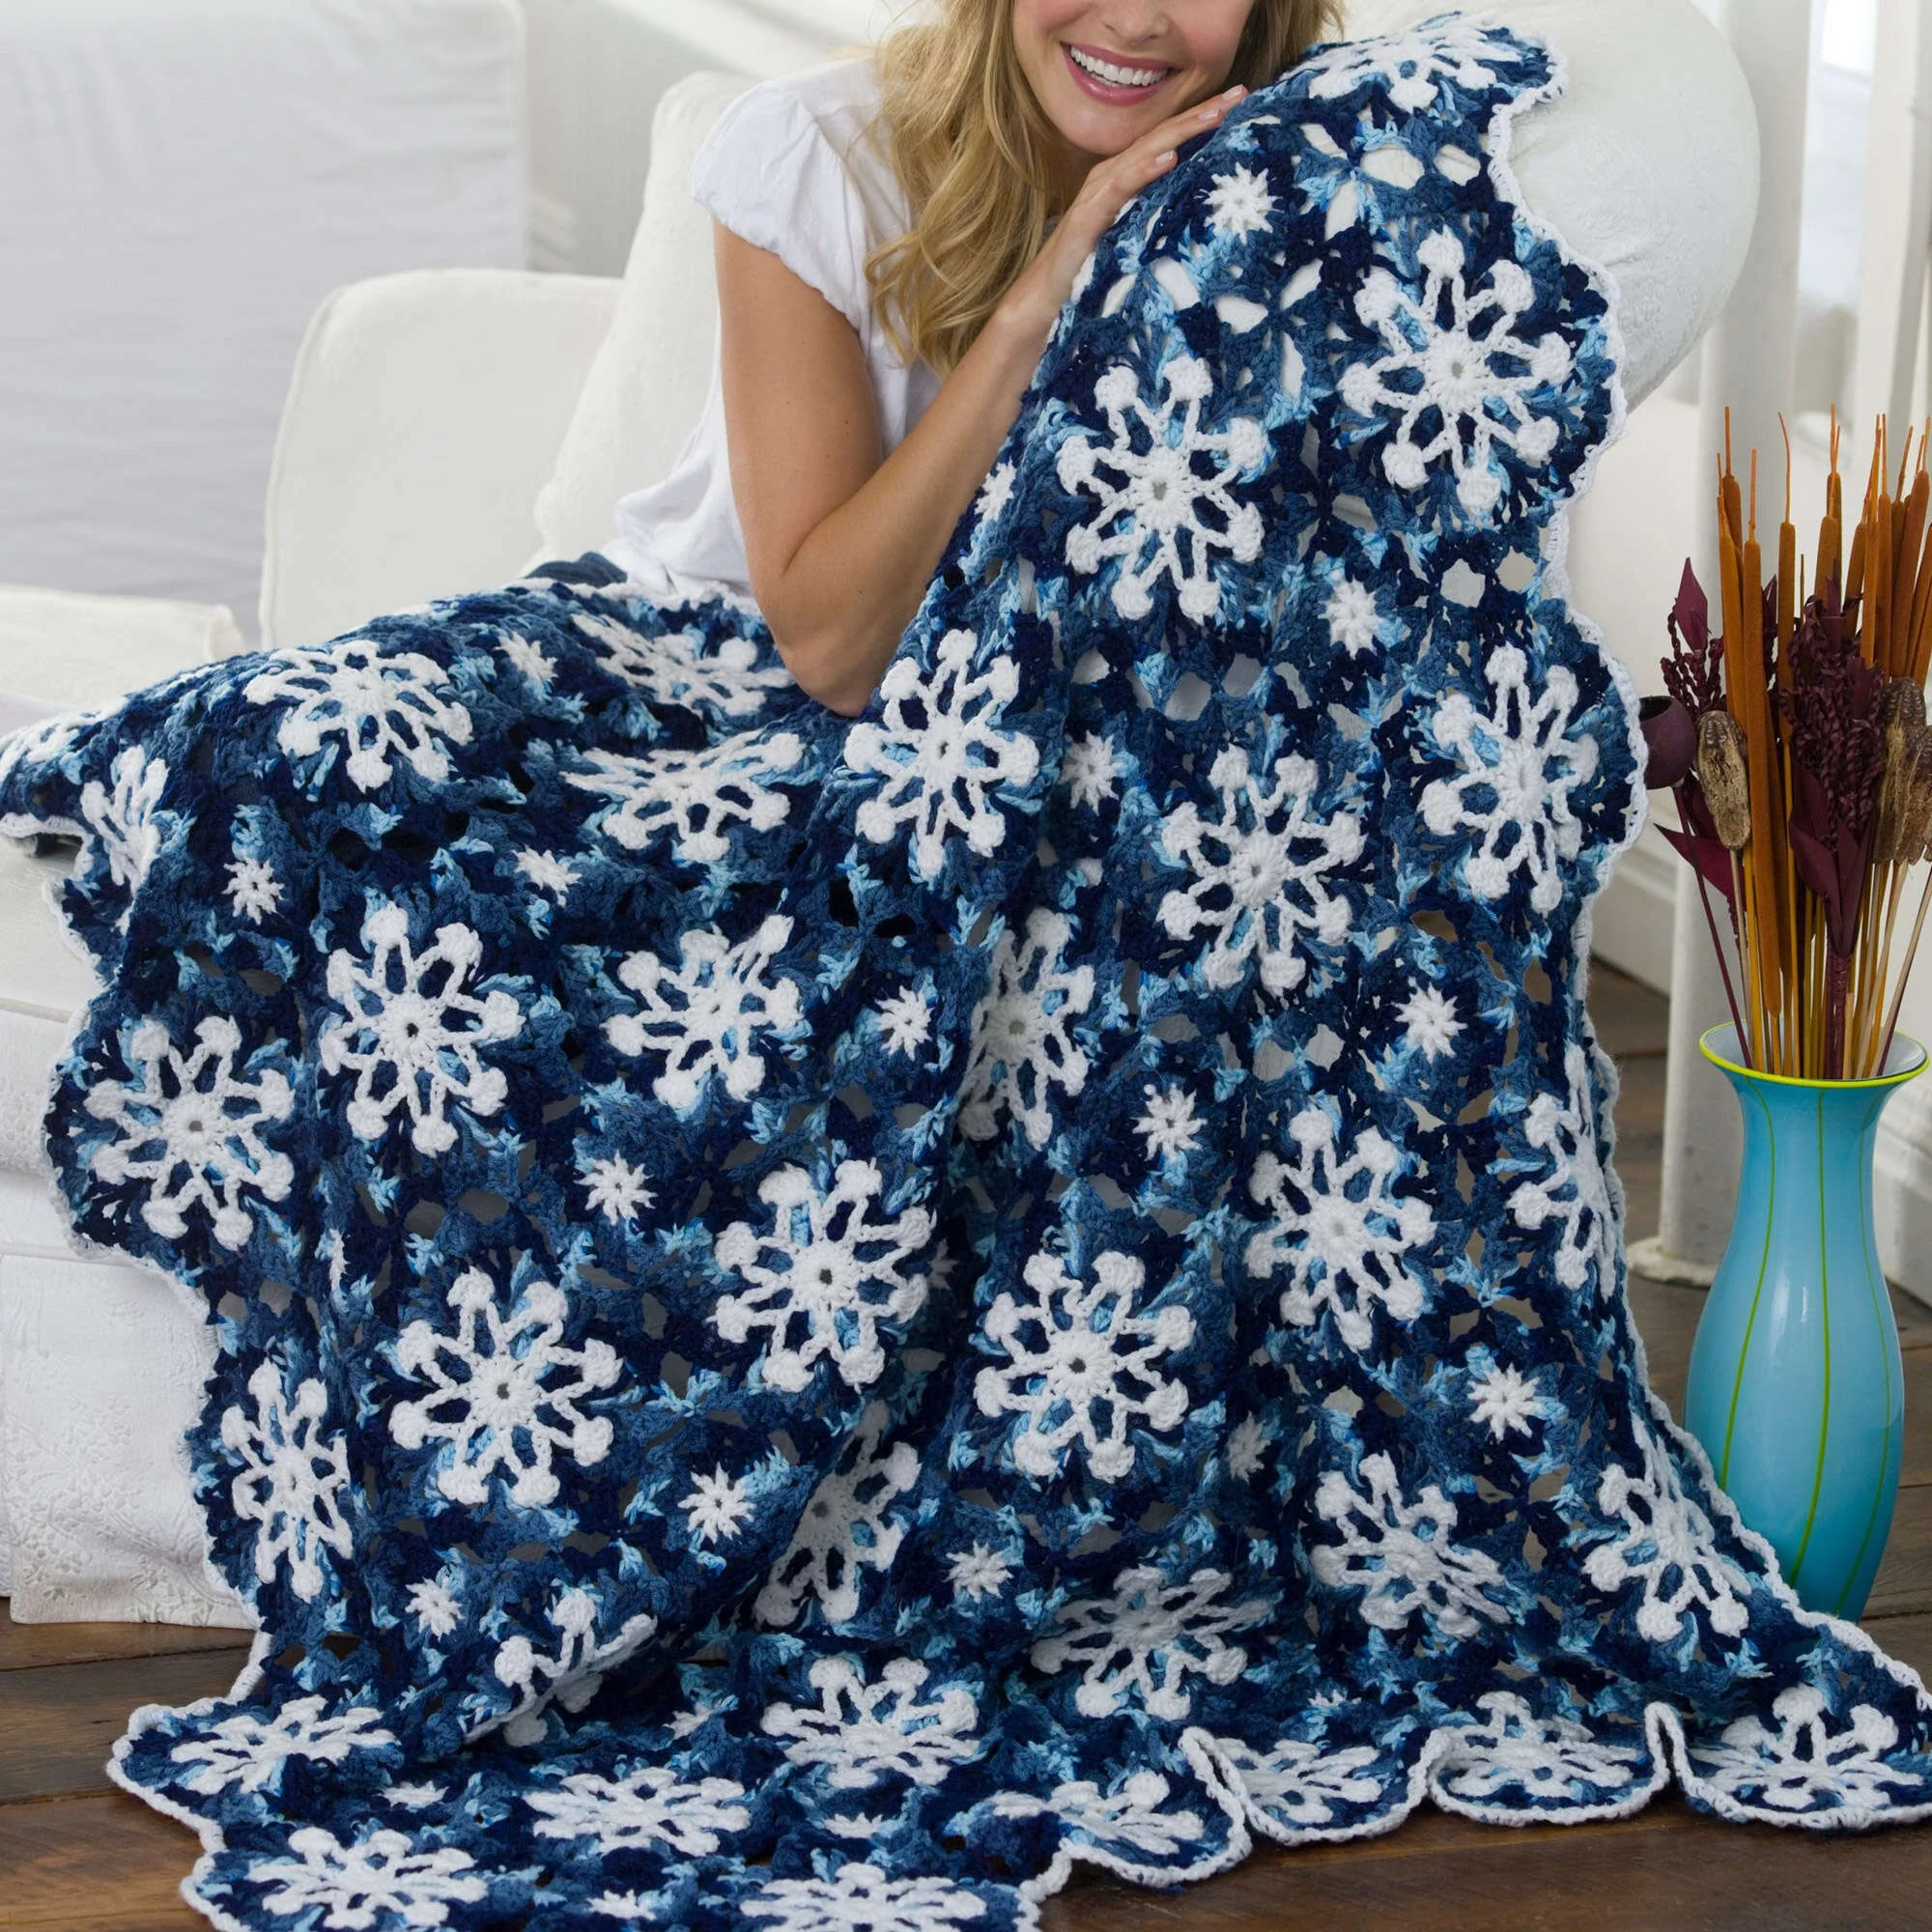
The Dusty Snowflake Throw is a stunning crochet piece featuring large and intricate snowflake motifs. This pattern uses a combination of classic stitches in two lovely contrasting colors, creating a beautiful texture suitable for both decorative and practical use. Perfect for cozying up on a chilly evening, this throw is sure to add elegance to your home. Follow along with the detailed instructions and photographs to create your own.
Project Details
- Crochet terminology: US terms
- Skill level: Intermediate
- Finished size: Approximately 52” x 60” (132 cm x 152 cm)
- Construction method: Motif-based assembly
- Gauge: Not provided
Materials and Tools
| Yarn option | Yarn and specifications | Amount |
|---|---|---|
| Contrast A | Red Heart® Super Saver® Solids, White (0311) | 2 balls |
| Contrast B | Red Heart® Super Saver® Solids, Shaded Dusk (0984) | 6 balls |
- Crochet hook: Size U.S. I/9 (5.5 mm) or size needed to obtain gauge
- Yarn needle
Abbreviations
| Abbreviation | Meaning |
|---|---|
| ch | chain |
| dc | double crochet |
| sc | single crochet |
| tr | treble crochet |
| sl st | slip stitch | sp | space |
Preparation and Techniques
Working in Motifs
This pattern is constructed using large and filler motifs, which you will join as you progress through the indicated rounds.
Complete Pattern Instructions
Large Motif
- With A, ch 5. Join with sl st to form a ring.
- 1st rnd: Ch 3. 15 dc in ring. Join with sl st to top of ch-3.
- 2nd rnd: Ch 1. 1 sc in same sp as sl st. Ch 7. Skip next dc. (1 sc in next dc. Ch 7. Skip next dc) 7 times. Join. Fasten off.
- 3rd rnd: Working in skipped dc of 1st rnd, behind ch-7 sps, join B with sl st in any skipped dc. Ch 3. 2 dc in same sp as sl st. (3 dc in next skipped dc) 7 times. Join.
- 4th rnd: Ch 3. *(1 dc. Ch 1. 1 dc) in next dc. 1 dc in each of next 2 dc. Rep from * to last dc, ending at . 1 dc in last dc. Join. Fasten off.
- 5th rnd: Working in ch-1 sps of Rnd 4 and ch-7 sps of Rnd 2 at the same time, join A with sl st in any sp. Ch 3. 4 dc in same sp as sl st. *Ch 1. Skip next 2 dc. Sl st in sp between sts. Ch 1. Skip next 2 dc. 5 dc in next sp. Rep from * around, ending at . Join. Fasten off.
- 6th rnd: Join B with sl st in back loop of center dc of any 5-dc group of Rnd 5. Ch 1. 1 sc in same sp as sl st. *Working over sl st of previous rnd, (1 tr. Ch 1. 1 tr. Ch 2. 1 tr. Ch 1. 1 tr) all in next sp. 1 sc in back loop of center dc of next 5-dc group. Rep from * around, ending at **. Join.
- 7th rnd (Joining rnd): First Motif Only – Ch 3. (1 dc. Ch 1. 2 dc) in same sp as sl st. *1 sc in next ch-1 sp. (2 dc. Ch 3. 2 dc) all in next ch-2 sp. 1 sc in next ch-1 sp. *(2 dc. Ch 1. 2 dc) all in next sc. Rep from * around, ending at . Join. Fasten off.
Filler Motif
- With A, ch 4. Join with sl st to form a ring.
- 1st rnd: Ch 4. (1 dc. Ch 1) 7 times in ring. Join in 3rd ch of ch-4. Fasten off.
- 2nd rnd: Join B with sl st in any dc. Ch 1. 1 sc in same sp as sl st. (1 dc. Ch 1. 1 dc) in next ch-1 sp. [1 sc in next dc. (1 dc. Ch 1. dc) in next ch-1 sp] 7 times. Join.
- 3rd rnd: (Joining rnd). Sl st to next ch-1 sp. Ch 3. 1 dc in same sp as last sl st. Ch 1. Sl st in corresponding ch-3 sp of large motif. Ch 1. 2 dc in same sp on filler motif. *2 dc in next sp. Sl st in next ch-1 sp of large motif. 2 dc in same sp on filler motif. Repeat * to once more. (2 dc. Ch 1. 2 dc) in next ch-1 sp. (2 dc. Ch 3. 2 dc) in next ch-1 sp. (2 dc. Ch 1. 2 dc) in next ch-1 sp. Join. Fasten off.
Border
- Join A with sl st in ch-3 sp at top right corner. Ch 1. 5 sc in same sp as sl st.
- * (Skip next 2 sts. 1 sc in next st. 3 sc in next ch-sp. Skip next 2 sts. 1 sc in next st. 5 sc in next ch-sp) 3 times. 5 sc in next ch-sp. Rep from *, ending at (left corner).
- Rep from * to ** twice more. 5 sc in next ch-sp. Rep from * around. Join. Fasten off.
Assembly and Finishing
Motifs are joined while working the 7th rnd as specified under All other motifs. Motifs are joined in 6 rows of 7 motifs in each row. After completing the motif structure and filler motifs, work the Border as specified. Fasten off after each motif and border where instructed.
Frequently Asked Questions
What is the finished size of the Dusty Snowflake Throw?
The finished size of the throw is approximately 52” x 60” (132 cm x 152 cm), making it a perfect fit for a cozy couch or as a decorative touch in any room.
What skill level is needed for this pattern?
This pattern is classified as intermediate, which requires familiarity with various crochet stitches and techniques, such as working in motifs and joining rounds.
Can I use a different type of yarn for this project?
While the pattern specifies Red Heart® Super Saver® yarn, you can use other worsted weight yarns. However, be aware that different yarns may affect the size and drape of the finished product.
How do I care for the finished throw?
To ensure the longevity of your Dusty Snowflake Throw, we recommend following care instructions based on the yarn label, typically involving gentle machine wash and lay flat to dry.
Is there a special technique for joining the motifs?
The motifs are joined in the specified 7th round using slip stitches in certain spaces to create a seamless look. Following the instructions carefully will ensure the motifs are connected correctly.