Get 30+ FREE Crochet Patterns — Join Our Newsletter
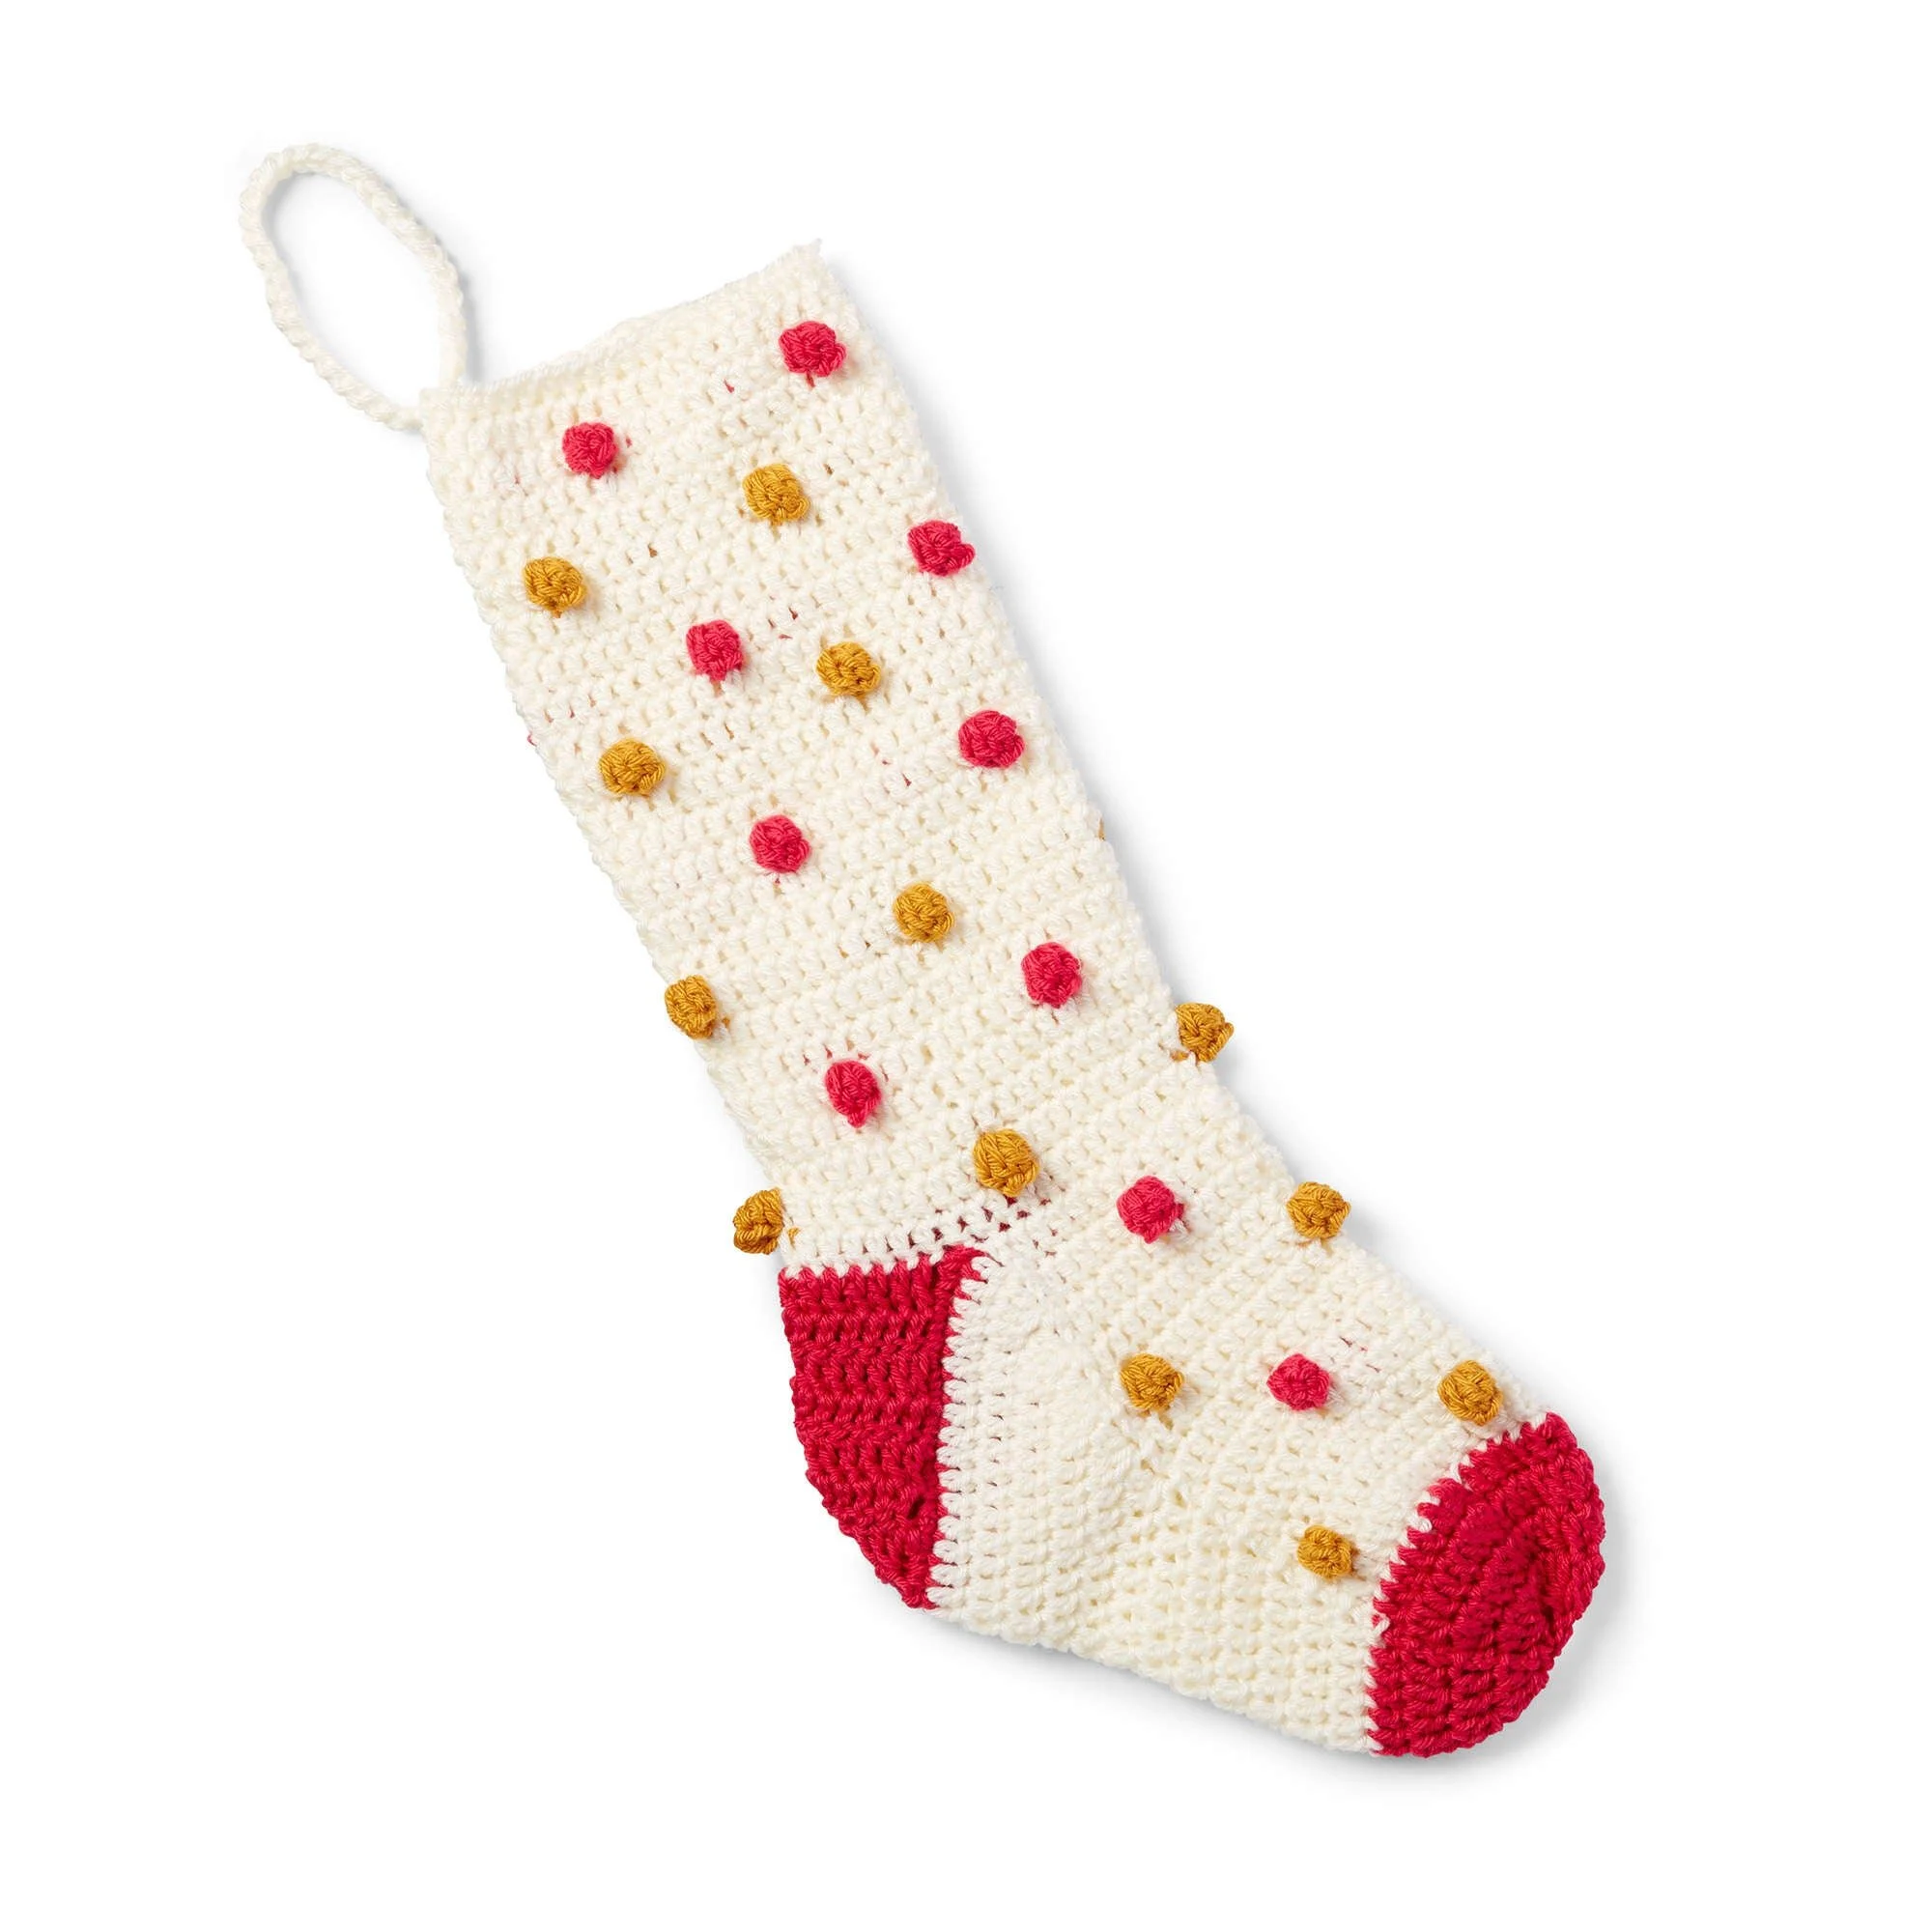
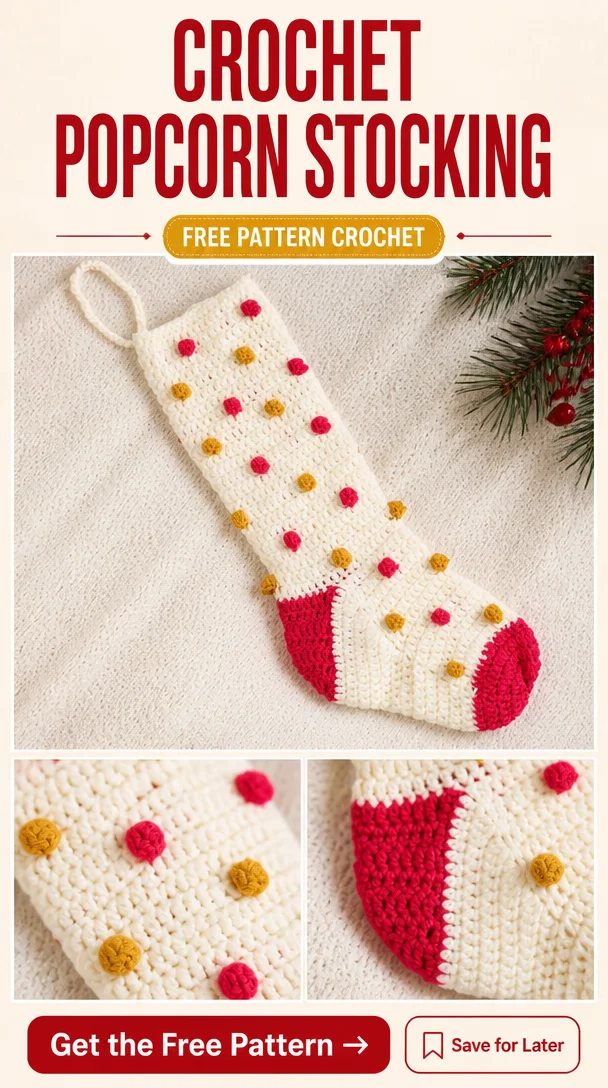
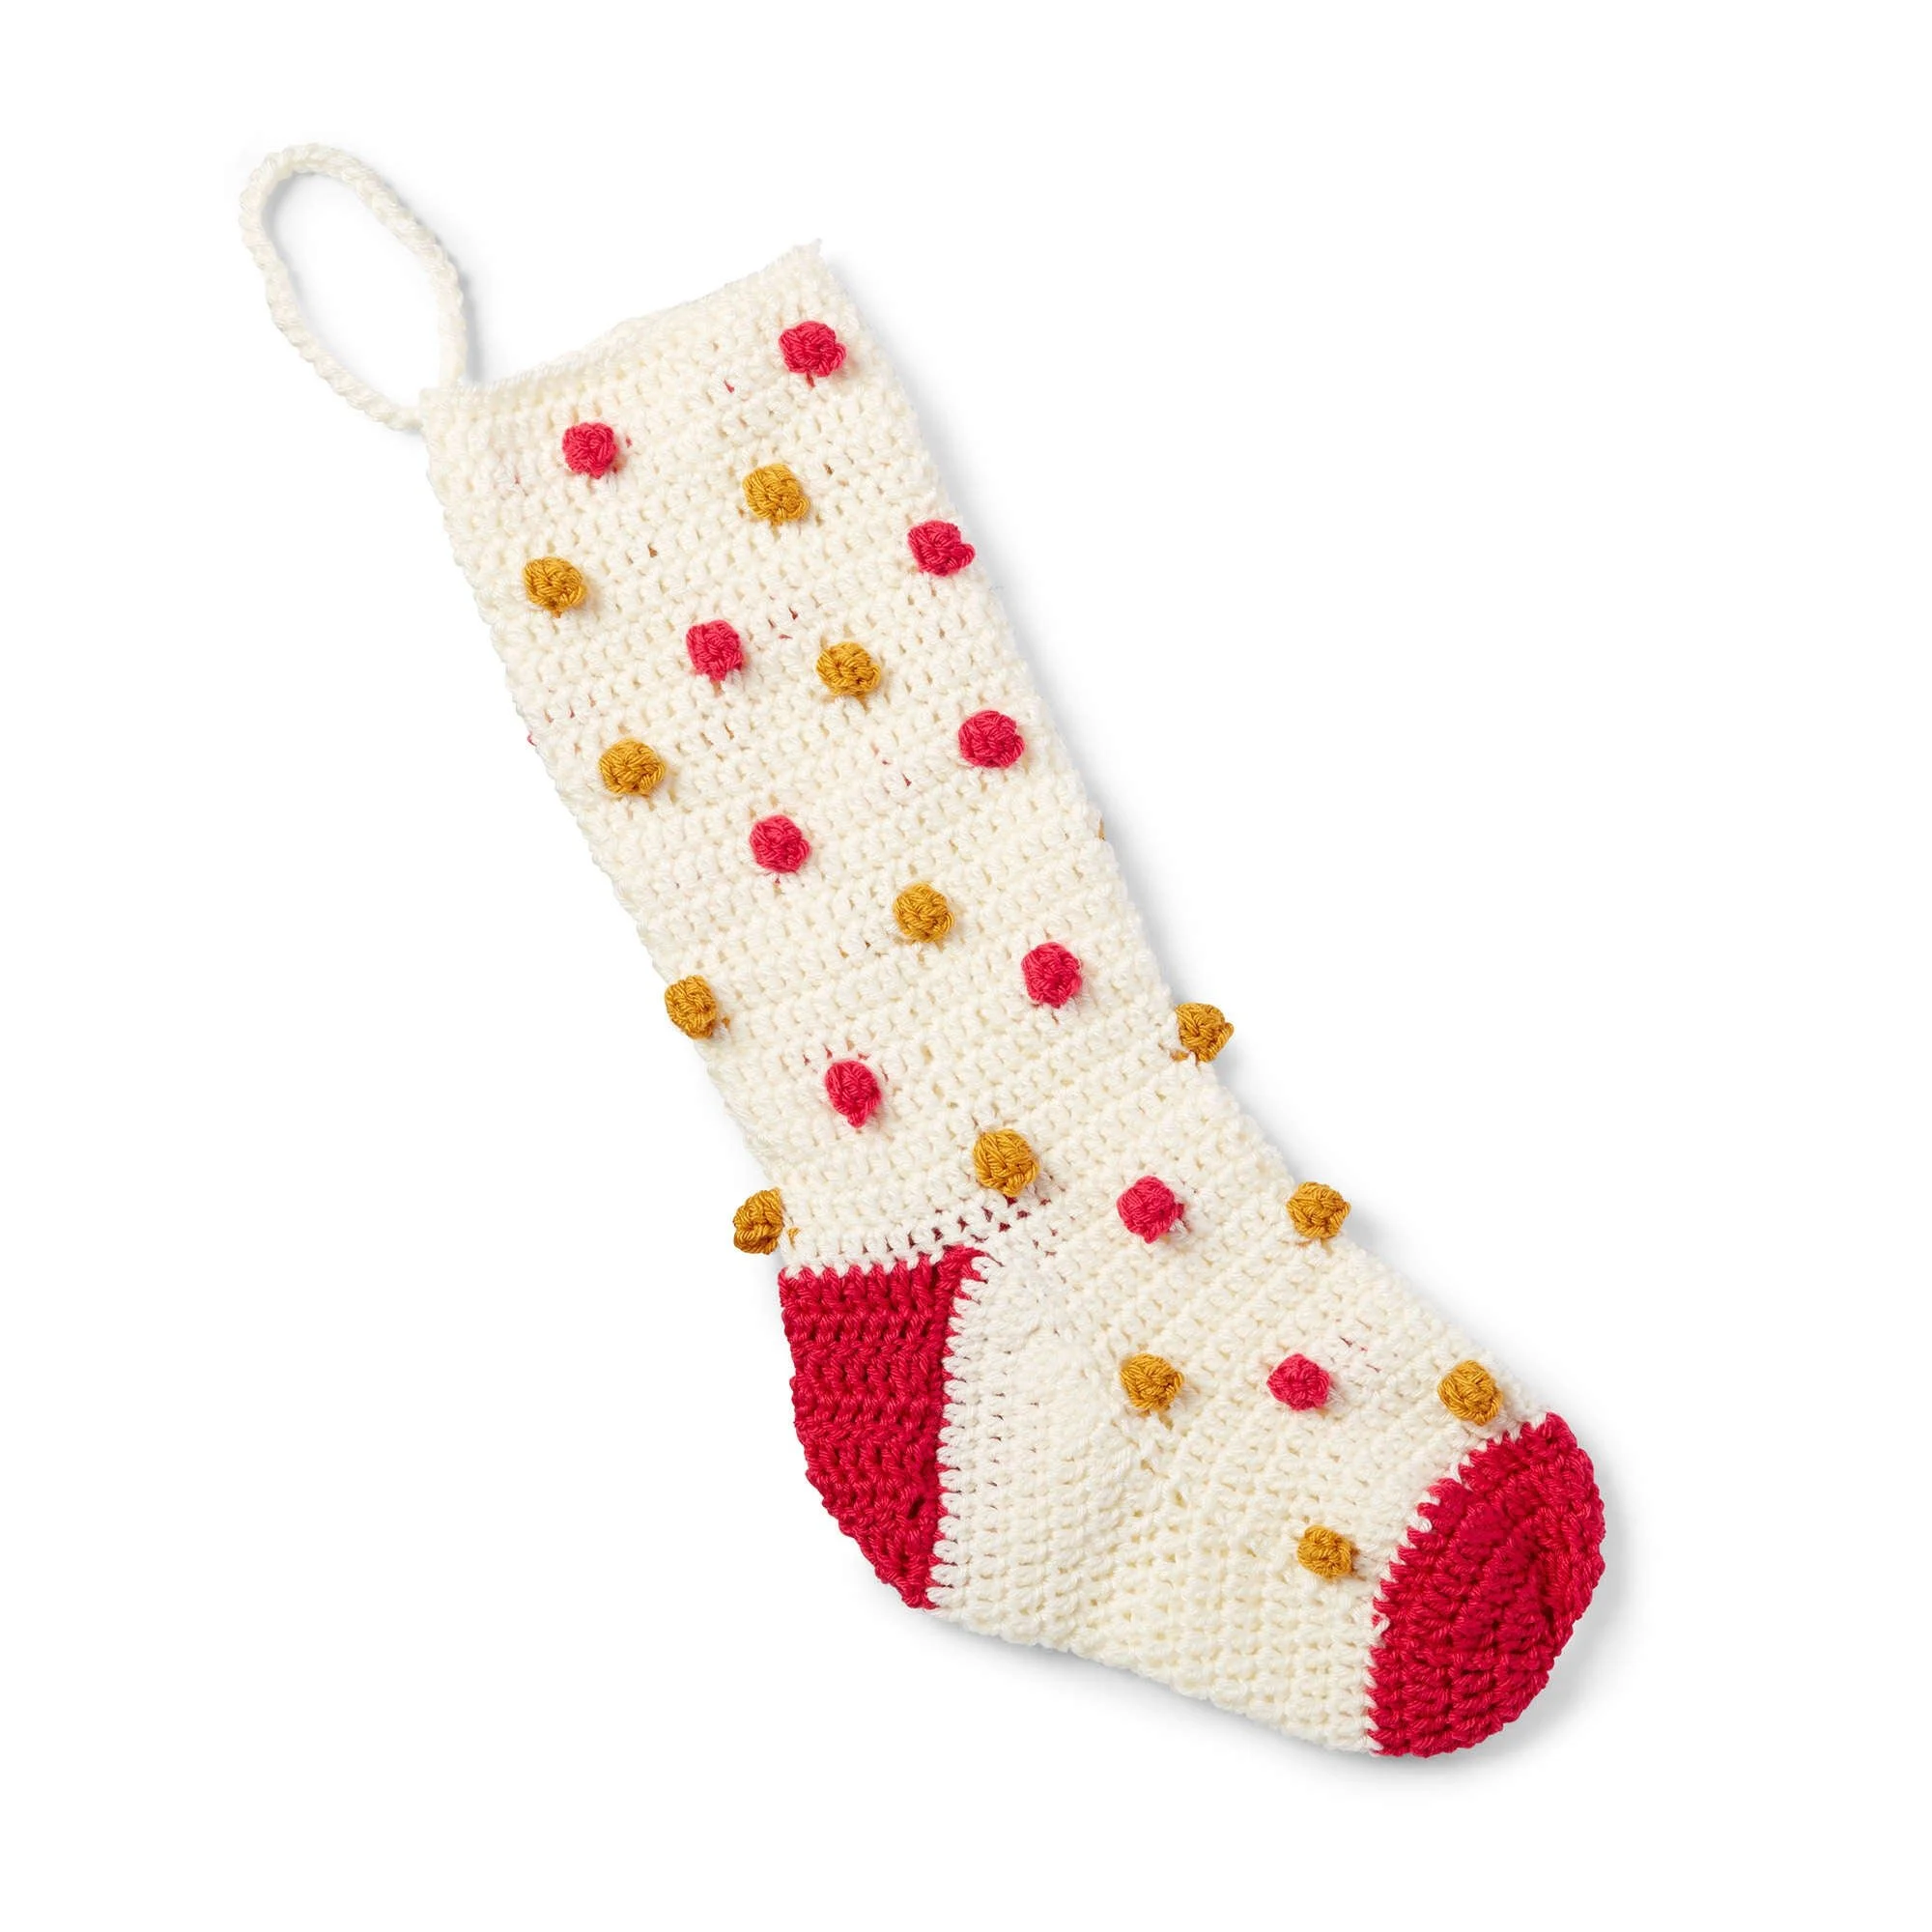
Bobble Crochet Stocking Pattern
For those who want to add a cheerful touch to their holiday decor, the Crochet Bobble Stocking is a delightful project. This stocking not only showcases a lovely bobble stitch pattern but also features a cozy and festive color palette of Winter White, Raspberry, and Fools Gold from Patons® Canadiana™ yarn. Navigating through the different construction phases, this pattern involves working in rounds, transitioning to row shaping for the heel, and ending with the toe shaping. It is a rewarding project ideal for anyone with some basic crochet skills, so grab your crochet hook and follow the written instructions alongside the provided photographs to create your own adorable stocking!
Project Details
- Crochet terminology: U.S.
- Skill level: Intermediate; must be comfortable with sc, dc, and color changes.
- Finished size: Approximately 22 inches (56 cm) long.
- Construction method: Worked in rounds for cuff and instep; heel worked in rows.
Materials and Tools
| Yarn option | Yarn and specifications | Amount |
|---|---|---|
| Main Color (MC) | Patons® Canadiana™, Winter White (10006) | 1 ball (3.5 oz/100 g; 205 yds/187 m) |
| Contrast A | Patons® Canadiana™, Raspberry (10413) | 1 ball (3.5 oz/100 g; 205 yds/187 m) |
| Contrast B | Patons® Canadiana™, Fools Gold (10610) | 1 ball (3.5 oz/100 g; 205 yds/187 m) |
- Crochet hook: U.S. 7 (4.5 mm) crochet hook or size needed to obtain gauge.
Abbreviations
| Abbreviation | Meaning |
|---|---|
| ch | chain |
| dc | double crochet |
| sc | single crochet |
| MB | bobble stitch |
| st(s) | stitch(es) |
| sl st | slip stitch |
| tog | together |
Preparation and Techniques
Working in Rounds
This pattern combines continuous rounds and joined rounds. For the cuff and instep, you will work in continuous rounds, which means no slipping to join to the initial chain; just keep stitching.
Changing Yarn Colors
When changing yarns, ensure to leave a short tail and secure the ends as you crochet to avoid unraveling. Always follow the color code mentioned in the instructions for consistency.
Joining Rounds
Join each round with a slip stitch to the top of the turning chain, as specified for each round. This helps maintain an even finish along the edges of your crochet piece.
Complete Pattern Instructions
Cuff
Work in rounds (starting with MC):
| Round | Instructions | Stitches |
|---|---|---|
| 1 | With MC, ch 40 loosely. Join with sl st to first ch to form a ring (do not twist ch). | |
| 1st rnd | Ch 1. 1 sc in each ch around. Join with sl st to first sc. | 40 sts |
| 2nd rnd | Ch 3. 1 dc in each st around. Join with sl st to top of ch 3. | |
| 3rd rnd | Ch 3. 1 dc in each of next 6 dc, joining A at end of last dc. * With A, MB. With MC, ch 1 for color change (does not count as st). 1 dc in each of next 9 dc, joining A at end of last dc. Rep from * to last 3 dc. With A, MB in next dc. 1 dc in each of last 2 dc. Join with sl st to top of ch 3. | |
| 4th and 5th rnds | As 2nd rnd. | |
| 6th rnd | Ch 3. 1 dc in next dc, joining B at end. **With B, MB. With MC, ch 1 for color change (does not count as st). 1 dc in each of next 9 dc, joining B at end of last dc. Rep from * to last 8 dc. With B, MB. With MC, ch 1 for color change (does not count as st). 1 dc in each of last 7 dc. Join with sl st to top of ch 3. | |
| 7th and 8th rnds | As 2nd rnd. | |
| — | Repeats for cuff rounds count to transition into heel: Rep 3rd to 8th rnds twice more, then 3rd to 7th rnds once. Break MC. |
Shape Heel (Rows)
| Row | Instructions | Stitches |
|---|---|---|
| 1st row (RS) | Join A with sl st to top of ch 3 at beg of last rnd. Ch 3. 1 dc in each of next 19 dc. Turn. | 20 dc |
| 2nd to 5th rows | Ch 3. 1 dc in each dc to end of row. Turn. | |
| 6th row | Ch 3. Dc2tog. 1 dc in each of next 5 dc. Dc4tog. 1 dc in each of next 5 dc. Dc2tog. 1 dc in last st. Turn. | 15 sts |
| 7th row | Ch 3. Dc2tog. 1 dc in each of next 3 dc. Dc3tog. 1 dc in each of next 3 dc. Dc2tog. 1 dc in last st. Turn. | 11 dc |
| 8th row | Ch 3. Dc2tog. 1 dc in next dc. Dc3tog. 1 dc in next dc. Dc2tog. 1 dc in last st. Turn. | 7 dc |
| 9th row | Ch 3. Dc5tog. 1 dc in last st. Fasten off. |
Edging (Along Heel Side Edge)
With RS facing, join A with sl st at side of heel at same sp as first ch 3 of heel. Work 38 sc evenly along side edge of heel. Join with sl st in same sp as last dc of heel. Fasten off.
Shape Instep (Rounds)
| Round | Instructions | Stitches |
|---|---|---|
| 1st rnd (RS) | Join MC with sl st in next unworked dc from instep. Ch 3 (counts as dc). 1 dc in each of next 19 dc of instep. 1 dc in each of next 38 sc along heel edge. Join with sl st to top of ch 3. | 58 dc |
| 2nd rnd | Ch 3. 1 dc in each of next 6 dc, joining A at end of last dc. With A, MB. With MC, ch 1 for color change (does not count as st). 1 dc in each of next 9 dc. With A, ch 1 for color change (does not count as st). With A, MB. With MC, ch 1 for color change (does not count as st). With MC, 1 dc in each of next 2 dc. Dc3tog. 1 dc in each of next 32 dc. Dc3tog. Join with sl st to top of ch 3. | 54 sts |
| 3rd rnd | Ch 3. 1 dc in each of next 19 sts. Dc3tog. 1 dc in each of next 28 dc. Dc3tog. Join with sl st to top of ch 3. | 50 sts |
| 4th rnd | Ch 3. 1 dc in each of next 19 sts. Dc3tog. 1 dc in each of next 24 dc. Dc3tog. Join with sl st to top of ch 3. | 46 sts |
| 5th rnd | Ch 3. 1 dc in next dc, joining B at end. With B, MB. With MC, ch 1 for color change (does not count as st). 1 dc in each of next 9 dc, joining B at end of last dc. With B, MB. With MC, ch 1 for color change (does not count as st). 1 dc in each of next 7 dc. Dc3tog. 1 dc in each of next 20 dc. Dc3tog. Join with sl st to top of ch 3. | 42 sts |
| 6th rnd | Ch 3. 1 dc in each of next 19 sts. Dc2tog. 1 dc in each of next 18 dc. Dc2tog. Join with sl st to top of ch 3. | 40 sts |
| 7th rnd | Ch 3. 1 dc in each st around. Join with sl st to top of ch 3. | |
| 8th rnd | Ch 3. 1 dc in each of next 6 dc, joining A at end of last dc. With A, MB. With MC, ch 1 for color change (does not count as st). 1 dc in each of next 9 dc, joining A at end of last dc. With A, MB. With MC, ch 1 for color change (does not count as st). With MC, 1 dc in each dc to end of rnd. Join with sl st to top of ch 3. | |
| 8th and 9th rnds | Ch 3. 1 dc in each st around. Join with sl st to top of ch 3. | |
| 10th rnd | Ch 3. 1 dc in next dc, joining B at end. With B, MB. With MC, ch 1 for color change (does not count as st). 1 dc in each of next 9 dc, joining B at end of last dc. With B, MB. With MC, ch 1 for color change (does not count as st). 1 dc in each dc to end of rnd. Join with sl st to top of ch 3. | |
| 11th rnd | Ch 3. 1 dc in each st around. Join A with sl st to top of ch 3. Break MC. | |
| 12th rnd | With A, ch 3. 1 dc in each dc around. Join with sl st to top of ch 3. | |
| 13th rnd | Ch 3. (Dc2tog. 1 dc in each of next 4 dc) 6 times. Dc2tog. 1 dc in last dc. Join with sl st to top of ch 3. | 33 sts |
| 14th rnd | Ch 3. (Dc2tog. 1 dc in each of next 2 dc) 7 times. Dc2tog. 1 dc in each of last 2 dc. Join with sl st to top of ch 3. | 25 sts |
| 15th rnd | Ch 3. (Dc4tog) 6 times. Join with sl st to top of ch 3. | 7 sts |
Toe Finishing
Weave end tightly through remaining stitches and fasten securely for toe end.
Loop
With 2 strands of MC, ch 30. Fasten off. Fold chain in half and sew in position.
Assembly and Finishing
Make sure all ends are woven in securely, and the stitches are well-defined. You can lightly block the stocking if needed to reshape it or help with evenness.
Practical Tips
- Using stitch markers: As you work through the rounds, use stitch markers to mark the beginning of each round. This helps keep your counts accurate.
- Checking for errors: If you notice uneven stitch counts, check your rounds after switching colors, as this is a common area for stitches to be missed or added.
- Color transitions: When working with multiple colors, always carry the unused color along the edge to maintain a neat and clean look.
- Blocking your piece: After finishing, you may choose to gently steam block your stocking to make the stitches more defined.
Troubleshooting
- Struggling with round joins: If your joins seem uneven, try placing a marker between the join and the first stitch of the new round for clarity.
- Inconsistent stitch tension: If your stitches look tight or loose, try relaxing your grip on the yarn while stitching or checking for knots in your yarn.
- Color bleeding: To prevent colors from bleeding, wash yarns before crafting or use them in conjunction with color-safe products.
Care
To maintain the integrity of your Crochet Bobble Stocking, consider the following:
- Hand wash gently in cool water using a mild detergent.
- Avoid wringing the piece; instead, lay flat to dry.
- Store in a dry place to prevent mildew and odor.
Frequently Asked Questions
What size is the Crochet Bobble Stocking when completed?
The finished stocking measures approximately 22 inches (56 cm) long, providing plenty of room for goodies during the holidays.
Can I use different yarn brands for this pattern?
Yes, you can substitute different worsted weight yarns, but be mindful that different fibers can alter the final size and drape of the stocking, so always check gauge.
How do I ensure my stitches remain consistent?
Checking your tension regularly while crocheting and using a stitch marker at the start of each round can help keep your stitch count and tension consistent.
What is the best way to block my finished stocking?
Blocking can be done by lightly steaming the stocking or using a cool-water soak followed by laying it flat to dry. This helps to shape and define the stitches.
Can I sell the finished Crochet Bobble Stocking?
This depends on the original designer’s terms for the pattern. It’s best to check for any stipulations regarding the commercial use of the design.
Is it difficult to change yarn colors throughout the pattern?
With a bit of practice, changing yarn colors becomes straightforward. Keep tension even when switching colors, and ensure to carry the unused yarn snugly along the side.