Get 30+ FREE Crochet Patterns — Join Our Newsletter
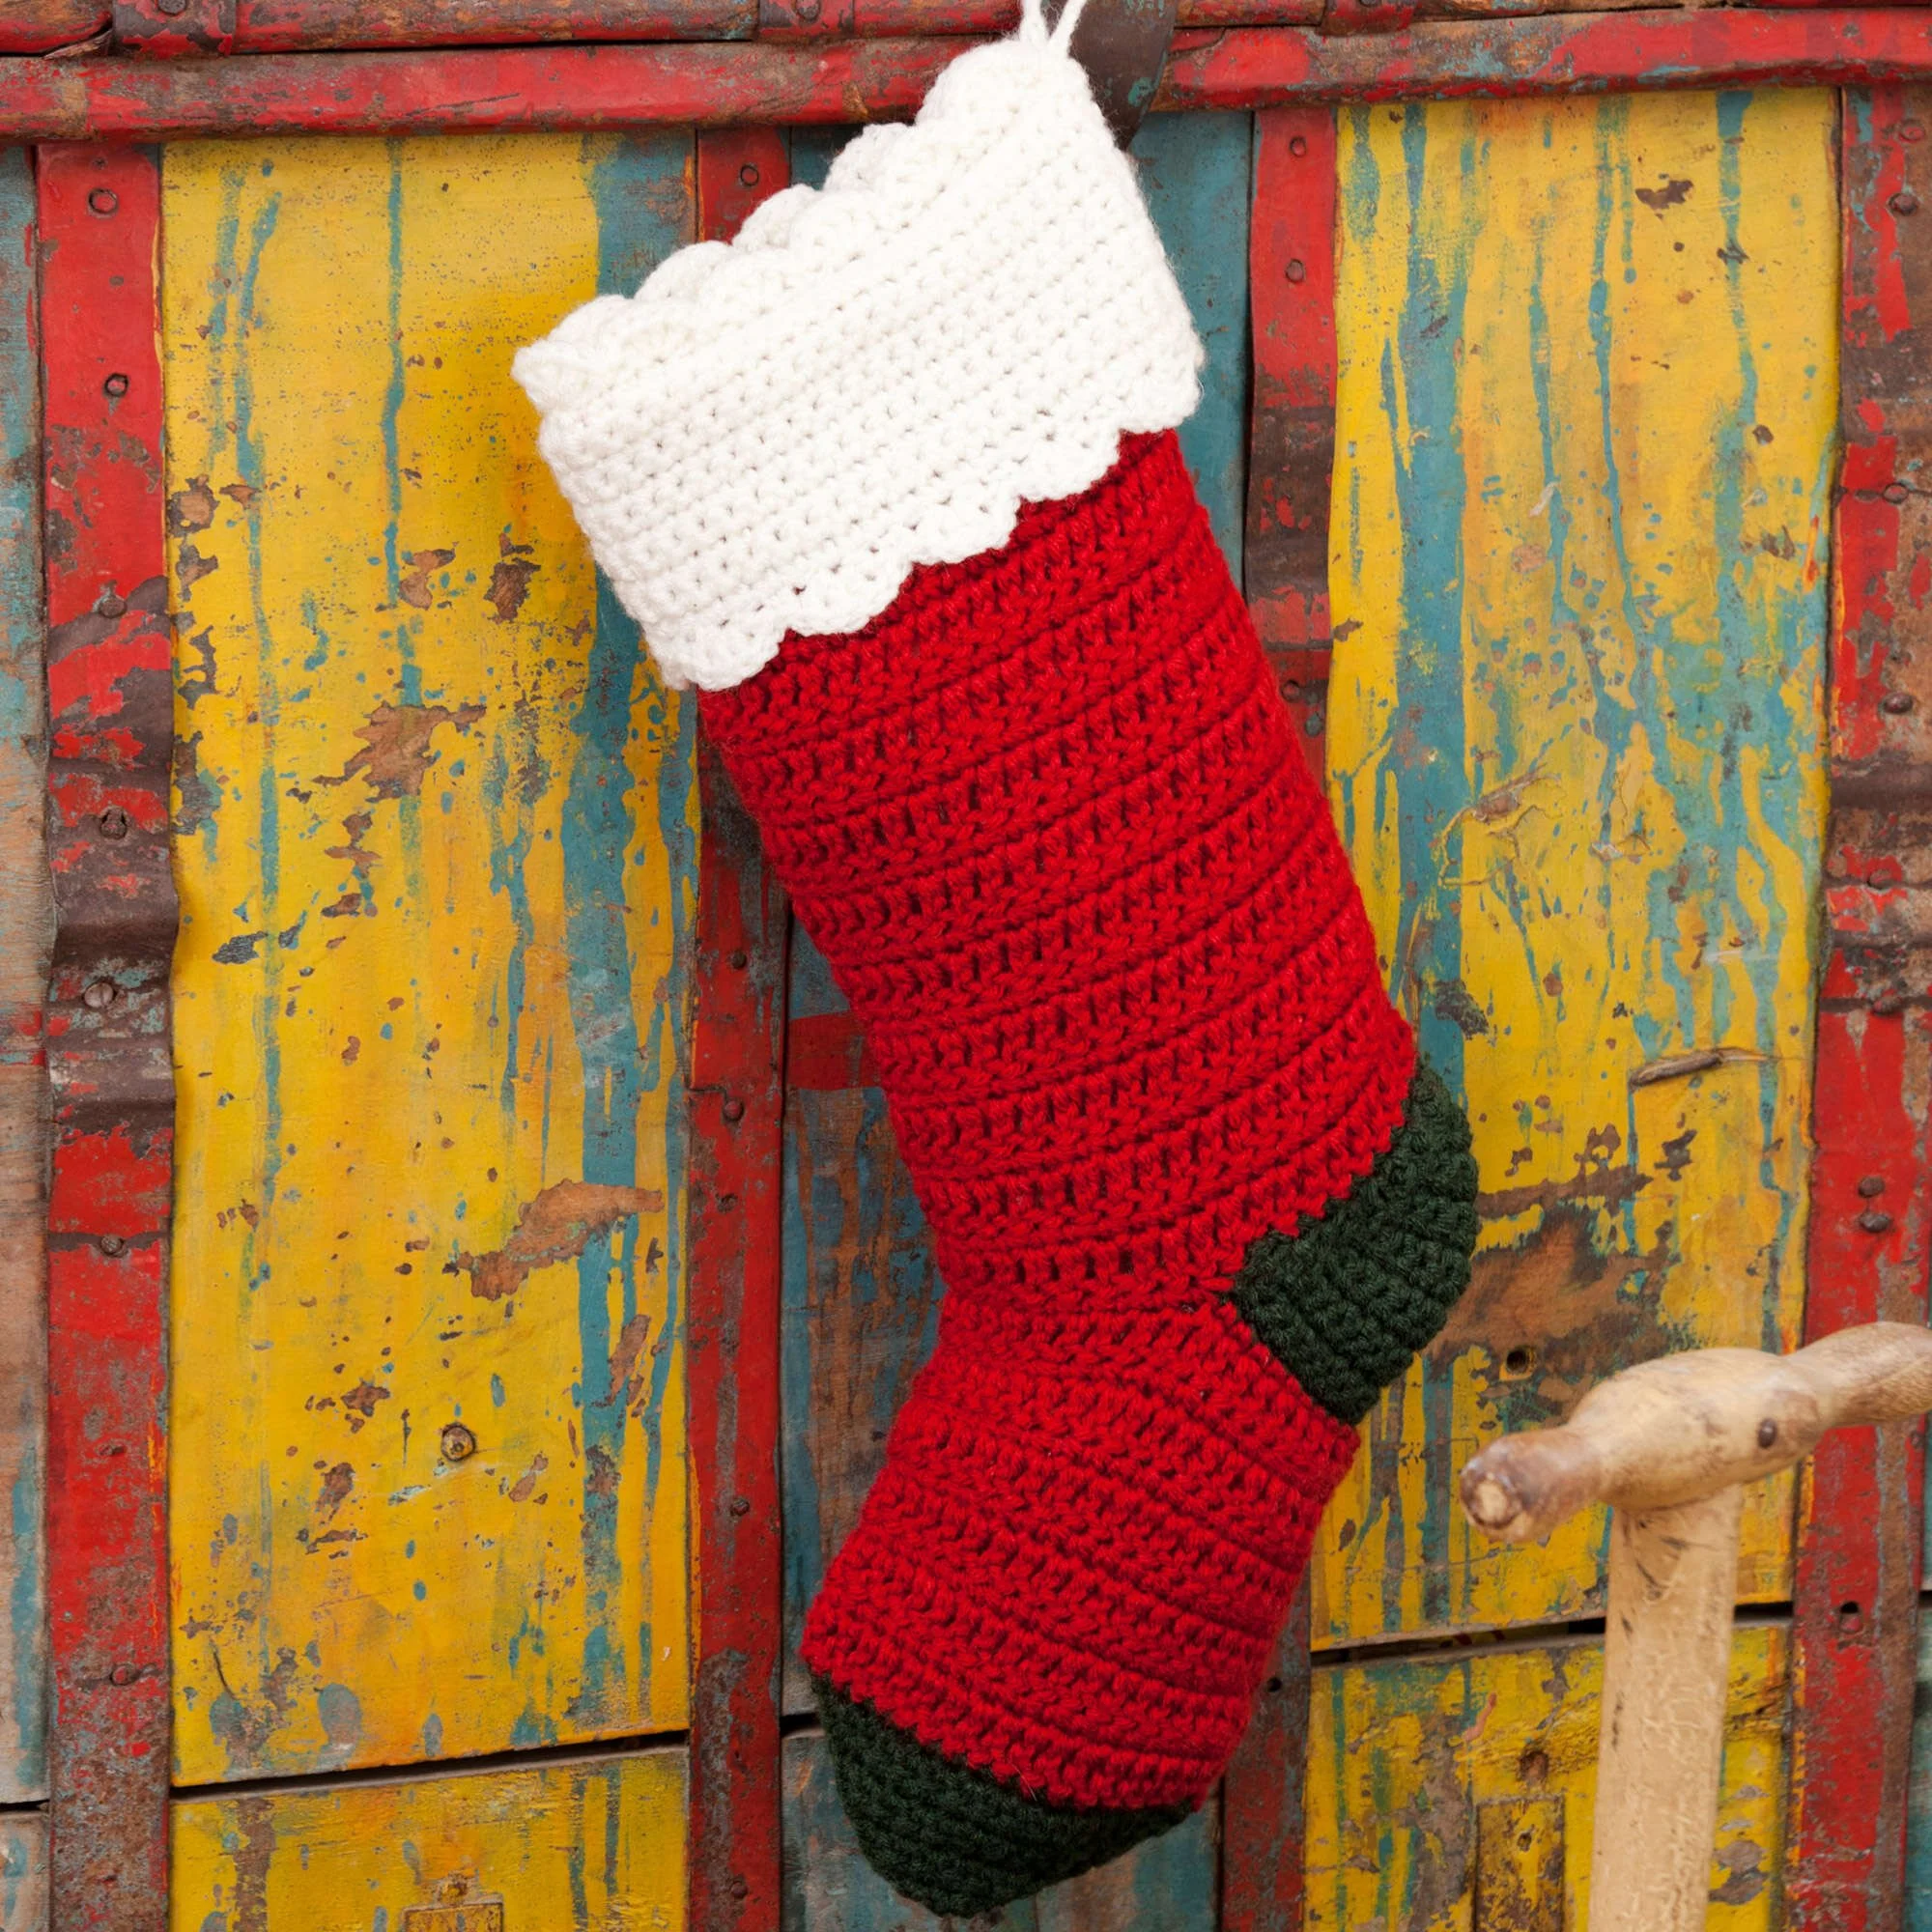
Christmas Crochet Stocking Pattern
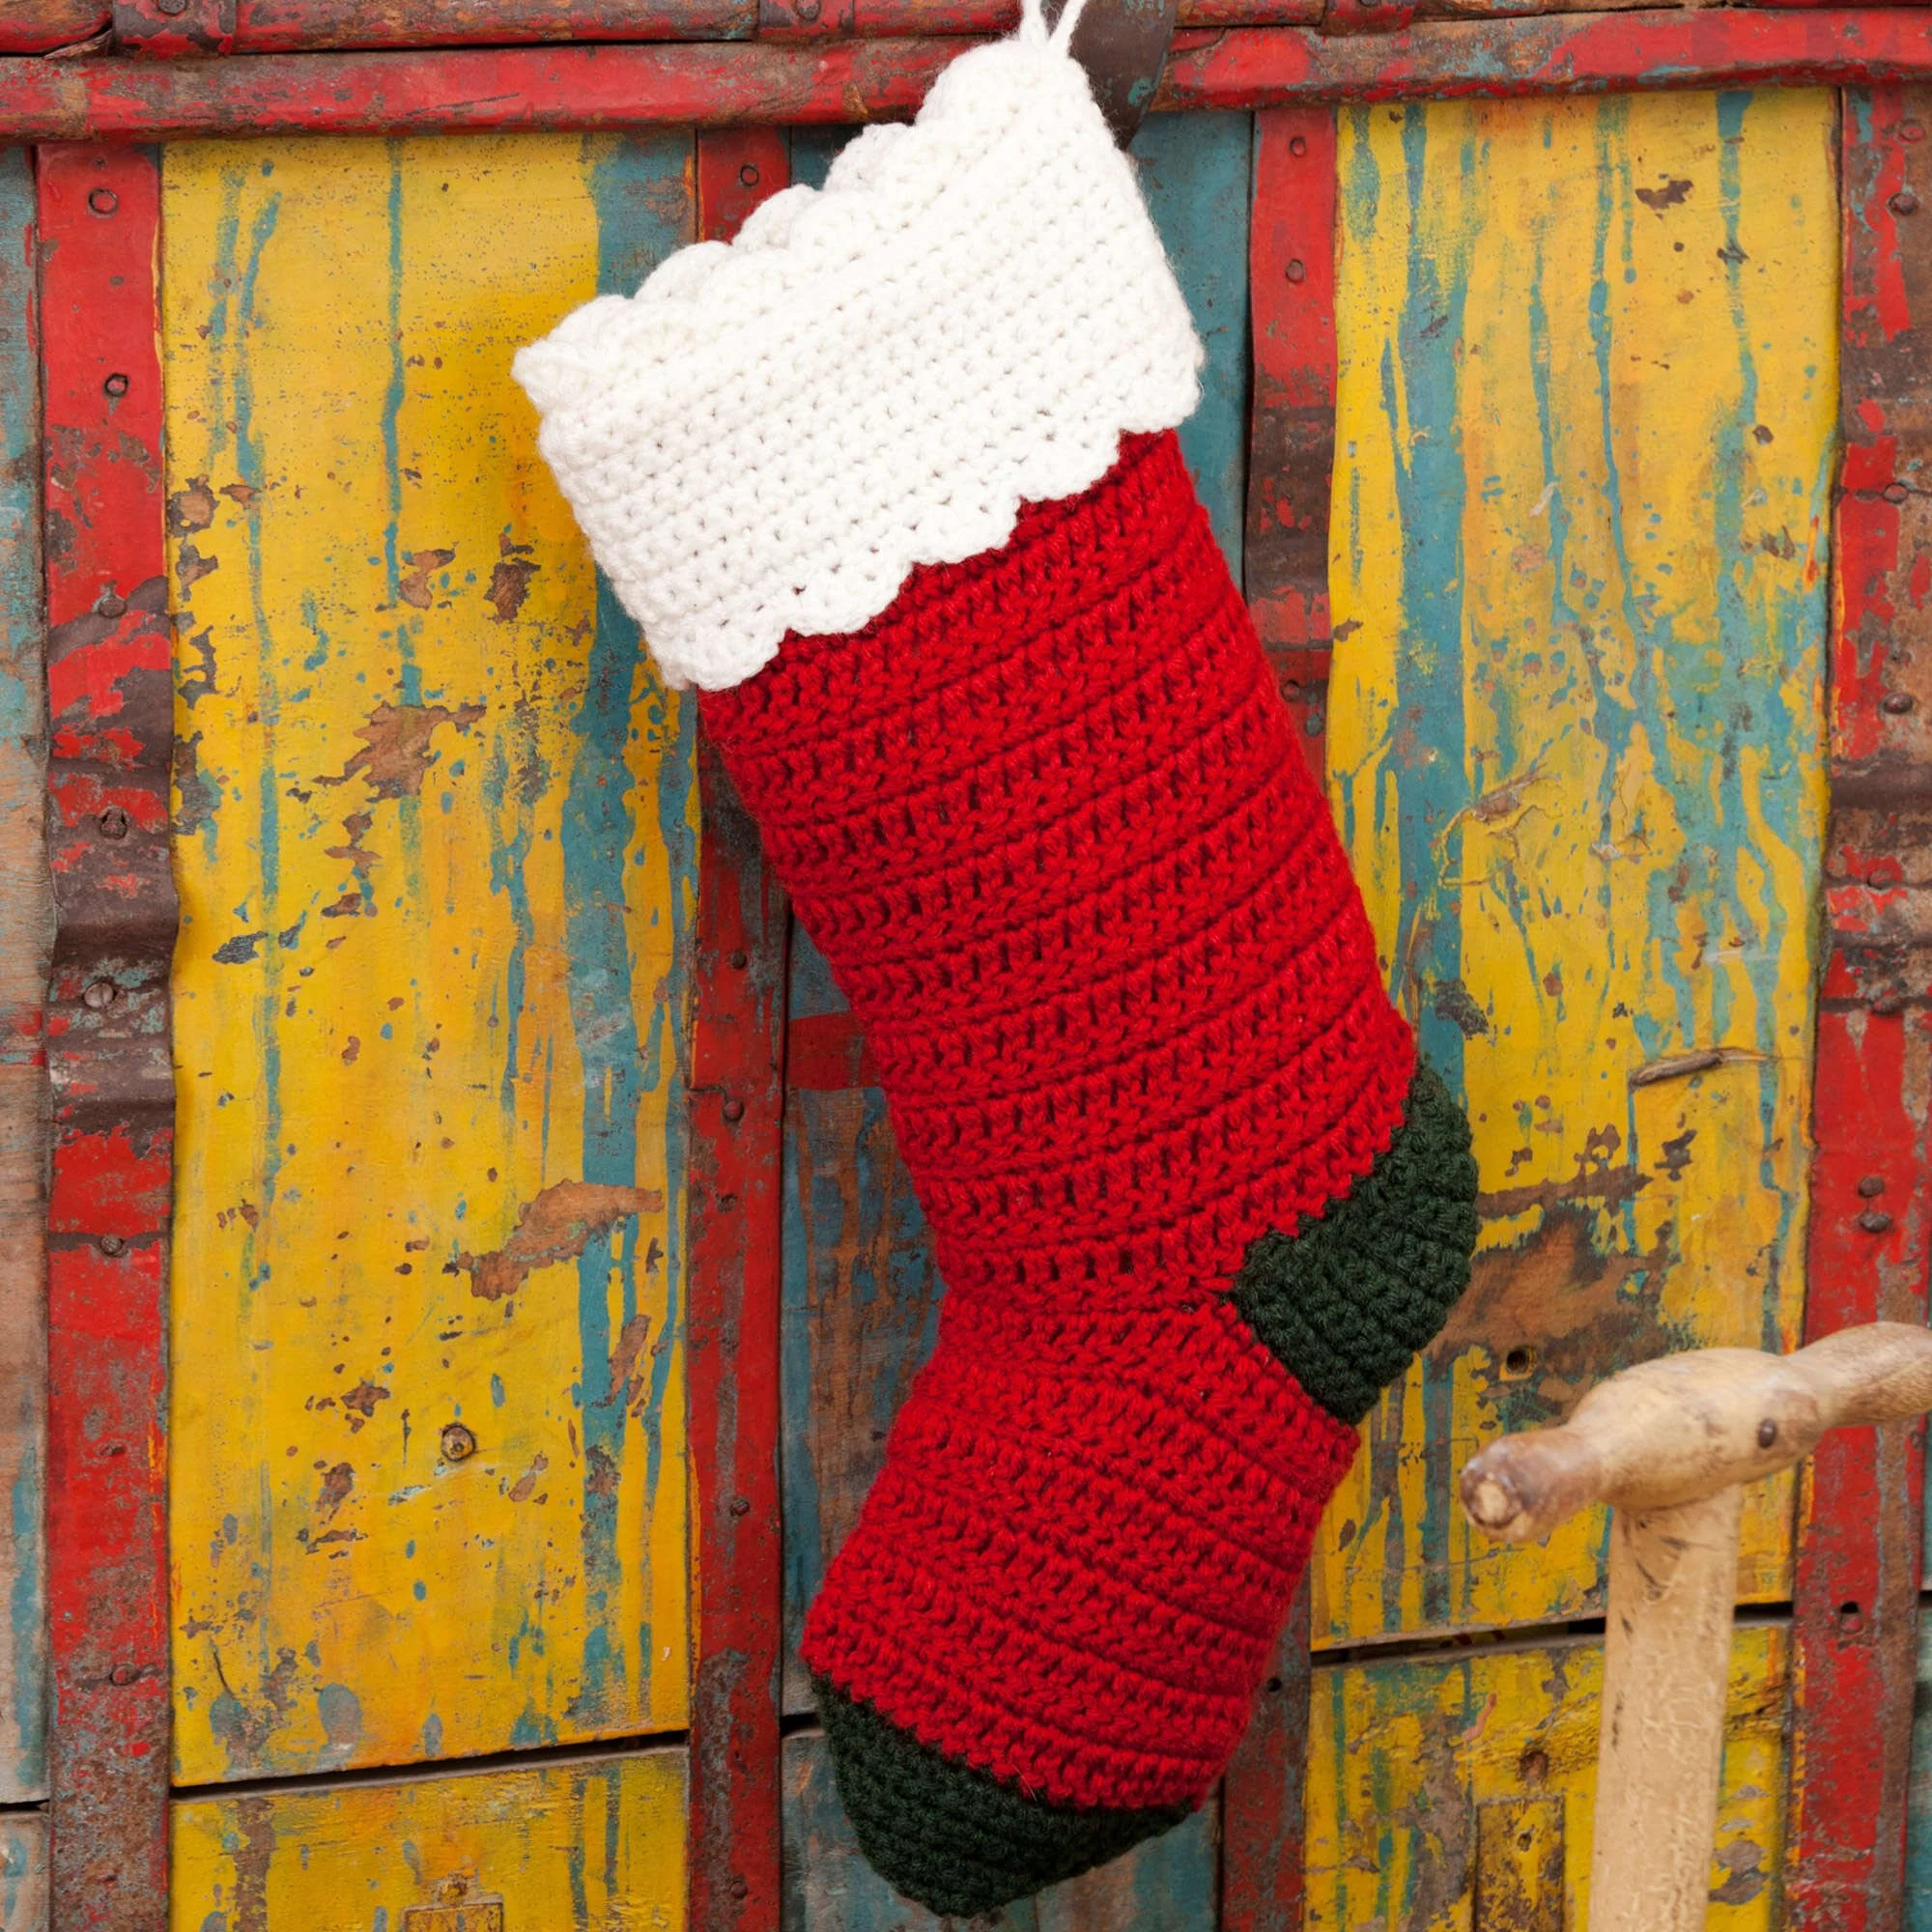
Create your own festive atmosphere with this charming Crochet Christmas Stocking Pattern. This delightful stocking features a traditional design in vibrant colors, perfect for hanging by the fireplace or filling with holiday treats. The project involves simple stitches and techniques, including a combination of single crochet and double crochet, making it suitable for those with some crochet experience. With clear instructions, you can create a beautiful festive decoration that will be cherished for years to come. Be sure to follow along with any project photos provided as you crochet!
Project Details
- Crochet terminology: US terms
- Skill level: Intermediate
- Finished size: Approximately 10 inches tall
- Construction method: Worked in rows and joined
Materials and Tools
| Yarn option | Yarn and specifications | Amount |
|---|---|---|
| Yarn | RED HEART® Super Saver® (332 Ranch Red) | 1 skein |
| Yarn | RED HEART® Super Saver® (633 Dark Sage) | 1 skein |
| Yarn | RED HEART® Super Saver® (316 Soft White) | 1 skein |
- Crochet Hooks: 4 mm [US G-6], 5 mm [US H-8]
- Notions: Yarn needle
Abbreviations
| Abbreviation | Meaning |
|---|---|
| A, B, C | color A, B, C |
| ch | chain |
| dc | double crochet |
| mm | millimeters |
| sc | single crochet |
| st(s) | stitch(es) |
| tog | together |
| yo | yarn over |
| * or ** or *** | repeat as indicated |
| [] | work directions in brackets the number of times specified |
Preparation and Techniques
Working in Rows
This pattern is primarily worked in rows, alternating between double crochet and single crochet stitches. Be sure to turn your work at the end of each row to maintain the correct stitch orientation.
Complete Pattern Instructions
Stocking Body (with larger hook and A)
With larger hook and A, ch 43.
| Row | Instructions | Stitches |
|---|---|---|
| 1 | Sc in 2nd ch from hook and in each ch across; turn | 42 sc |
| 2 | Ch 3 (counts as dc), skip first sc, dc in next sc and in each sc across; turn | – |
| 3 | Ch 1, sc in each dc across, sc in top of ch-3; turn | – |
Repeat Rows 2 and 3 for pattern until 10” from beginning, ending by working Row 2. Fasten off.
Heel (with right side facing and larger hook)
With right side facing and larger hook, skip first 32 sts of last row, join B in next st; ch 1, sc in same st and in next 9 sts, bring the other side of the stocking around and sc in first 11 sts; turn – 21 sts
Shape Heel (short rows; continue until all 21 heel sts are worked)
| Row | Instructions |
|---|---|
| next Row | Ch 1, sc in first 14 sc; turn. |
| next Row | Ch 1, sc in first 7 sc; turn. |
| next Row | Ch 1, sc in first 7 sc, sc in next st of long row below; turn. – 8 sc |
| next Row | Ch 1, sc in first 8 sc, sc in next st of long row below; turn – 9 sc |
Continue in this manner until all 21 heel sts are worked. Fasten off.
Foot (with right side facing and larger hook)
With right side facing and larger hook, skip first 10 sc of heel, join A in next sc; ch 1, sc in same sc and in next 10 sc of heel, skip next 2 sts of stocking, sc in next 17 sts of stocking, skip next 2 sts, sc in next 10 sts of heel; turn – 38 sc
Repeat pattern Rows 2 and 3 five more times, then Row 2 once more. Fasten off.
Toe (with right side facing and larger hook)
First half of toe
With right side facing and larger hook, join B in first st of foot; **ch 1, sc2tog, sc in next 15 dc, sc2tog, turn – 17 sc. Continue in sc only and decrease 1 st each end of every row until 3 sts remain. Fasten off.**
Second half of toe
With right side facing, join B in next st of last long row. Work same as first half of toe from ** to **.
Finishing (seams)
Sew toe, foot, and back seams. Sew openings closed at corners of heel.
Cuff and Edgings
Cuff (with larger hook and C)
With larger hook and C, ch 47. Work 11 rows of sc over 46 sts. Fasten off. Sew cuff seam.
Lower Cuff Edging (with right side facing and smaller hook)
***With right side facing and smaller hook, join C at back seam; ch 1, sc in first 2 sc, skip next sc, (dc, [ch 1, dc] twice) all in next sc, skip next sc, sc in next sc; repeat from * around; join with a slip st in first sc.*** Fasten off.
Attach Cuff (with right side facing and smaller hook)
With right side facing and smaller hook, join C at upper edge of back seam of cuff; ch 1, sc in first sc, place cuff over the right side of stocking and beginning at first st after the back seam of stocking, work 21 sc through both layers at the same time, sc in next sc of cuff only, sc in next 21 sc through both layers, sc in last sc of cuff only; join. Fasten off.
Top Edging (same as Lower Edging)
Work same as Lower Edging from *** to ***, ch 12 for hanging loop, slip st in first sc again. Fasten off. Weave in all ends.
Practical Tips
- Color Changes: Make sure to carry the unused yarn along the side or cut it and weave in the ends to keep a tidy finish.
- Check Stitch Count: Regularly count your stitches, particularly after each row, to ensure you maintain the right stitch count.
- Maintain Even Tension: Aim for consistent tension to achieve a neat and polished appearance throughout the stocking.
- Select a Cozy Lining: For a finished look, consider lining your stocking with a soft fabric before adding treats.
Troubleshooting
- Awkward Shape: If your stocking isn’t taking the right shape, check your stitch tension. Uneven tension can impact the final appearance.
- Loose Edges: If your edges appear loose or wavy, try using a smaller hook for edgings to tighten them up.
- Uneven Stripes: For consistently spaced color changes, carry the yarn carefully and keep an eye on your tension.
Care
Follow these care instructions to maintain your finished stocking:
- Hand wash in cold water, lay flat to dry.
- Avoid bleach; if necessary, use mild detergent.
- Store in a dry location, avoiding damp environments to prevent mildew.
Frequently Asked Questions
What size is the finished stocking?
The finished stocking measures approximately 10 inches tall. This size is perfect for filling with candy or small gifts during the holiday season.
Can I use different colors of yarn?
Yes, feel free to customize your stocking with different colors, but ensure they are of similar weight to maintain the correct dimensions and drape.
What level of crochet skills do I need?
This pattern is designated for intermediate crocheters. Familiarity with single crochet and double crochet is essential.
How long will it take to complete the stocking?
The time to complete the stocking can vary based on skill level, but expect to spend a few hours working through the pattern.
Will the stocking hold up with heavy items inside?
This stocking is designed to hold lightweight items. For heavier items, consider reinforcing with a lining or using a stronger yarn.