Get 30+ FREE Crochet Patterns — Join Our Newsletter
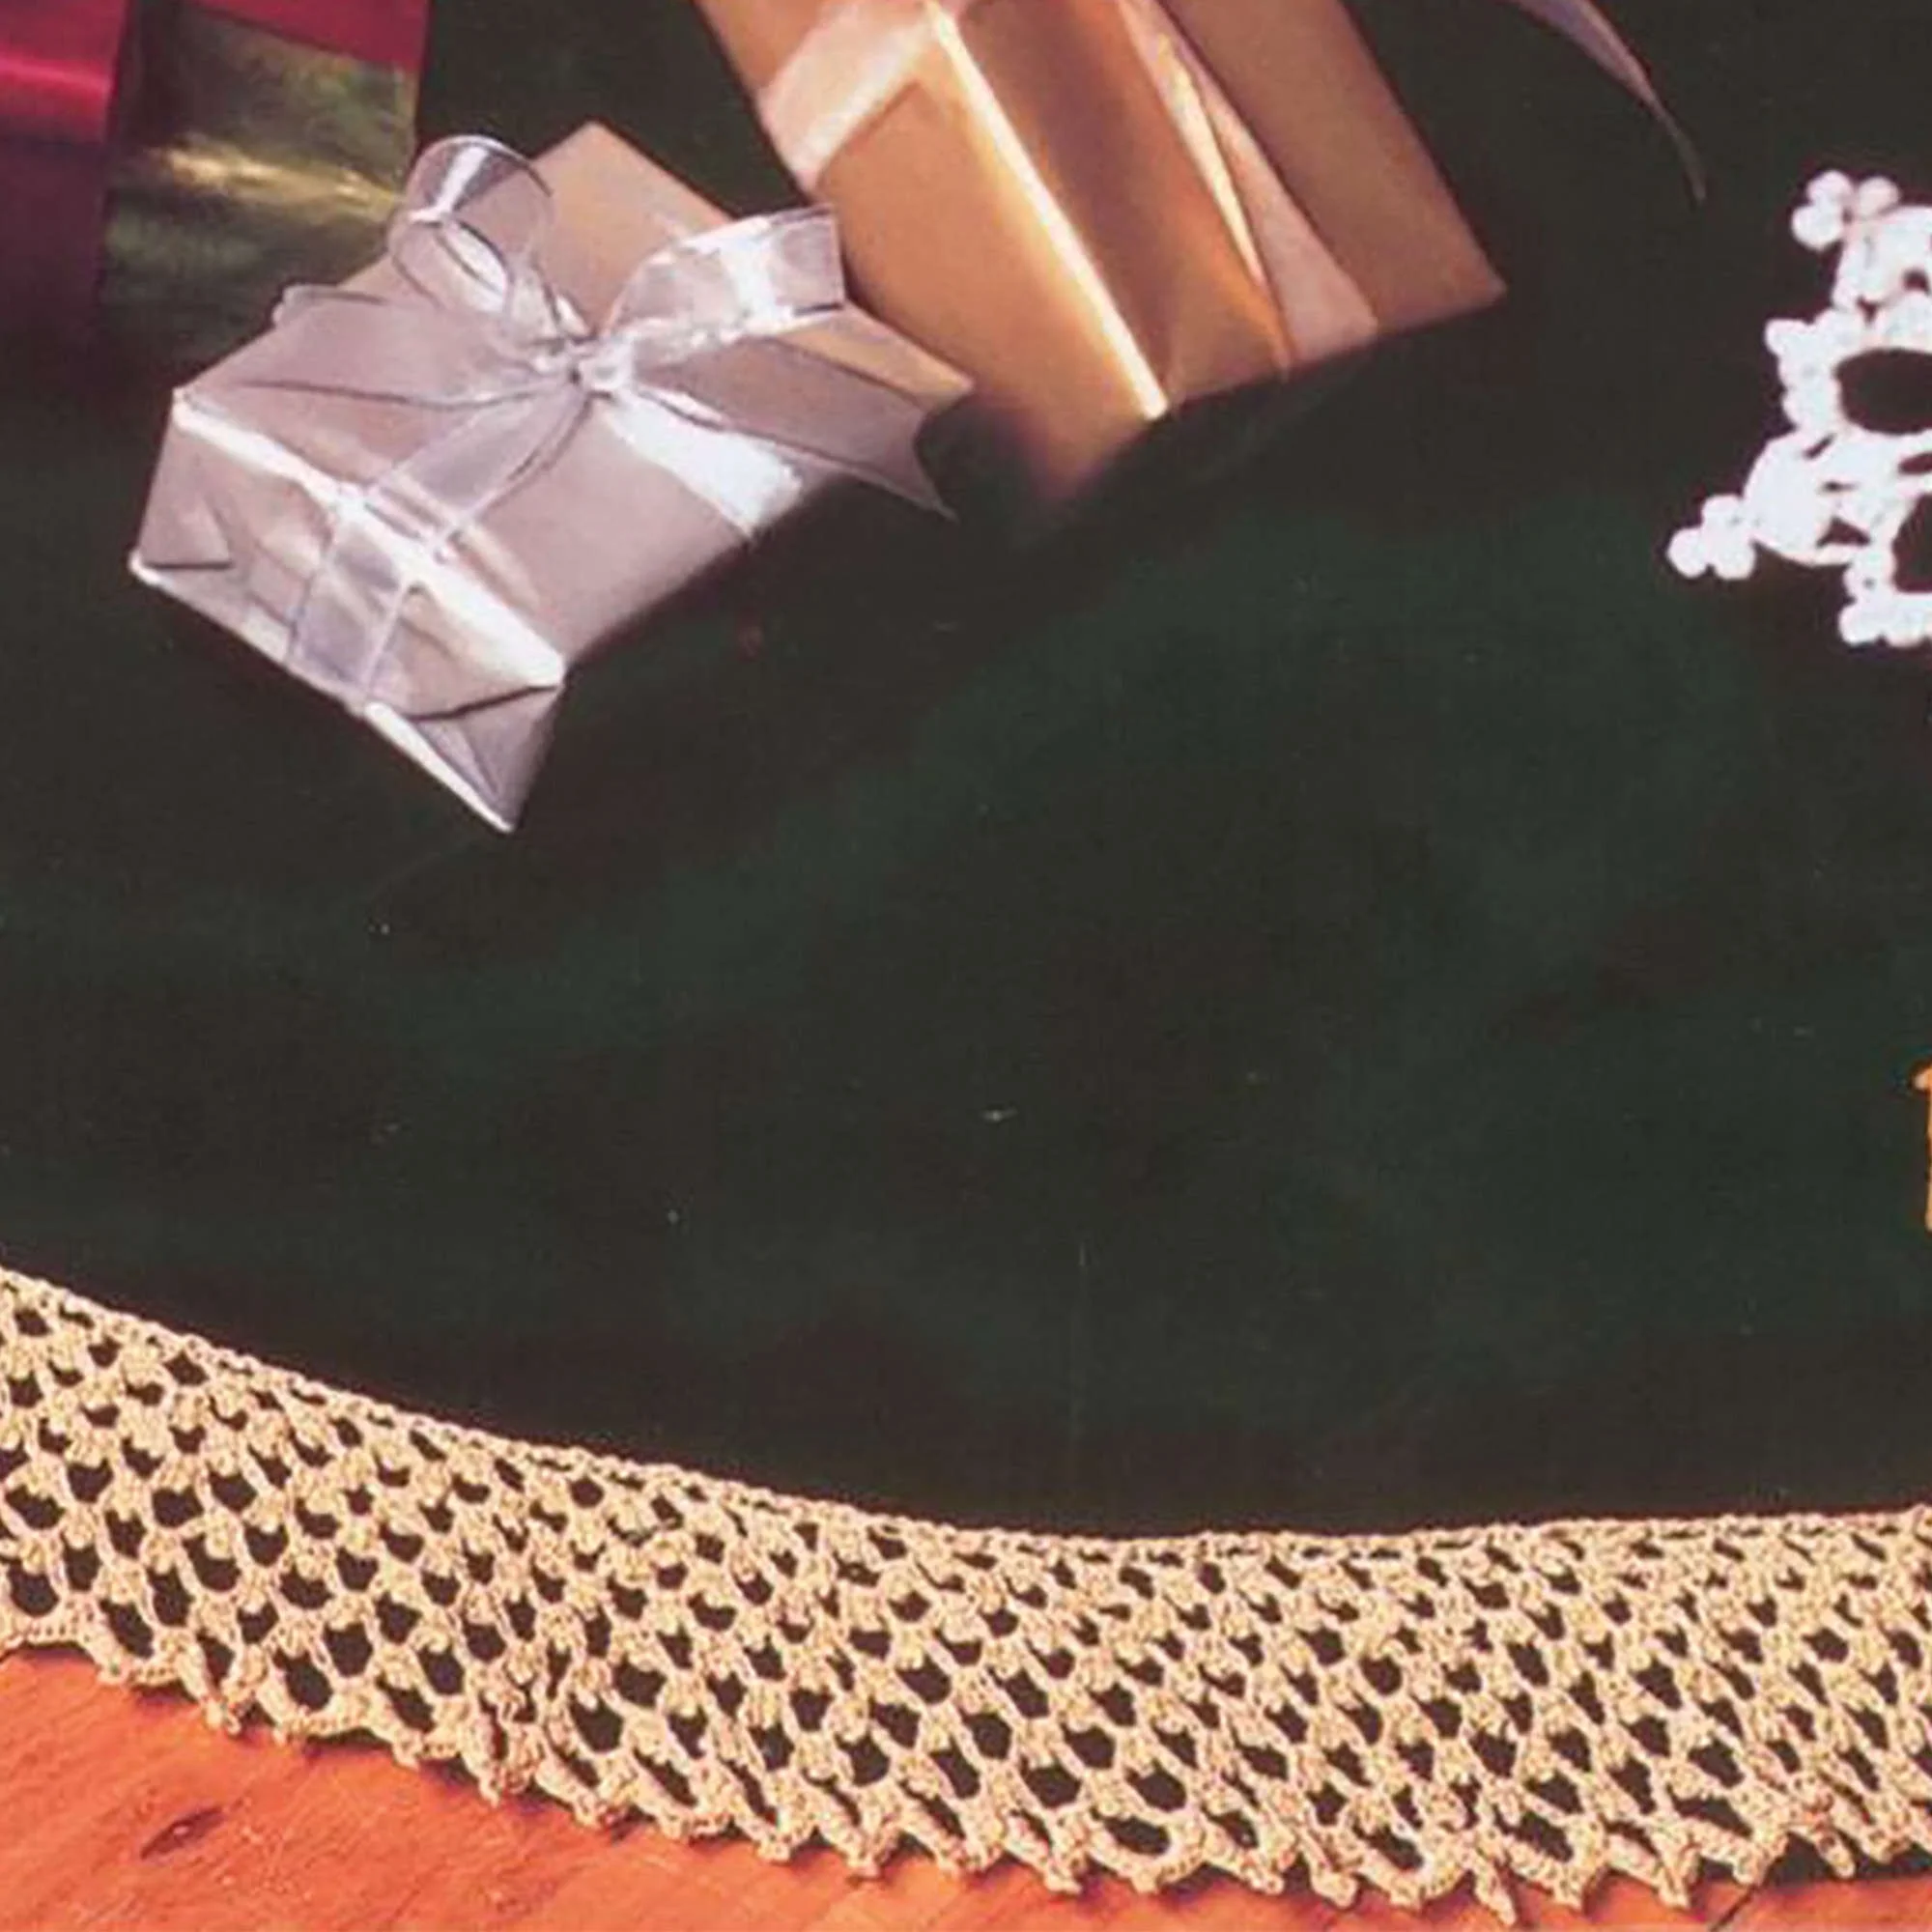
Crochet Bells, Flakes & Tree Skirt Edging Pattern
Project Details
- Crochet terminology: U.S.
- Skill Level: Intermediate
- Finished Size: Snowflakes and bells vary; edging measures 156 inches [396 cm].
- Construction Method: Motif crochet with added finishing techniques.
Materials and Tools
| Yarn Option | Yarn and Specifications | Amount |
|---|---|---|
| Patons Grace | 50 g / 1.75 oz | 1 ball makes 10 snowflakes; 1 ball makes 5 clusters of 3 bells; 5 balls for edging 156 ins [396 cm] |
- Crochet hook: Size 3.25 mm (U.S. 3) or size needed to obtain tension
- Crochet thread stiffener
- Pearl beads for bells (any size)
- Any size fabric tree skirt (purchased or home-sewn)
Abbreviations
| Abbreviation | Meaning |
|---|---|
| ch | chain |
| dc | double crochet |
| sc | single crochet |
| ss | slip stitch |
| tr | treble crochet |
| sl st | slip stitch |
Preparation and Techniques
Working in a Spiral
This pattern uses traditional rounds. Join each round with a sl st to the first stitch of the round. Always count your stitches to keep track of your work.
Joining Rounds
When joining rounds, make sure to join to the specified stitch indicated in the pattern for accuracy.
Complete Pattern Instructions
Snowflake A
| Round | Instructions | Stitches |
|---|---|---|
| Foundation | Ch 8. Join with ss to form a ring. | — |
| 1st rnd | Ch 3 (counts as dc). 2 dc in ring. Ch 12. *(3 dc in ring. Ch 12)* 5 times. Join with sl st in top of ch 3. | — |
| 2nd rnd | 1 ss in next 2 dc. 1 sl st in each of next 5 ch of ch 12. (Ch 3. 2 dc. Ch 3. 3 dc) all in same ch-12 sp. *Ch 7. Miss next 3 dc. (3 dc. Ch 3. 3 dc) all in next ch-12 sp. Repeat from * 4 times more. Ch 7. Miss next 3 dc. Join with sl st in top of ch 3. | — |
| 3rd rnd | 1 ss in next 2 dc. 1 sl st in next ch-3 sp. Ch 3. [2 dc. (Ch 5. ss in first ch) 3 times. Sl st in top of last dc – triple picot made. 3 dc] all in same ch 3 sp. *( [ (Ch 3. 1 sc) twice. Ch 4. (1 sc. Ch 3) twice] all in next ch-7 sp ) . (3 dc. Triple picot. 3 dc) all in next ch-3 sp. Repeat from * 4 times more, then from * to once. Join with sl st in top of ch 3. Fasten off. | — |
Snowflake B
| Round | Instructions | Stitches |
|---|---|---|
| Foundation | Ch 8. Join with ss to form a ring. | — |
| 1st rnd | Ch 1. (1 sc in ring. Ch 2) 12 times. Join with sl st in first sc. | — |
| 2nd rnd | (1 sl st. Ch 2. 1 dc) all in first ch-2 sp. Ch 3. (Yoh and draw up a loop in next ch 2 sp. *Yoh and draw through 2 loops on hook*. Yoh and draw up a loop in same ch-2 sp. Repeat from * to * once more. Yoh and draw through all loops on hook – cluster made. Ch 3) 11 times. Join with sl st in top of ch 2. | — |
| 3rd rnd | (1 sl st. Ch 1. 2 sc) all in first ch-3 sp. (Ch 5. 2 sc in next ch-3 sp) 11 times. Ch 2. 1 dc in first sc. | — |
| 4th rnd | *Ch 4. [1 tr. (Ch 1. 1 tr) 3 times] all in next ch-5 sp. Ch 4**. 1 sc in next ch-5 sp. Repeat from * 4 times more, then from * to ** once. Join with sl st in first dc. | — |
| 5th rnd | (1 sl st. Ch 1. 1 sc) all in first ch of ch-4 sp. Ch 3. Sl st in first ch – picot 3 made. 1 sc in same ch-4 sp. *[(1 sc. Picot 3. 1 sc) all in next tr. Miss next ch-1 sp] twice. Ch 5. Sl st in first ch – picot 5 made. [Miss next ch-1 sp. (1 sc. Picot 3. 1 sc) all in next tr] twice. 1 sc in next ch-4 sp. Picot 3. 1 sc in same ch-4 sp**. (1 sc. Picot 3. 1 sc) all in next ch-4 sp. Repeat from * 4 times more, then from * to ** once more. Join with sl st to first sc. Fasten off. | — |
Snowflake C
| Round | Instructions | Stitches |
|---|---|---|
| Foundation | Ch 5. Join with sl st to form a ring. | — |
| 1st rnd | Ch 6 (counts as dc and ch 3). (1 dc in ring. Ch 3) 11 times. Join with sl st in 3rd ch of ch 6. | — |
| 2nd rnd | Sl st in ch 3 sp. Ch 1. [(1 sc. Ch 7. 1 sc) all in ch-3 sp. 2 sc in next ch-3 sp] 6 times. Join with sl st in first sl st. | — |
| 3rd rnd | Ch 1. [Miss next sc. (2 sc. Ch 2. 3 dc. 2 tr. Ch 4. Sl st in first ch – picot 4 made. 1 tr. 3 dc. Ch 2. 2 sc) all in next ch-7 sp. Miss next sc. 1 sc in each of next 2 sc] 6 times. Join with sl st in first sc. | — |
| 4th rnd | *Sl st in next sc. 1 sc in next sc. 1 sc in next ch-2 sp. 1 sc in next dc. Ch 3. Sl st in first ch – picot 3 made. 1 sc in each of next 2 dc. Picot 3. 1 sc in next tr. Miss next tr. (3 sc. Picot 4. 2 sc) all in next picot sp. 1 sc in next tr. Picot 3. 1 sc in each of next 2 dc. Picot 3. 1 sc in next dc. 1 sc in next ch-2 sp. Sl st in each of next 3 sc. Picot 3. Sl st in each of next 2 sc. Repeat from * 5 times more. Fasten off. | — |
Finishing (Snowflakes)
Saturate snowflakes in crochet thread stiffener, stretch them, and pin flat to a surface covered with plastic wrap. Attach twisted cord as hangers.
Twisted Cord
For the twisted cord, cut 1 strand of yarn 10 inches [25 cm] long. Hold one end and twist the other end to the right until the strand begins to curl. Fold the two ends together and tie in a knot to prevent unraveling. Adjust the length as preferred.
Bell (Make 3 for Each Cluster)
| Round | Instructions | Stitches |
|---|---|---|
| Foundation | Ch 4. Join with sl st to form a ring. | — |
| 1st rnd | Ch 1. 6 sc in ring. Join with sl st to first sc. | — |
| 2nd rnd | Ch 1. 2 sc in each sc around. Join with sl st to first sc. (12 sc) | 12 |
| 3rd rnd | Ch 1. *1 sc in each of next 2 sc. 2 sc in next sc. Repeat from * around. Join with sl st to first sc. (16 sc) | 16 |
| 4th to 6th rnds | Ch 1. 1 sc in each sc around. Join with sl st to first sc. | – |
| 7th rnd | Ch 1. *1 sc in each of next 3 sc. 2 sc in next sc. Repeat from * around. Join with sl st to first sc. (20 sc) | 20 |
| 8th rnd | As 4th rnd. | – |
| 9th rnd | As 7th rnd. (25 sc) | 25 |
| 10th rnd | As 4th rnd. | – |
| 11th rnd | Ch 1. *1 sc in each of next 4 sc. 2 sc in next sc. Repeat from * around. Join with sl st to first sc. (30 sc) | 30 |
| 12th rnd | Ch 1. Work 1 sc in each sc around for reverse sc. Fasten off. | – |
Finishing (Bells / Clusters)
Make one twisted cord for each bell as instructed for snowflakes. Attach a bead to the end of the cord. Thread the remaining end of the cord through the top of the bell. Tie three cords together securely at the top of the cluster, and then tie again at the end to form a loop. Adjust the length as desired.
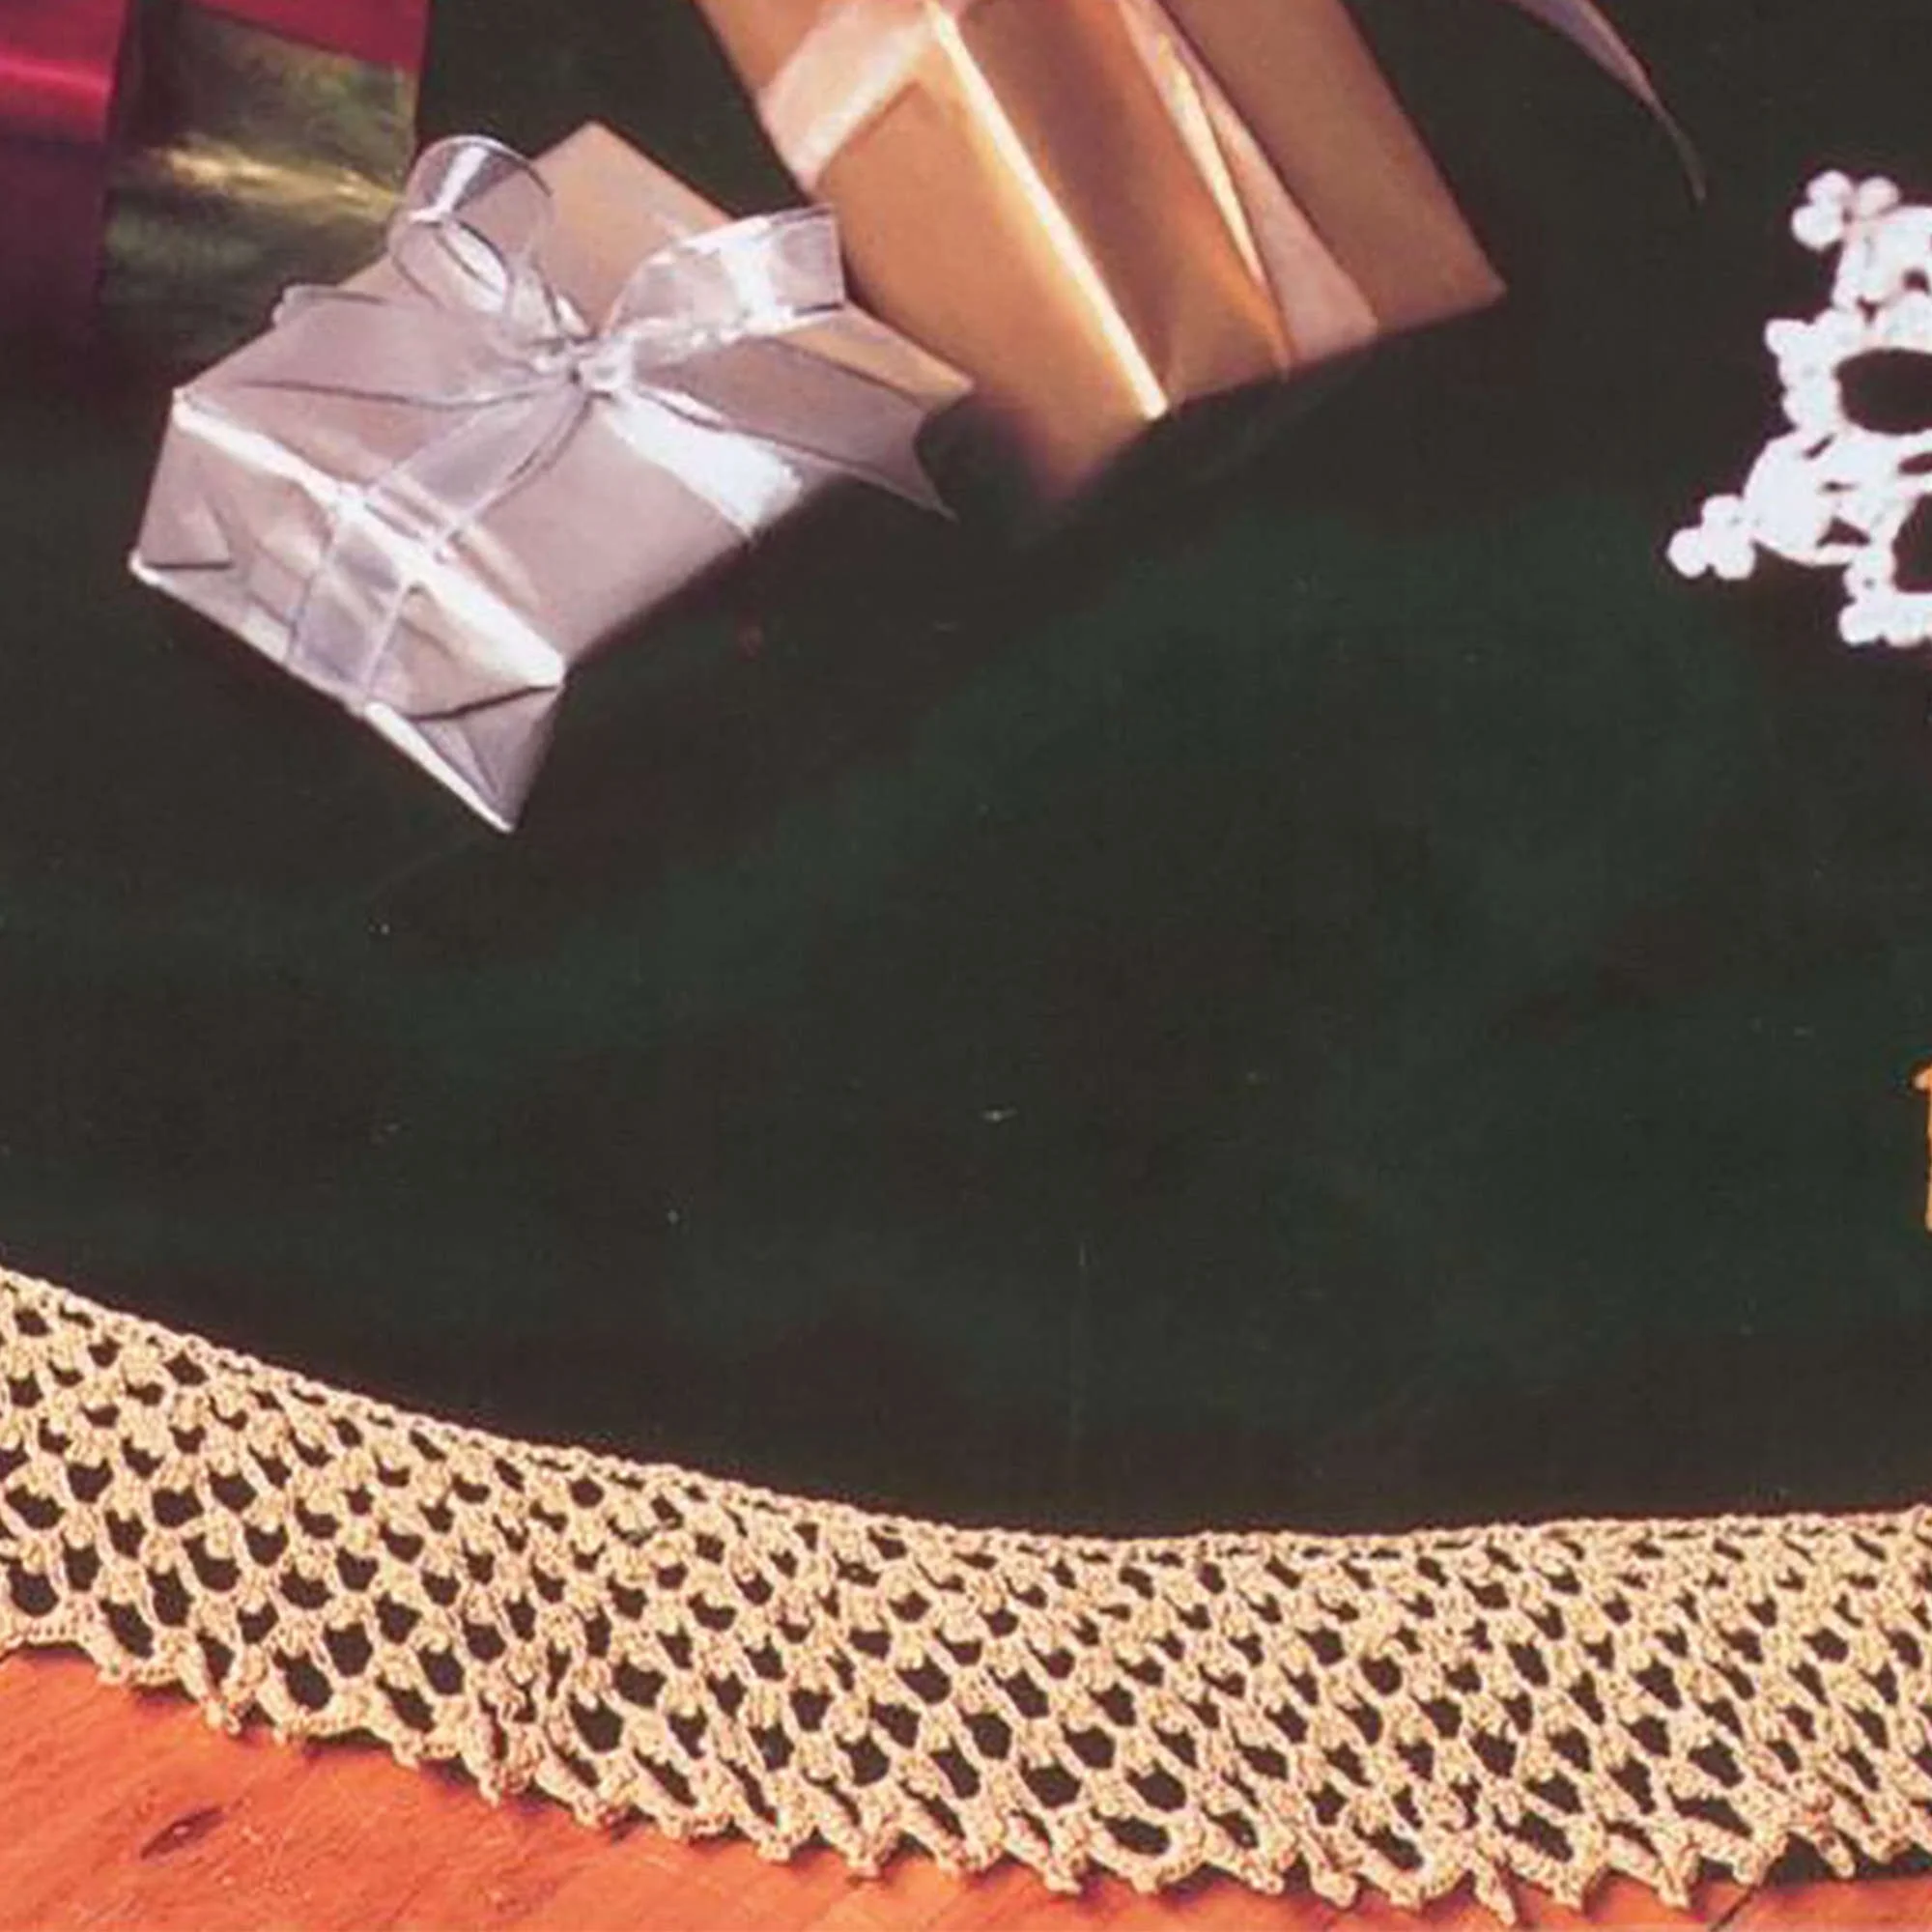
Tree Skirt Edging
| Row | Instructions |
|---|---|
| Edging Foundation / Base | Ch 6. Foundation row: (WS). 1 tr in 6th ch from hook. *Ch 5. 1 tr in top of tr. Repeat from * for desired length to fit around outer edge of tree skirt. Turn. |
| 1st row | Ch 1. 1 sc in tr. *Ch 5. (1 sc. Ch 3. Sl st in first ch – picot made. 1 sc) all in next ch-5 sp. Repeat from * to end of row. Ch 2. 1 dc in first ch. Turn. |
| 2nd row | Ch 1. 1 sc in first dc. *Ch 5. (1 sc. Picot. 1 sc) all in next ch-5 sp. Repeat from * to last sc. Ch 5. 1 sc in last sc. Turn. |
| 3rd row | *Ch 5. (1 sc. Picot. 1 sc) all in next ch-5 sp. Repeat from * to last sc. Ch 2. 1 dc in last sc. Turn. |
| 4th row | Ch 1. 1 sc in first dc. *Ch 6. (1 sc. Picot. 1 sc) all in next ch-5 sp. Repeat from * to last sc. Ch 6. 1 sc in last sc. Turn. |
| 5th row | *Ch 6. (1 sc. Picot. 1 sc) all in next ch-6 sp. Repeat from * to last sc. Ch 3. 1 dc in last sc. Turn. |
| 6th row | Ch 1. 1 sc in first dc. *Ch 7. (1 sc. Picot. 1 sc) all in next ch-6 sp. Repeat from * to last sc. Ch 7. 1 sc in last sc. Turn. |
| 7th row | *Ch 7. (1 sc. Picot. 1 sc) all in next ch-7 sp. Repeat from * to last sc. Ch 3. 1 tr in last sc. Turn. |
| 8th row | Ch 1. 1 sc in first tr. *Ch 8. 1 sc in next ch-7 sp. Repeat from * to last sc. Ch 8. 1 sc in last sc. Turn. |
| 9th row | Ch 1. *(6 sc. Picot. 6 sc) all in next ch-8 sp. Repeat from * to last sc. 1 sc in last sc. Fasten off. |
Finishing (Tree Skirt Edging)
Place the edging on a flat surface to form a circle. Cover with a damp pressing cloth and apply a hot iron. Remove when dry. Machine or hand stitch the edging to the tree skirt.
Practical Tips
- When working with thread, use a steady tension to maintain the appearance of your snowflakes and bells.
- Before you stiffen your snowflakes, ensure they are evenly spread for a more visually appealing finish.
- Consider different colors of thread or yarn for a unique tree skirt; just be cautious with weight as it can influence the drape.
- Use rustproof pins when blocking snowflakes to prevent rust marks.
Troubleshooting
- Problem: Stitch count doesn’t match the pattern.
Cause: Incorrect counting during rounds can lead to discrepancies.
Solution: Always count the stitches at the end of each round to catch errors early. - Problem: Snowflake points curling up.
Cause: Insufficient stiffening or improper pinning during drying.
Solution: Ensure thorough saturation in the stiffener and pin points securely for drying. - Problem: Edging not laying flat.
Cause: Inconsistent tension in stitches.
Solution: Check your tension throughout the edging and adjust as needed.
Care
To keep your finished project looking its best:
- Hand wash gently in cool water with mild detergent to avoid damage.
- Lay flat to dry, reshaping as necessary.
- Avoid direct sunlight for extended periods to prevent color fading.
Frequently Asked Questions
What size do the snowflakes and bells measure?
The exact sizes can vary based on your tension and yarn choice, but typically, the bells are around 3 inches high, and snowflakes measure around 4 inches wide.
Can I use different yarn for this project?
Yes, while the pattern specifies Patons Grace, substituting similar weight cotton thread is possible. Keep in mind that the size may alter slightly, affecting the overall look.
How do I stiffen my snowflakes?
Saturate in a thread stiffener, shape them carefully, and pin them to a flat surface. Allow them to dry thoroughly before removing pins to maintain their shape.
What if my snowflakes are curling after stiffening?
If they continue to curl, you might not have applied enough stiffener. Reapply and pin again until they are fully dry.
Is it necessary to use beads for the bells?
While the beads provide a decorative touch, they are not mandatory. You could also create simple bells without embellishments.