
Get 30+ FREE Crochet Patterns — Join Our Newsletter
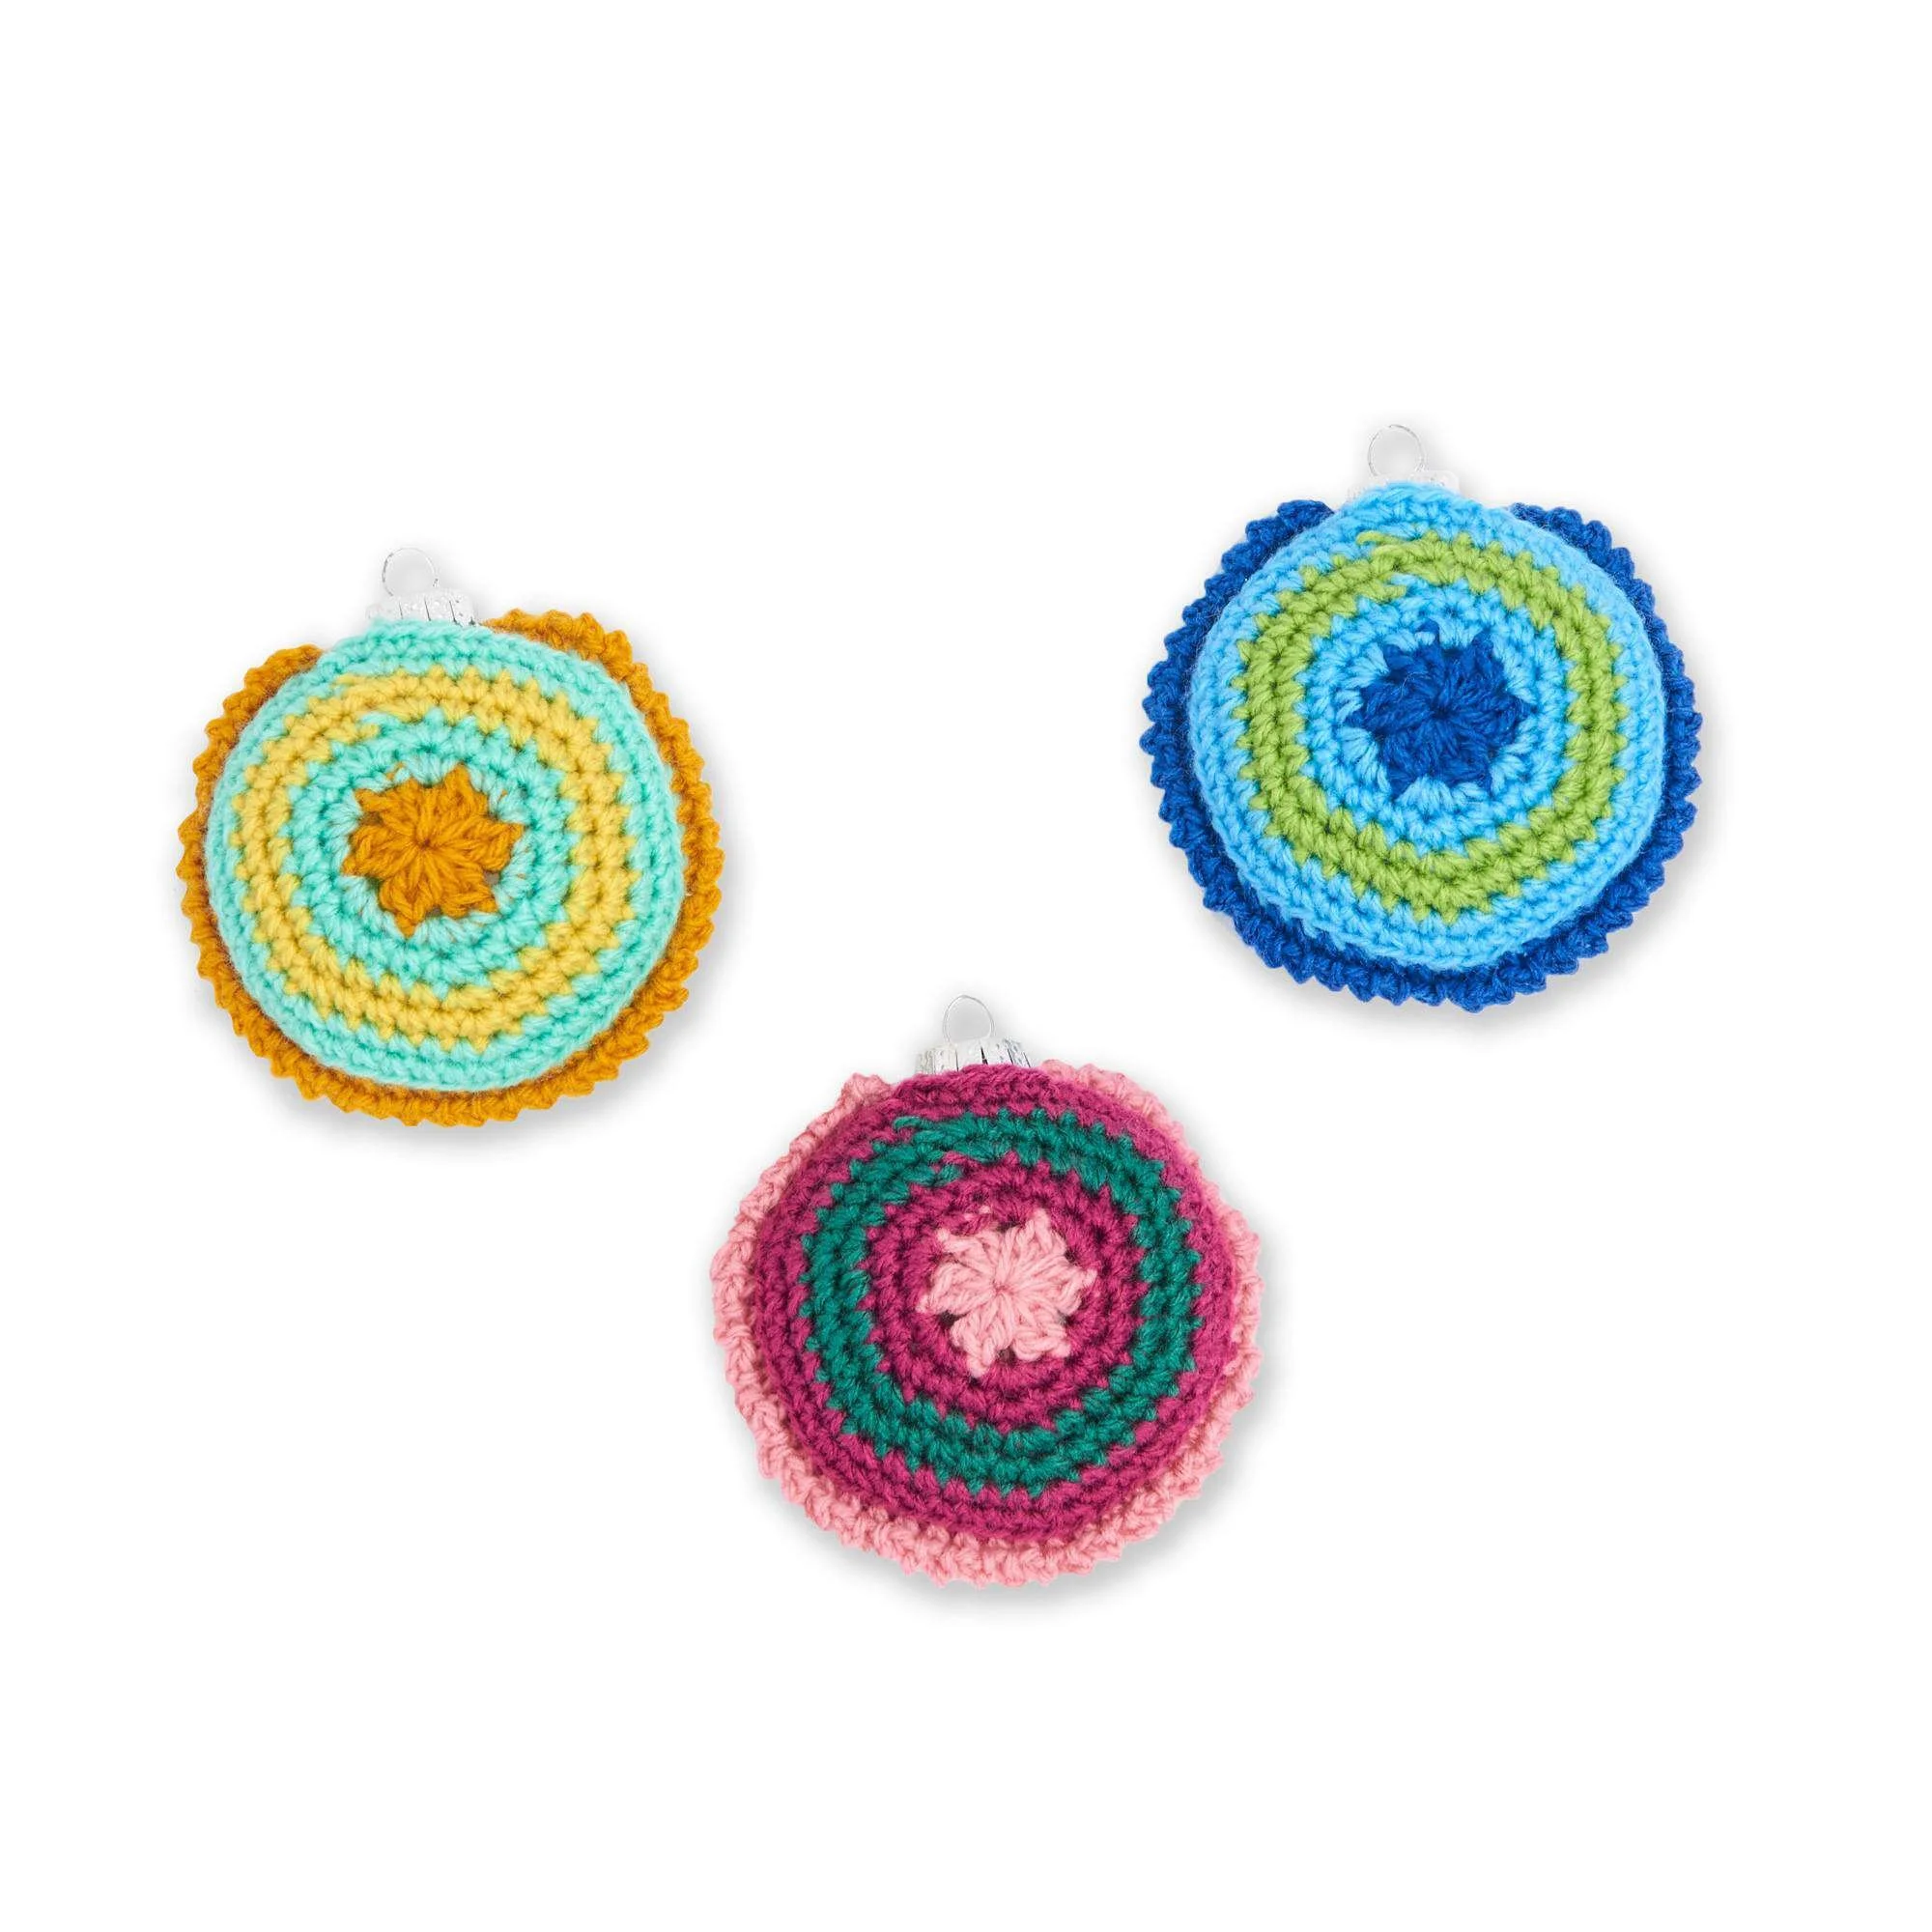
Crochet Radiating Rings Ornaments Pattern
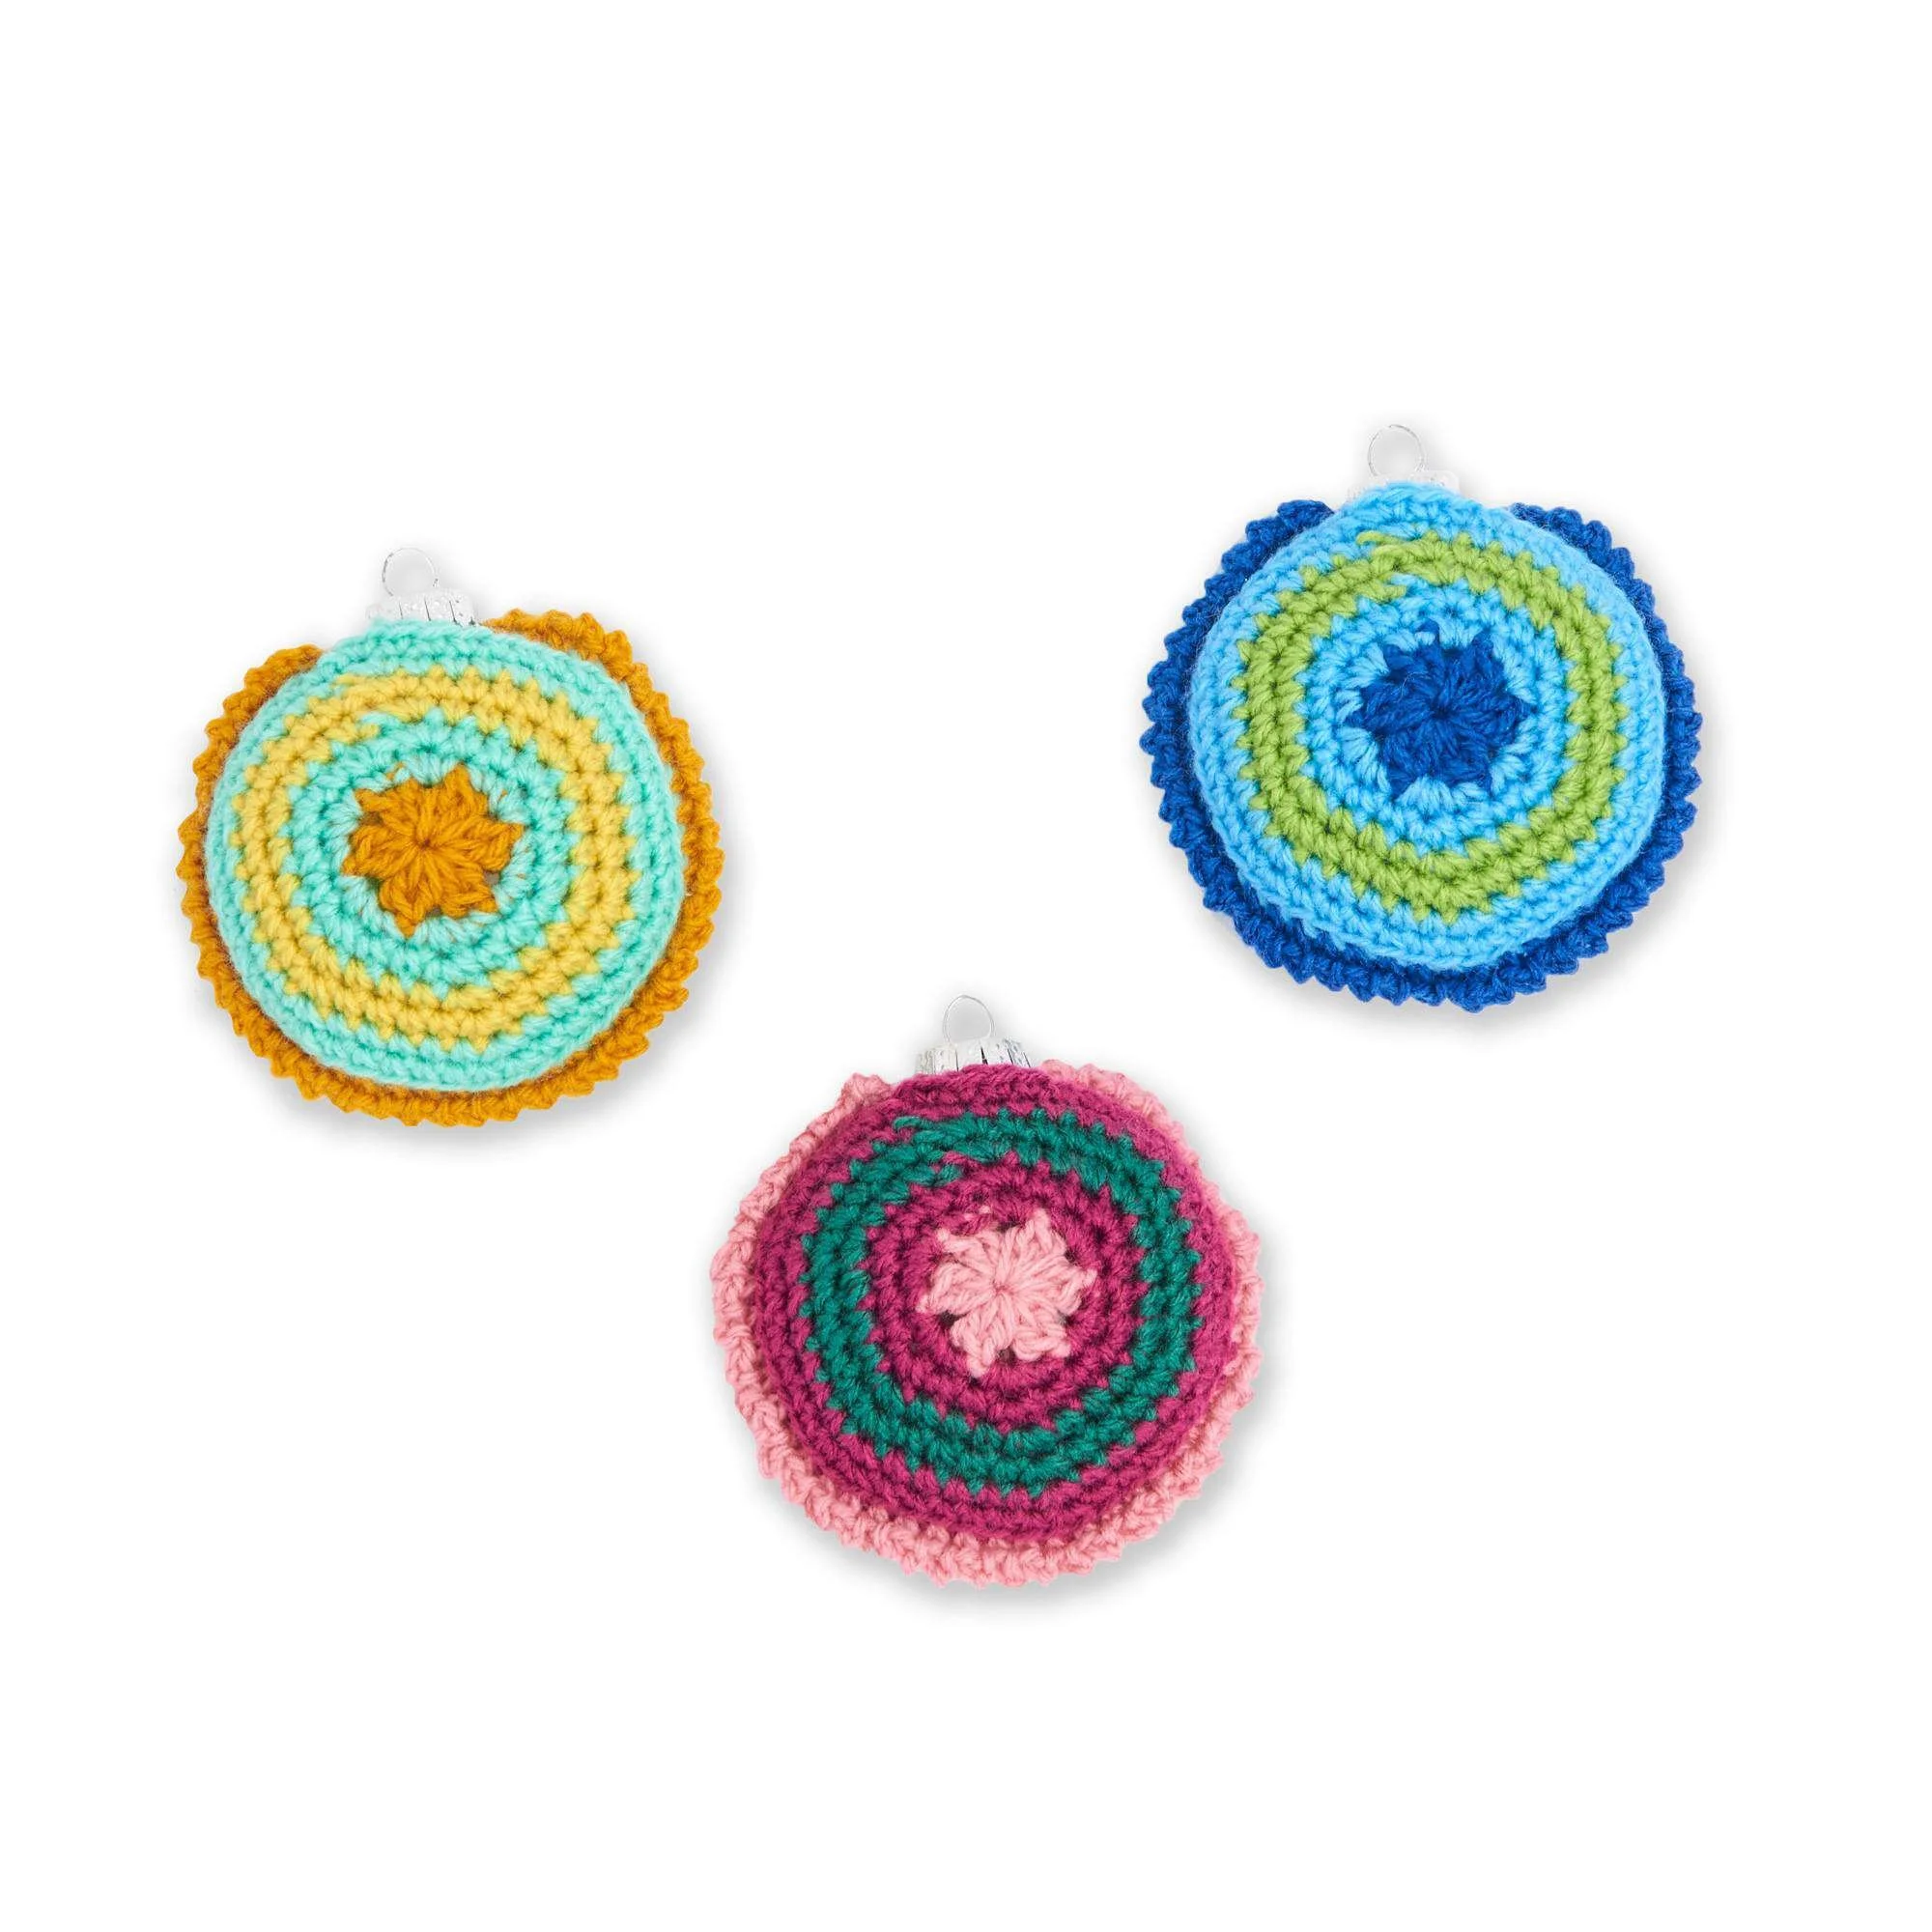
Create beautiful and unique Radiating Rings Crochet Ornaments that can add a touch of charm to your home decor. These ornaments feature a delightful pattern of radiating rings in vibrant colors, making them a captivating addition to any space, especially during festive seasons. The construction sequence involves creating a series of crochet rounds that gradually increase in size, offering a fun challenge for crocheters.
With multiple color sets to choose from, you can personalize your ornaments to match any theme or occasion. Whether you are an experienced crocheter or looking to develop your skills, this project is a gratifying way to explore crochet techniques. Be sure to follow along with the written directions, which are designed to guide you through the pattern with precision.
Project Details
- Crochet terminology: US terms
- Skill level: Intermediate
- Finished size: Varies based on yarn and hook used
- Construction method: Continuous rounds
Materials and Tools
| Yarn option | Yarn and specifications | Amount |
|---|---|---|
| Version 1 | Caron® Little Crafties™ – Mustard, Icy Teal, Lemon | 20 g / 0.07 oz per shade x 3 shades |
| Version 2 | Caron® Little Crafties™ – Classic Blue, Sky Blue, Bright Green | 20 g / 0.07 oz per shade x 3 shades |
| Version 3 | Caron® Little Crafties™ – Peony, Magenta, Evergreen | 20 g / 0.07 oz per shade x 3 shades |
- 1 size U.S. G/6 (4 mm) crochet hook or size needed to obtain gauge
- Scissors
- Tapestry needle
Abbreviations
| Abbreviation | Meaning |
|---|---|
| ch | chain |
| dc | double crochet |
| sc | single crochet |
| st | stitch |
| sl st | slip stitch |
| dc2tog | double crochet two together |
Preparation and Techniques
Working in Continuous Rounds
The Radiating Rings Crochet Ornaments are worked in continuous rounds, which means you will not join your rounds at the end but continue crocheting spirally. This technique allows for smooth transitions between rounds and eliminates the need for slip stitches to join each round.
Changing Yarn Colors
To change yarn color, complete the last stitch of the current color until there are two loops left on the hook. Place the new color over the hook and pull it through the loops. This ensures a neat color change and a clean finish between colors.
Checking Gauge
Although gauge is not specified for this project, it’s essential to ensure your crocheted piece matches the desired size. If your stitches are too tight or too loose, adjust your hook size accordingly.
Complete Pattern Instructions
Front and Back
| Round | Instructions | Stitches |
|---|---|---|
| 1st rnd | With Color 1, ch 3. (RS). [ 1 dc. Ch 1. (dc2tog. Ch 1) 5 times ] all in 3rd ch from hook. Break Color 1. Join Color 2. | 12 sts. |
| 2nd rnd | With Color 2, ch 1. *1 sc in next st. 2 sc in next ch-1 sp. Rep from * around. Join. | 18 sc. |
| 3rd rnd | Ch 1. *1 sc in each of next 2 sc. 2 sc in next sc. Rep from * around. Break Color 2. Join Color 3. | 24 sc. |
| 4th rnd | With Color 3, ch 1. *1 sc in each of next 3 sc. 2 sc in next sc. Rep from * around. Join. | 30 sc. |
| 5th rnd | Ch 1. *1 sc in each of next 4 sc. 2 sc in next sc. Rep from * around. Break Color 3. Join Color 2. | 36 sc. |
| 6th rnd | With Color 2, ch 1. *1 sc in each of next 5 sc. 2 sc in next sc. Rep from * around. Join. | 42 sc. |
| 7th rnd | Ch 1. *1 sc in each of next 6 sc. 2 sc in next sc. Rep from * around. Join. Fasten off. | 48 sc. |
Edging
With Front and Back held WS together, join Color 1 with a sl st in the back loop only of any st.
Working through both thicknesses and back loops only (slipping ornament inside when 14 sts rem), 1 sc in next sc.
- *Ch 2. 1 sc in next sc. Rep from * to last 6 sts.
Fasten off, leaving an opening at the top for the hanging loop.
Assembly and Finishing
Assembling Your Ornament
After completing the crocheting of the front and back, place the two sides together. Ensure the colors align as desired. Insert the ornament at the top, making sure to leave enough space for the hanging loop. Secure by placing the stitches tightly to ensure a closed edge, and fasten off any loose ends with a tapestry needle.
Practical Tips
- Keep Tension Steady: Maintaining consistent stitch tension will help your ornament look professional and even.
- Use Bright Colors: Vibrant colors can enhance the beauty of the rings and make the ornament stand out.
- Experiment with Sizes: You can adjust the hook size and yarn to create smaller or larger versions of the ornaments.
- Blocking: Lightly block your finished ornament to create a tidy finish if necessary.
Troubleshooting
- Incorrect Stitch Count: If you notice your stitch count is off, recount and verify where you may have missed an increase or decrease. Check the last completed round for any skipped sections.
- Color Changes: Color bleeding may happen; if you are using different shades, test them beforehand to see if they run.
- Loose Edges: If your edges appear loose, consider maintaining tighter stitching or using a smaller hook.
Care
To care for your Radiating Rings Crochet Ornaments, follow these guidelines:
- Hand wash: Gently hand wash your ornaments in cold water to maintain shape.
- Air dry: Lay flat to dry instead of hanging, as this can cause misshaping.
- Avoid harsh chemicals: Use mild soap and avoid bleach to preserve your yarn’s integrity.
Frequently Asked Questions
What is the finished size of the ornaments?
The finished size may vary based on the yarn and hook you choose. Typically, these ornaments measure around 4-6 inches in diameter when made with the recommended yarn and hook size.
Can I use different yarn types?
Yes, you can use different yarn types, but be aware that changes in yarn weight, fiber content, and hook size might affect the final look and size. Always check your gauge if you want to maintain original dimensions.
How can I hang my ornaments?
To hang your ornaments, cut an additional length of yarn or a ribbon and thread it through the top opening you left. Tie it securely to form a loop for hanging.
Can I make these in different sizes?
You can create larger or smaller ornaments by adjusting your hook size and yarn weight. However, be mindful that this may alter the pattern’s overall appearance.
What skill level is required for this project?
This pattern is classified as intermediate due to the techniques involved, such as color changes and continuous rounds. It is suitable for those with some crochet experience.
How do I ensure even stitching throughout?
To ensure even stitching, monitor your tension consistently as you crochet and consider practicing on a swatch first if you’re unsure. Keeping your hook movement steady will help achieve this.
Choose Your Next Crochet Project
Explore more crochet patterns that inspire creativity and skill growth. Browse now.



