
Get 30+ FREE Crochet Patterns — Join Our Newsletter
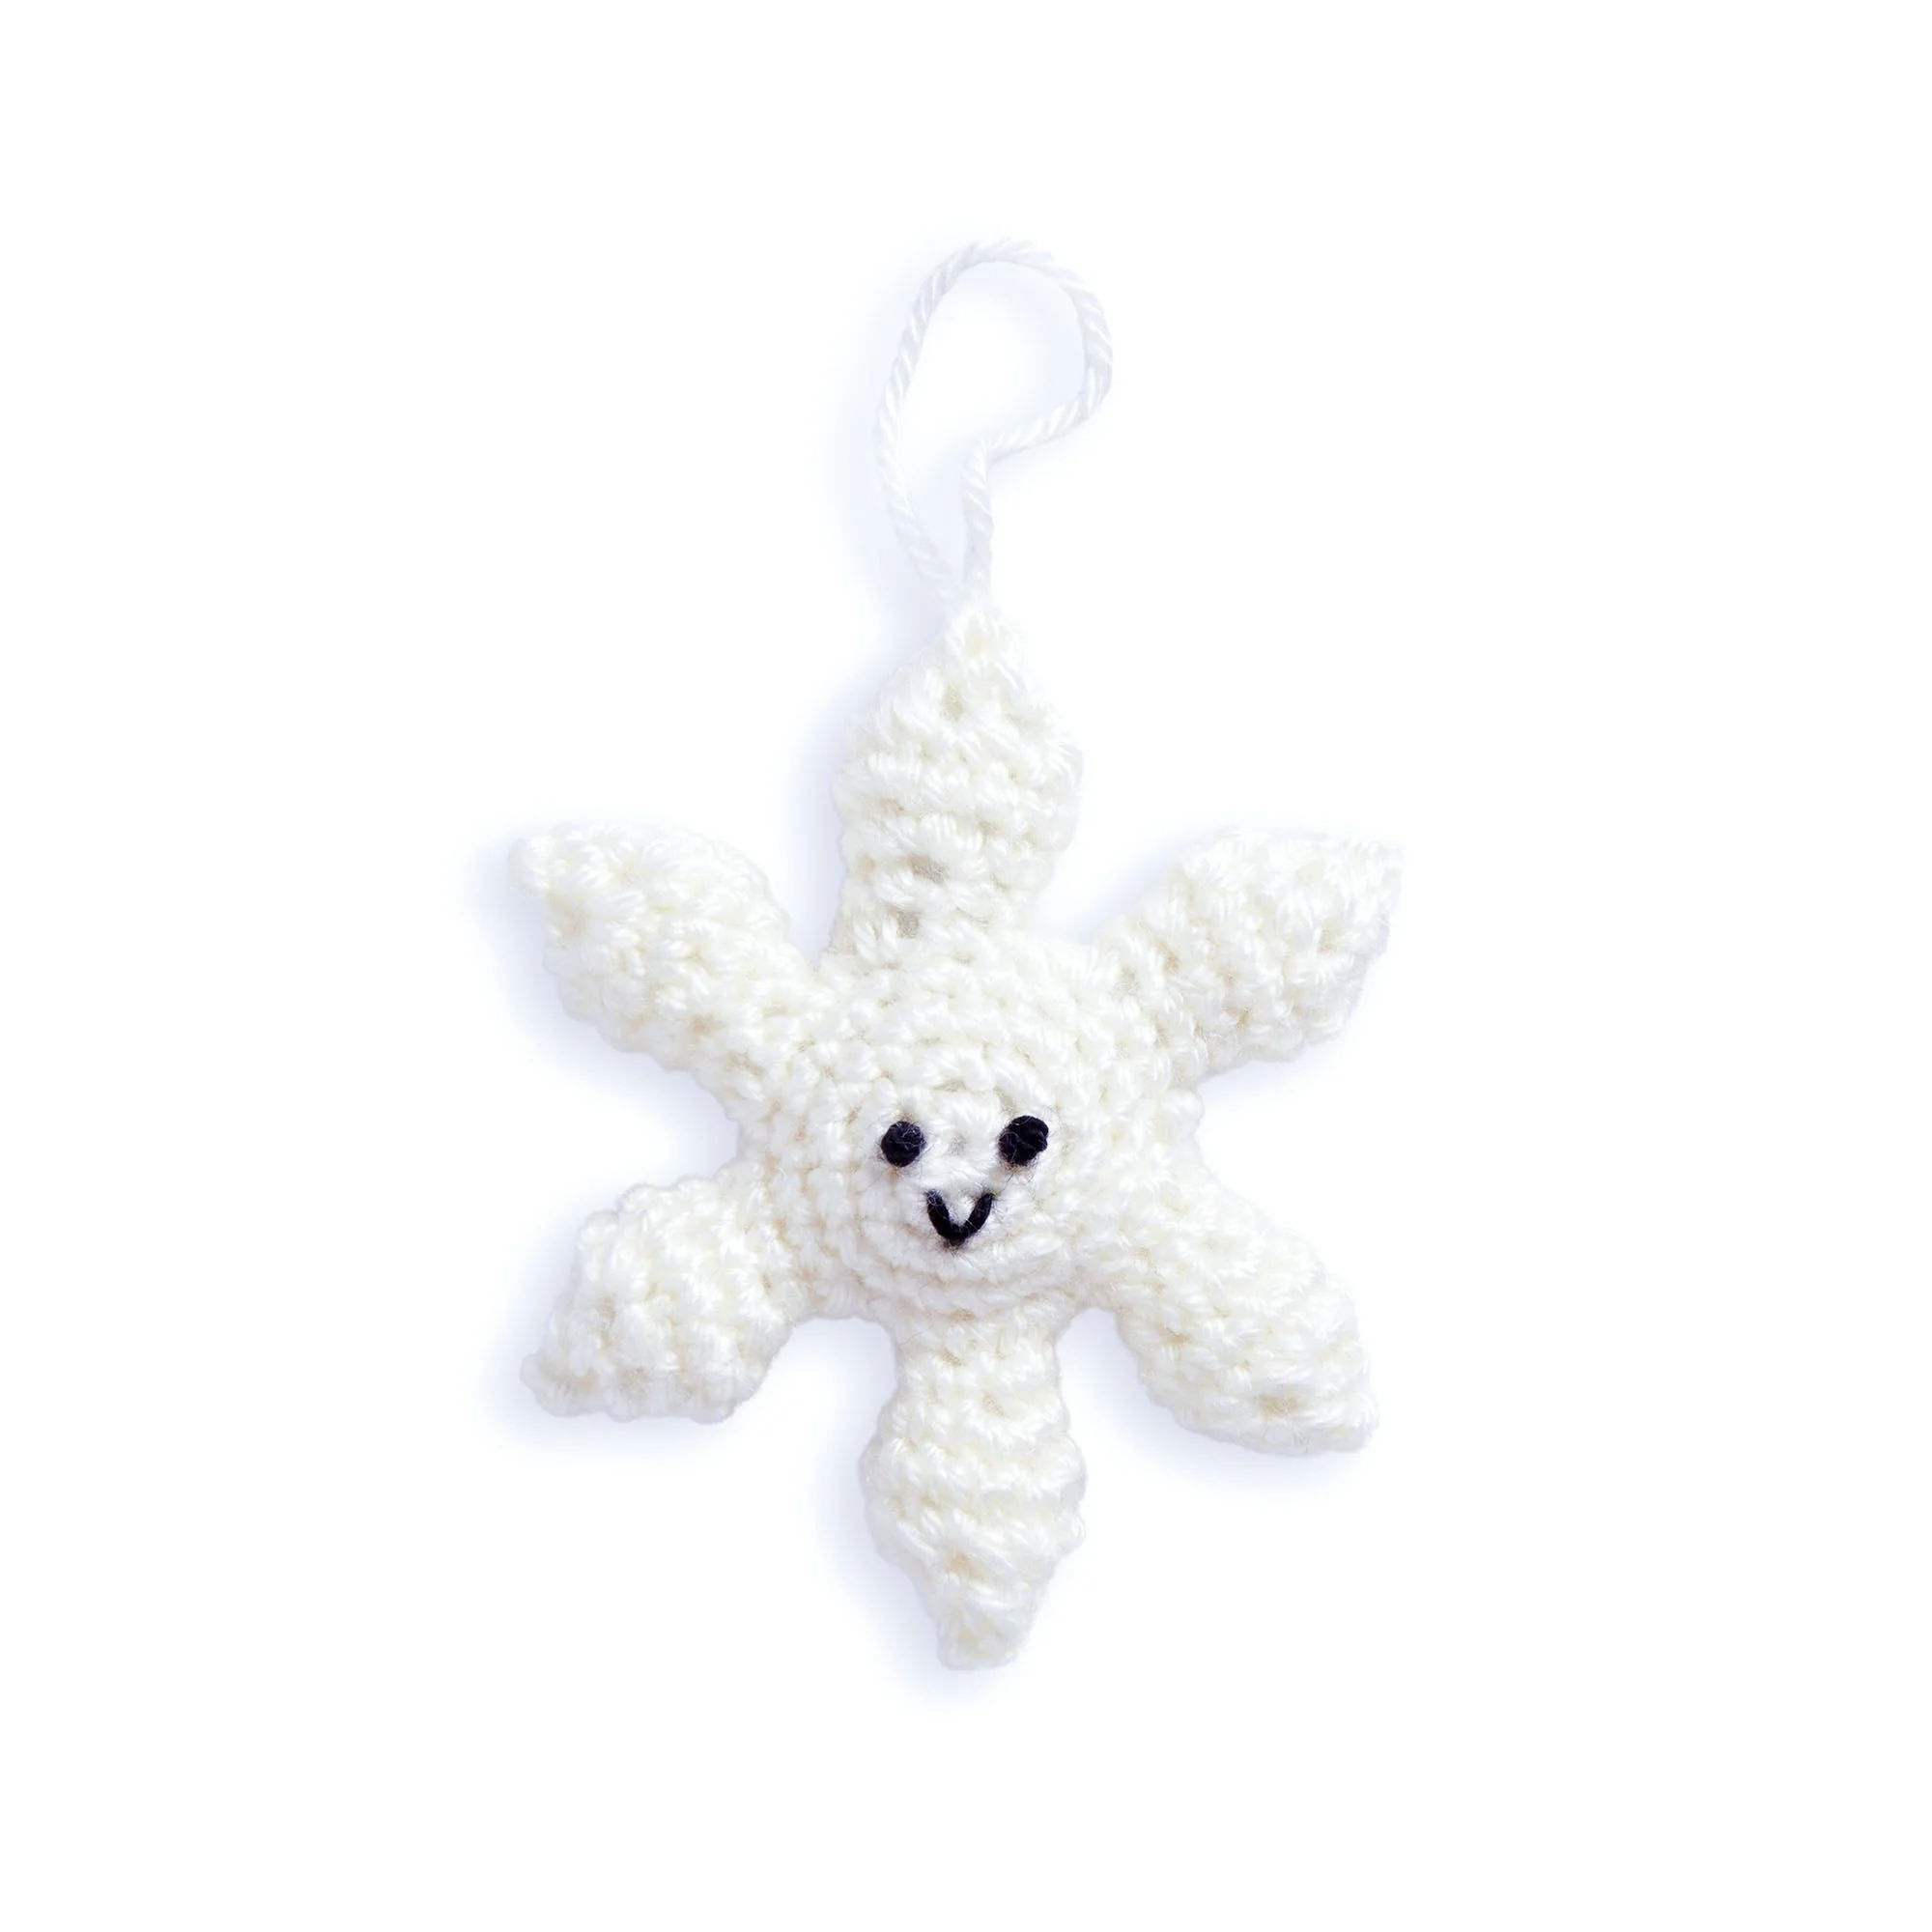
Crochet Snowflake Pattern for 2024 Advent Calendar
A Warm Welcome to Your New Crochet Project
Crocheting the stunning 2024 Advent Calendar Crochet Snowflake Pattern is a delight that combines artistry and craftsmanship. This project is a perfect way to celebrate the holiday season, offering an enjoyable experience for both beginners and seasoned crocheters alike. Whether you’re designing a festive decoration for your home or crafting a thoughtful handmade gift, this snowflake pattern will spread joy and warmth. The beauty of crochet lies in its meditative qualities, making it a wonderful activity during the busy holiday season.
What Makes This Crochet Pattern Special
This crochet snowflake pattern stands out for several reasons:
- Beginner-Friendly: The straightforward instructions cater to crocheters of all skill levels. Beginners will appreciate the clear steps.
- Quick Completion: These snowflakes can be completed relatively quickly, making them ideal for last-minute gifts or decorations.
- Versatile Uses: You can use the finished snowflakes as ornaments, gift tags, or even as embellishments on holiday crafts.
- Handmade Charm: There’s something uniquely special about gifting or displaying a handmade item, especially during the holiday season.
- Perfect for Scrap Yarn: If you have leftover yarn from previous projects, this pattern is an excellent way to utilize it.
"I absolutely loved making these snowflakes! They turned out beautifully and add such a festive touch to my home." – Happy Crocheter
How This Crochet Pattern Comes Together
In this project, you’ll create charming snowflakes that are perfect for the holiday season. You will make each snowflake in two parts: the front and back. The main technique employed here is single crochet, which is excellent for developing your skills. If you’re comfortable with working in the round and performing increases and decreases, you’ll find this project manageable. Depending on your crochet speed, completion can take a few hours.
Materials You’ll Need
To complete the 2024 Advent Calendar Crochet Snowflake Pattern, gather the following materials:
- Worsted Gauge Yarn (as supplied in kit): White – 27 yds / 24.5 m
- Crochet Hook: Size U.S. G/6 (4 mm), or a size needed to obtain gauge
- Yarn Needle: Susan Bates® yarn needle for weaving in ends
- Stitch Marker: Susan Bates® stitch marker to keep track of rounds
- Polyester Stuffing: For lightly stuffing the snowflake points
- Black Yarn: A small amount for embroidering a face
- Alternate Option: Keychain clasp if you wish to make it a keychain
This selection will help you achieve the best results and ensure your project looks its best.
Step-by-Step Instructions
Snowflake Back (Make 1)
-
Magic Loop: Begin by making a magic loop. (Refer to a diagram if necessary.)
-
1st Round: (RS) Ch 1. Work 6 sc into the loop. Place a marker on the first stitch. Pull the magic loop tight; do not join.
-
2nd Round: Work 2 sc in each sc around (12 sc total).
-
3rd Round: (1 sc in the next sc, 2 sc in the next sc) repeat 6 times (18 sc total).
-
4th Round: 1 sc in each sc around.
-
Finish: Sl st in the next sc and fasten off.
Snowflake Front (Make 1)
- Work as indicated for Snowflake Back but do not fasten off.
- Hold the Snowflake Front and Back wrong sides together, aligning sl st from Snowflake Back with the next stitch of Snowflake Front.
Snowflake Points (Make 6, Using Both Front & Back)
First Point
-
1st Round: Work 1 sc in each of the next 3 sc of Snowflake Front. Turn work so Snowflake Back is facing. Work 1 sc in each of the next 3 sc aligned with the 3 stitches of Snowflake Front. Join (6 sc).
-
2nd Round: Ch 1. Work 1 sc in each sc around. Join (6 sc).
-
3rd Round: Ch 1. (1 sc in each of the next 2 sc, 3 sc in the next sc) repeat twice. Join (10 sc).
-
4th Round: Ch 1. (1 sc in each of the next 4 sc, 2 sc in the next sc) repeat twice. Join (12 sc).
-
5th Round: Ch 1. Work (sc2tog) 6 times. Join. Stuff lightly.
-
6th Round: Ch 1. Work (sc2tog) 3 times. Join.
-
Finish: Fasten off, leaving a long tail. Use the tail to weave through the tops of stitches in the last round and pull tight to close.
Second to Fifth Points
- Join yarn with a sl st to the next unworked sc of Snowflake Front.
- Ch 1. Begin in the same space as the sl st and repeat from the ** to ** for the First Point.
- Repeat this process three additional times to make a total of 5 Snowflake Points. Stuff lightly.
Sixth Point
- Repeat the instructions provided for the Second Point to complete the Sixth Snowflake Point to have a total of 6 points.
Assembly
- Using the yarn needle, whip stitch the Snowflake Front and Back together between each Snowflake Point.
- Weave in all ends securely.
Hanging Loop
- Cut a strand of yarn approximately 5" long.
- Fold the strand in half and tie the ends to form a hanging loop.
- Pull the hanging loop halfway through the top of one Snowflake Point. Then pull the loop through itself and tighten to secure.
Alternate Method: For a keychain, use a yarn needle to pass yarn through the top of one Snowflake Point and the base of a provided keychain clasp. Whip stitch and tie securely close to the top of the point.
Embroidering the Face
- Split black yarn into 2 plies. Embroider a face on the Snowflake Front using:
- French knots for the eyes
- Straight stitch for the mouth
Stitch Key
- = magic ring
- = chain (ch)
- = slip stitch (sl st)
-
- = single crochet (sc)
- × = single crochet 2 together (sc2tog)
Creative Ideas for Your Finished Snowflakes
Once your snowflakes are complete, the possibilities are endless! Here are some creative ways you can use your finished project:
- Holiday Ornaments: Hang them on your tree or around your house as festive decorations.
- Gift Tags: Attach a snowflake to gifts for a personalized touch.
- Seasonal Decor: Create a winter-themed display on your mantel or table.
- Table Setting: Use them as coasters for a holiday dinner or event.
- Craft Fair Products: Perfect for selling at holiday craft fairs.
- Gift for Friends: Handmade snowflakes make thoughtful gifts for loved ones.
How to Care for Your Crochet Project
To keep your snowflake looking fresh and new:
- Washing: Hand wash in cold water with a gentle detergent to avoid shrinking.
- Drying: Lay flat to dry. Avoid wringing or twisting, which can distort the shape.
- Storage: Store in a cool, dry place to prevent any moisture buildup.
- Reshaping: If needed, gently block the snowflakes to reshape them after washing to maintain their design.
Tips for Success
Here are some helpful tips to ensure your snowflake project is a success:
- Check Your Tension: Keep your tension consistent for a uniform look across all snowflakes.
- Use Stitch Markers: Use stitch markers when working in rounds to help keep track of your stitches.
- Count Your Stitches: Verify your stitch count after each round to avoid accidental increases or decreases.
- Weaving in Ends: Make sure to securely weave in all ends; this will ensure your project holds up over time.
- Check the Pattern Dimensions: If your snowflake doesn’t match the expected size, adjust your hook size accordingly.
Creative Variations
Want to personalize your snowflake project? Here are a few ideas:
- Different Yarn Colors: Use a variety of colors to make a rainbow of snowflakes.
- Contrasting Borders: Add a different colored border for a unique twist.
- Decorative Edging: Try adding a decorative edge to your finished snowflakes.
- Embroidery or Appliqués: Enhance the design with extra embellishments or decorative stitching.
- Textured Yarn: Explore using textured or variegated yarns for added visual interest.
Please note that changing the yarn or hook size may affect the final size and drape of your snowflakes.
Frequently Asked Questions
-
Is this crochet pattern beginner-friendly?
- Yes, the pattern features simple stitches and detailed instructions suitable for beginners.
-
What yarn works best?
- A worsted gauge yarn is recommended. The kit provided will contain the appropriate material.
-
Can I use a different hook size?
- You can, but this may affect the overall size of your snowflakes. It’s best to use a G/6 (4 mm) hook or one that achieves gauge.
-
How long does the project take?
- Depending on your speed, expect this project to take a few hours to complete.
-
How can I make it larger or smaller?
- Adjusting your yarn weight will change the size. Using thicker yarn and a larger hook will make bigger snowflakes, while lighter yarn will do the opposite.
By crafting these beautiful snowflakes, you’ll not only indulge in a fulfilling creative journey but also create cherished memories and stunning decorations for the holiday season. Happy crocheting!



