
Get 30+ FREE Crochet Patterns — Join Our Newsletter
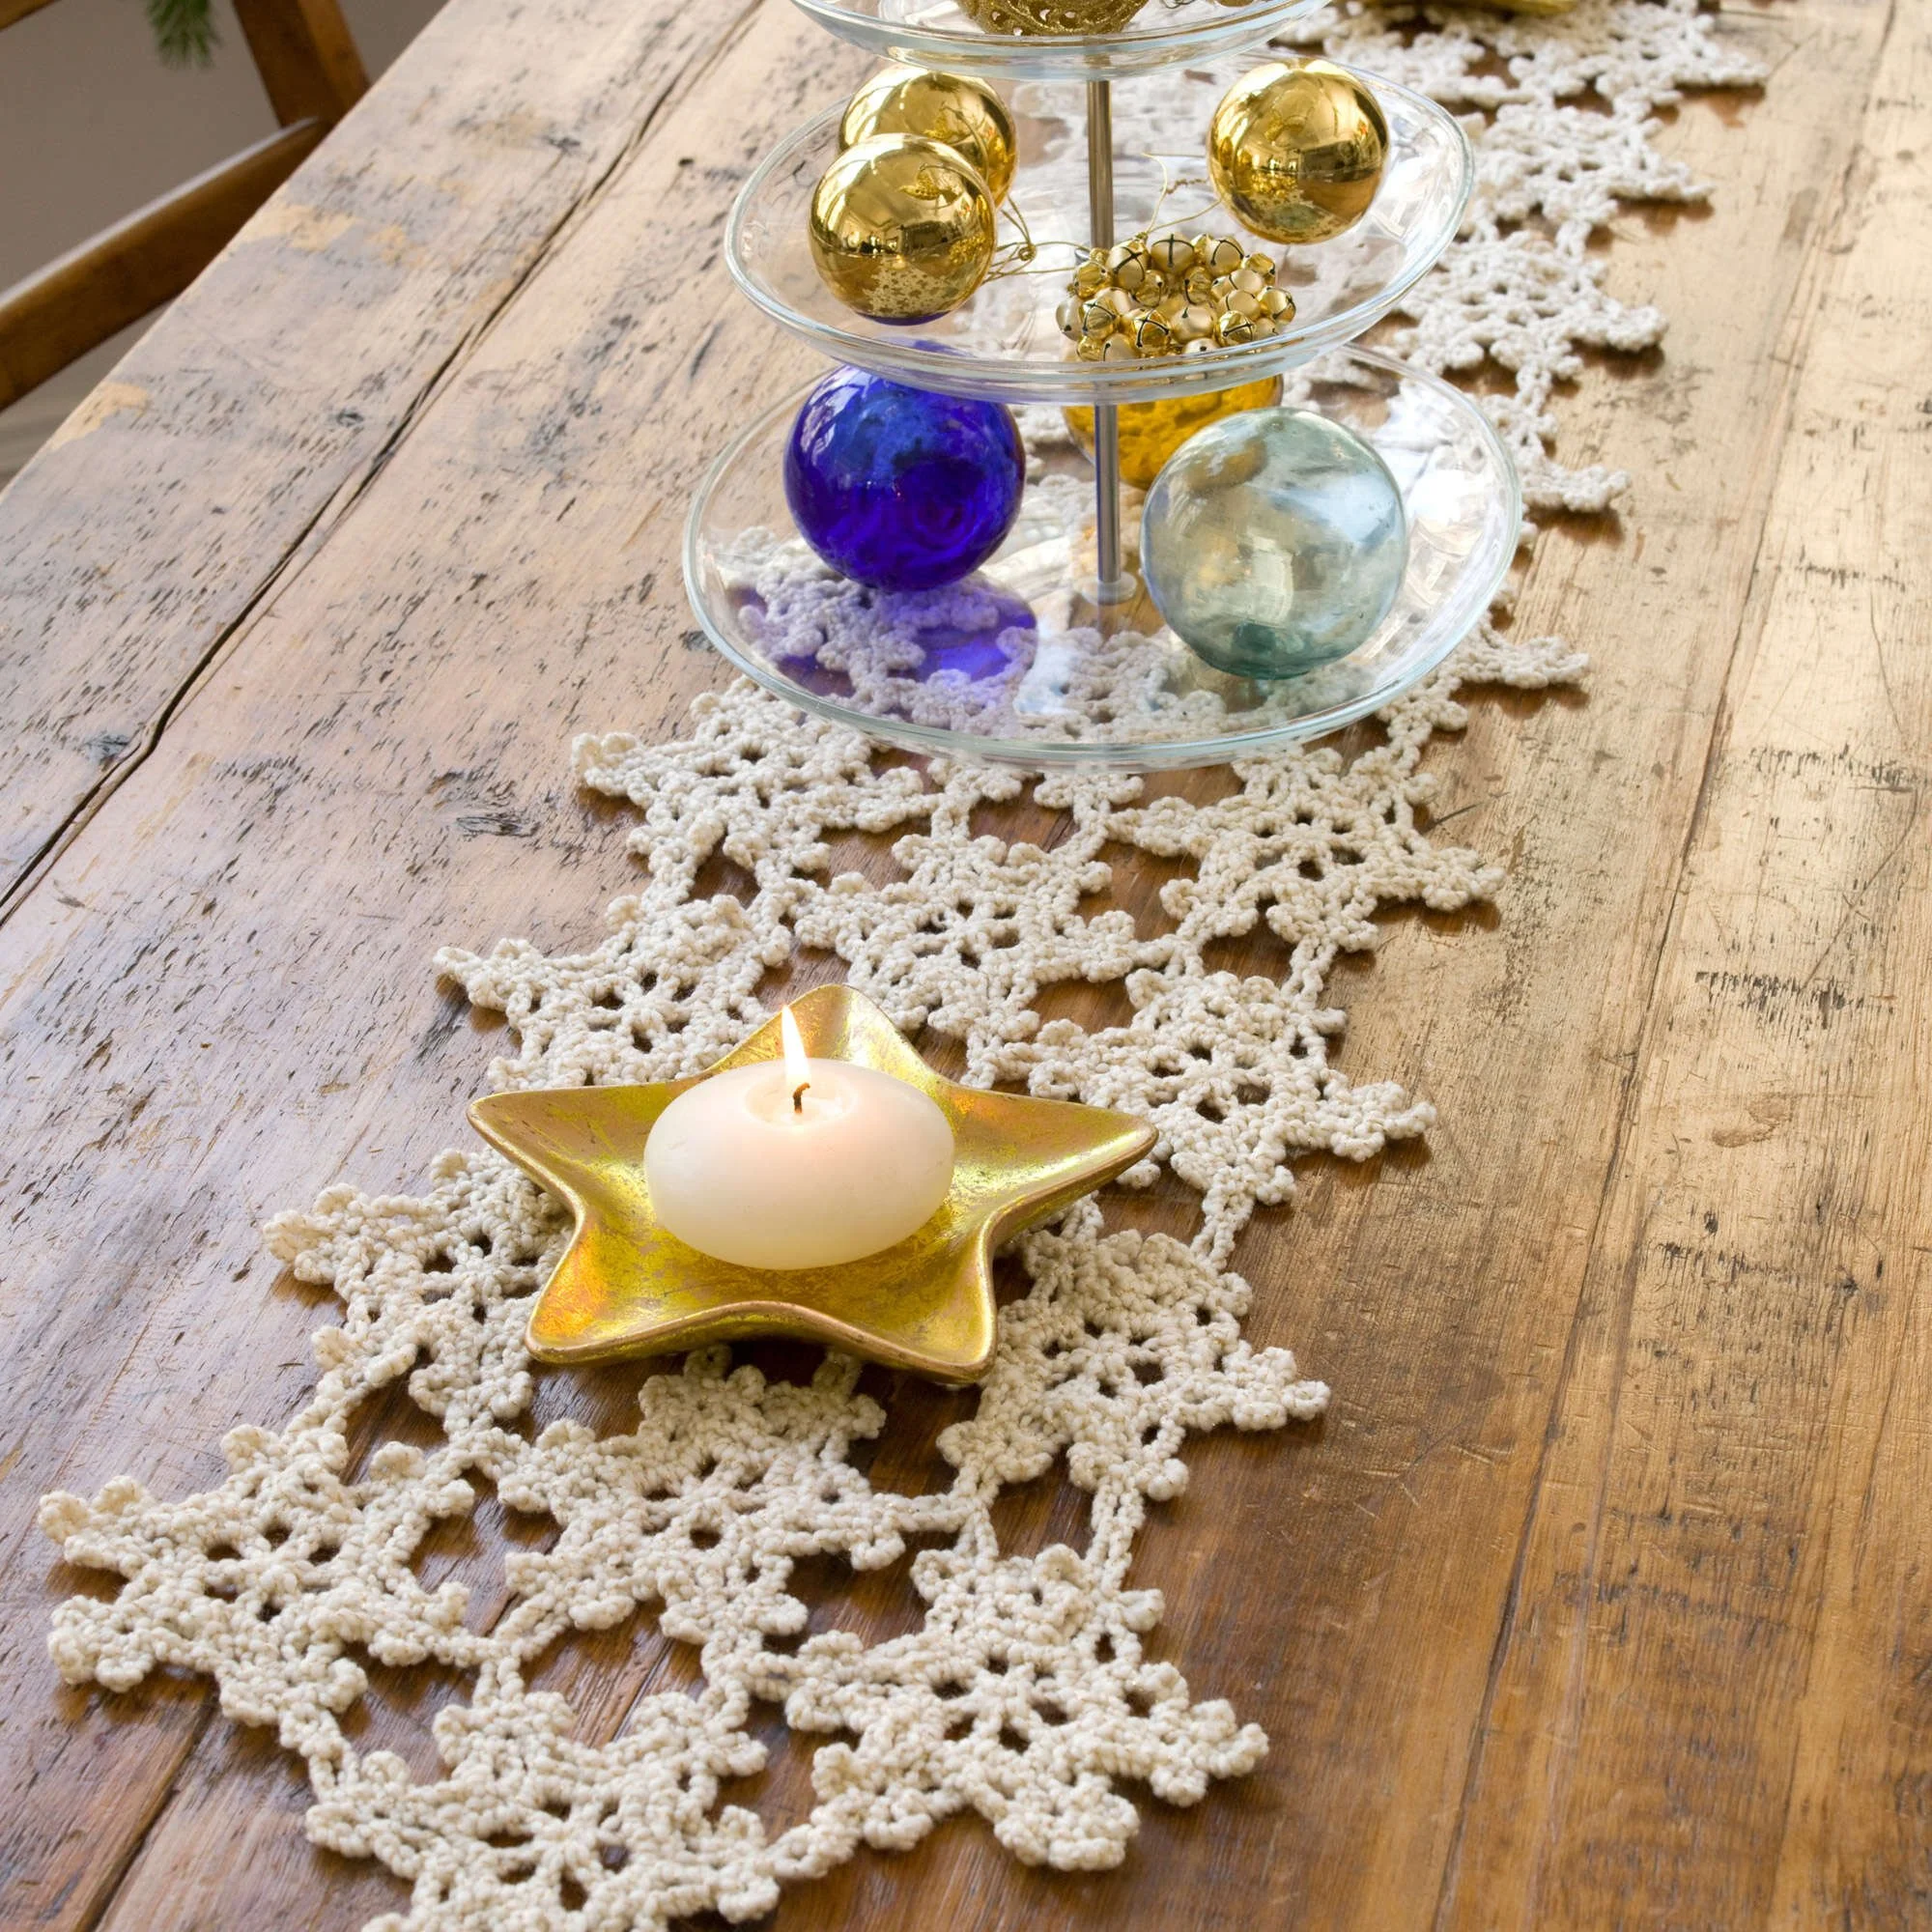
Crochet Snowflake Table Runner Pattern
Why you’ll love this pattern
Creating a Crochet White Snowflake Table Runner is an enchanting way to enhance your home decor. Not only is it an excellent project for showcasing your crochet skills, but it also makes a delightful centerpiece for winter holidays or festive get-togethers. Anyone from beginners to avid crocheters can enjoy making this piece, as it combines both chic style and engaging techniques. The repetitive nature of the snowflake design makes it a relaxing project, perfect for unwinding in front of your favorite show or while chatting with friends.
“I loved making this table runner! The snowflakes turned out beautifully, and it brings such a cozy vibe to my dining table during the winter.” – A happy crocheter
How this crochet pattern comes together
This beautiful table runner features a series of intricate snowflakes joined in a lovely strip formation. You’ll be working primarily with half double crochet, single crochet, and chain stitches to create the distinct snowflake shapes. With a solid understanding of basic crochet stitches, you can confidently tackle this project. The combination of making the snowflakes and joining them for the runner creates a satisfying progression, making it a perfect way to fill your afternoon with creativity.
Begin by crocheting the central strip with 12 snowflakes, followed by side strips adorned with more delicate snowflakes that link back to the center. Expect to invest a few leisurely hours into this project, though completion time will vary depending on your crochet speed.
Materials you’ll need
For this lovely crochet project, you will need the following supplies:
- Yarn: RED HEART® “Holiday”: 2 skeins (1360) Aran with Gold
- Crochet Hook: 5.5mm US [I-9]
- Yarn Needle: for weaving in ends
Note: RED HEART® “Holiday” Art. E759 comes in 3.5 oz (100 g) balls, providing approximately 235 yards (215 meters) of yarn, making it suitable for the project.
When selecting your yarn, the Aran weight has the perfect thickness for achieving both warmth and structure in the snowflakes. The gold flecks add a festive shimmer to your table runner, enhancing its overall appeal.
Step-by-step instructions
Center Strip
-
First Snowflake
- Chain 4, and join with a slip stitch to form a ring.
- Round 1 (right side): Chain 5 (counts as hdc, ch 3), [hdc, ch 3] 5 times in the ring; join with a slip stitch in the 2nd chain of the beginning chain-5—this gives you 6 chain-3 spaces.
- Round 2: Chain 1, single crochet in the same stitch as joining, then (2 sc, ch 5, 2 sc) in next chain-3 space.
- Repeat from * around; join with a slip stitch in the first single crochet—6 chain-5 spaces.
- Round 3: Chain 1, single crochet in the first single crochet.
- Repeat: chain 3, (sc, ch 5, sc, ch 7 for point, sc, ch 5, sc) in the 3rd chain of the next chain-5 space, chain 3, skip the next 2 single crochets, sc in the next single crochet until complete.
- Join with a slip stitch in the first single crochet—6 chain-7 points.
- Fasten off.
-
Second Snowflake (2 points joined)
- Repeat rounds 1-2 of the first snowflake.
- Round 3: Chain 1, single crochet in the first single crochet.
- Repeat: chain 3, (sc, ch 5, sc, chain 3) in 3rd chain of next chain-5 space, with wrong sides together, slip stitch in corresponding chain-7 point on the previous snowflake, chain 3, (sc, ch 5, sc) in the same chain of the chain-5 space on the current snowflake, chain 3, skip next 2 sc, sc in next sc until finished.
- Join with a slip stitch in the first single crochet.
- Fasten off.
-
Third through Twelfth Snowflake
- Work 10 more snowflakes, using the instructions of the second snowflake and joining them into a strip, skipping 1 point on each side of the snowflakes.
First Side Strip
-
First Snowflake (3 points joined)
- Repeat rounds 1-2 of the first snowflake.
- Round 3: Chain 1, single crochet in the first single crochet.
- Repeat: chain 3, (sc, ch 5, sc, chain 3) in 3rd chain of next chain-5 space, with wrong sides together, slip stitch in the first chain-7 space on the top snowflake on the center strip to the right of joining, chain 3, (sc, ch 5, sc) in the same chain of the chain-5 space on current snowflake, chain 3, skip next 2 sc, sc in next sc until reaching the junction between the two snowflakes.
- Finish with a slip stitch in the first single crochet.
- Fasten off.
-
Second Snowflake (4 points joined)
- Repeat rounds 1-2 of the first snowflake.
- Round 3: Chain 1, single crochet in the first single crochet.
- Repeat: chain 3, (sc, ch 5, sc, chain 3) in 3rd chain of next chain-5 space with wrong sides together, slip stitch in corresponding chain-7 space, chain 3, (sc, ch 5, sc) in same chain of chain-5 space on current snowflake for a total of 4 times.
- Fasten off.
-
Third through Eleventh Snowflake
- Work 9 more snowflakes similar to the second snowflake, following the assembly diagram for proper placement.
Second Side Strip
- Create and join 11 extra snowflakes, as outlined in the first side strip instructions, ensuring they align correctly with the center strip.
Finishing
- Always remember to weave in any loose ends after completing each strip to ensure a neat finish.
Ways to use your finished project
Once you’ve completed your Crochet White Snowflake Table Runner, there are myriad ways to showcase it. Use it as an elegant centerpiece during festive dinner parties or holiday celebrations. It also doubles as a tasteful decor piece on side tables, mantles, or even as a delicate runner for your coffee table. If you’re looking to give a heartfelt gift, consider presenting it wrapped beautifully, making it an ideal handmade present for housewarmings or winter holidays.
How to care for your crochet project
To maintain the beauty of your crochet snowflake table runner, follow these simple care instructions:
- Hand wash in cold water with a gentle detergent.
- Avoid wringing or twisting; instead, lay the item flat to reshaping it.
- Flat dry away from direct sunlight to prevent fading.
- Store it flat or rolled, ensuring it retains its shape and prevents stretching or curling.
Helpful crochet tips
- Keep consistent tension throughout your work for a uniform look.
- Use stitch markers to mark important stitches, especially in rounds.
- Count your stitches frequently to avoid accidental increases or decreases that could affect the overall shape.
- Take time to block your finished project for crisp lines and enhance the snowflake detail.
Creative variations
Feel free to customize your Crochet White Snowflake Table Runner! Here are a few suggestions to explore:
- Consider using different colorways for a unique look; perhaps incorporate different seasonal colors for various holidays.
- Experiment with a contrasting border for added flair.
- Create a larger or smaller version by adjusting the number of snowflakes or using a thicker or thinner yarn.
Be mindful that changing yarn types or stitch counts can affect your runner’s final size and drape.
FAQ
-
Is this crochet pattern beginner-friendly?
Yes! This pattern is suitable for beginners who are comfortable with basic stitches and techniques. -
What yarn works best?
The RED HEART® “Holiday” yarn creates beautiful snowflakes with a festive touch. -
Can I use a different hook size?
You could, but using the recommended 5.5mm hook ensures the right tension and size. -
How long does the project take?
Expect a few hours of work, depending on your crochet speed and experience. -
Can I sell finished items made from this pattern?
Check the original designer’s usage terms to confirm if selling is allowed.



