Get 30+ FREE Crochet Patterns — Join Our Newsletter
Crochet Tree Pillow Pattern
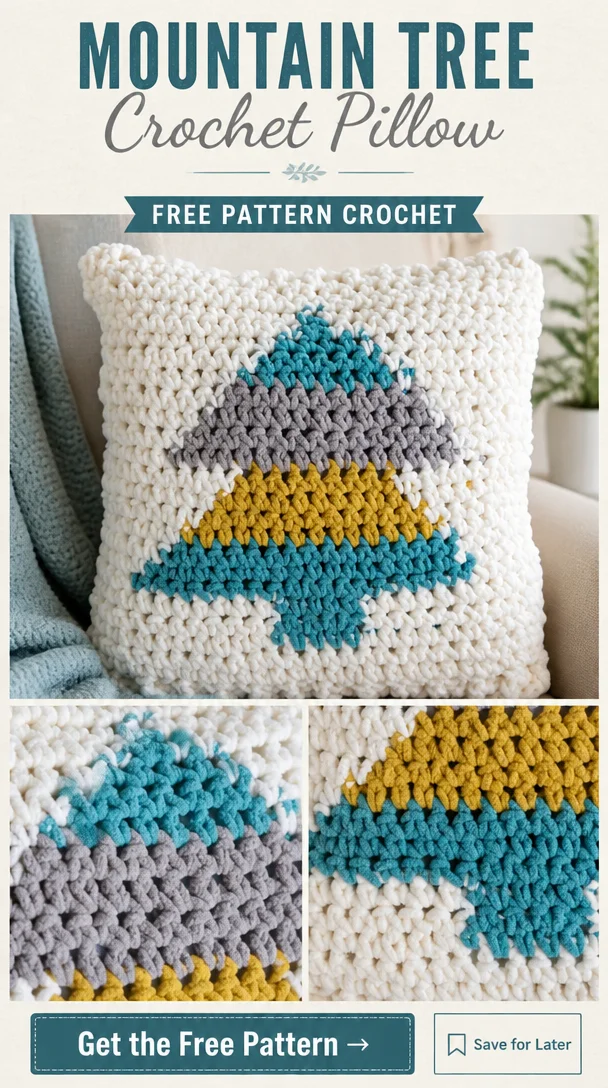
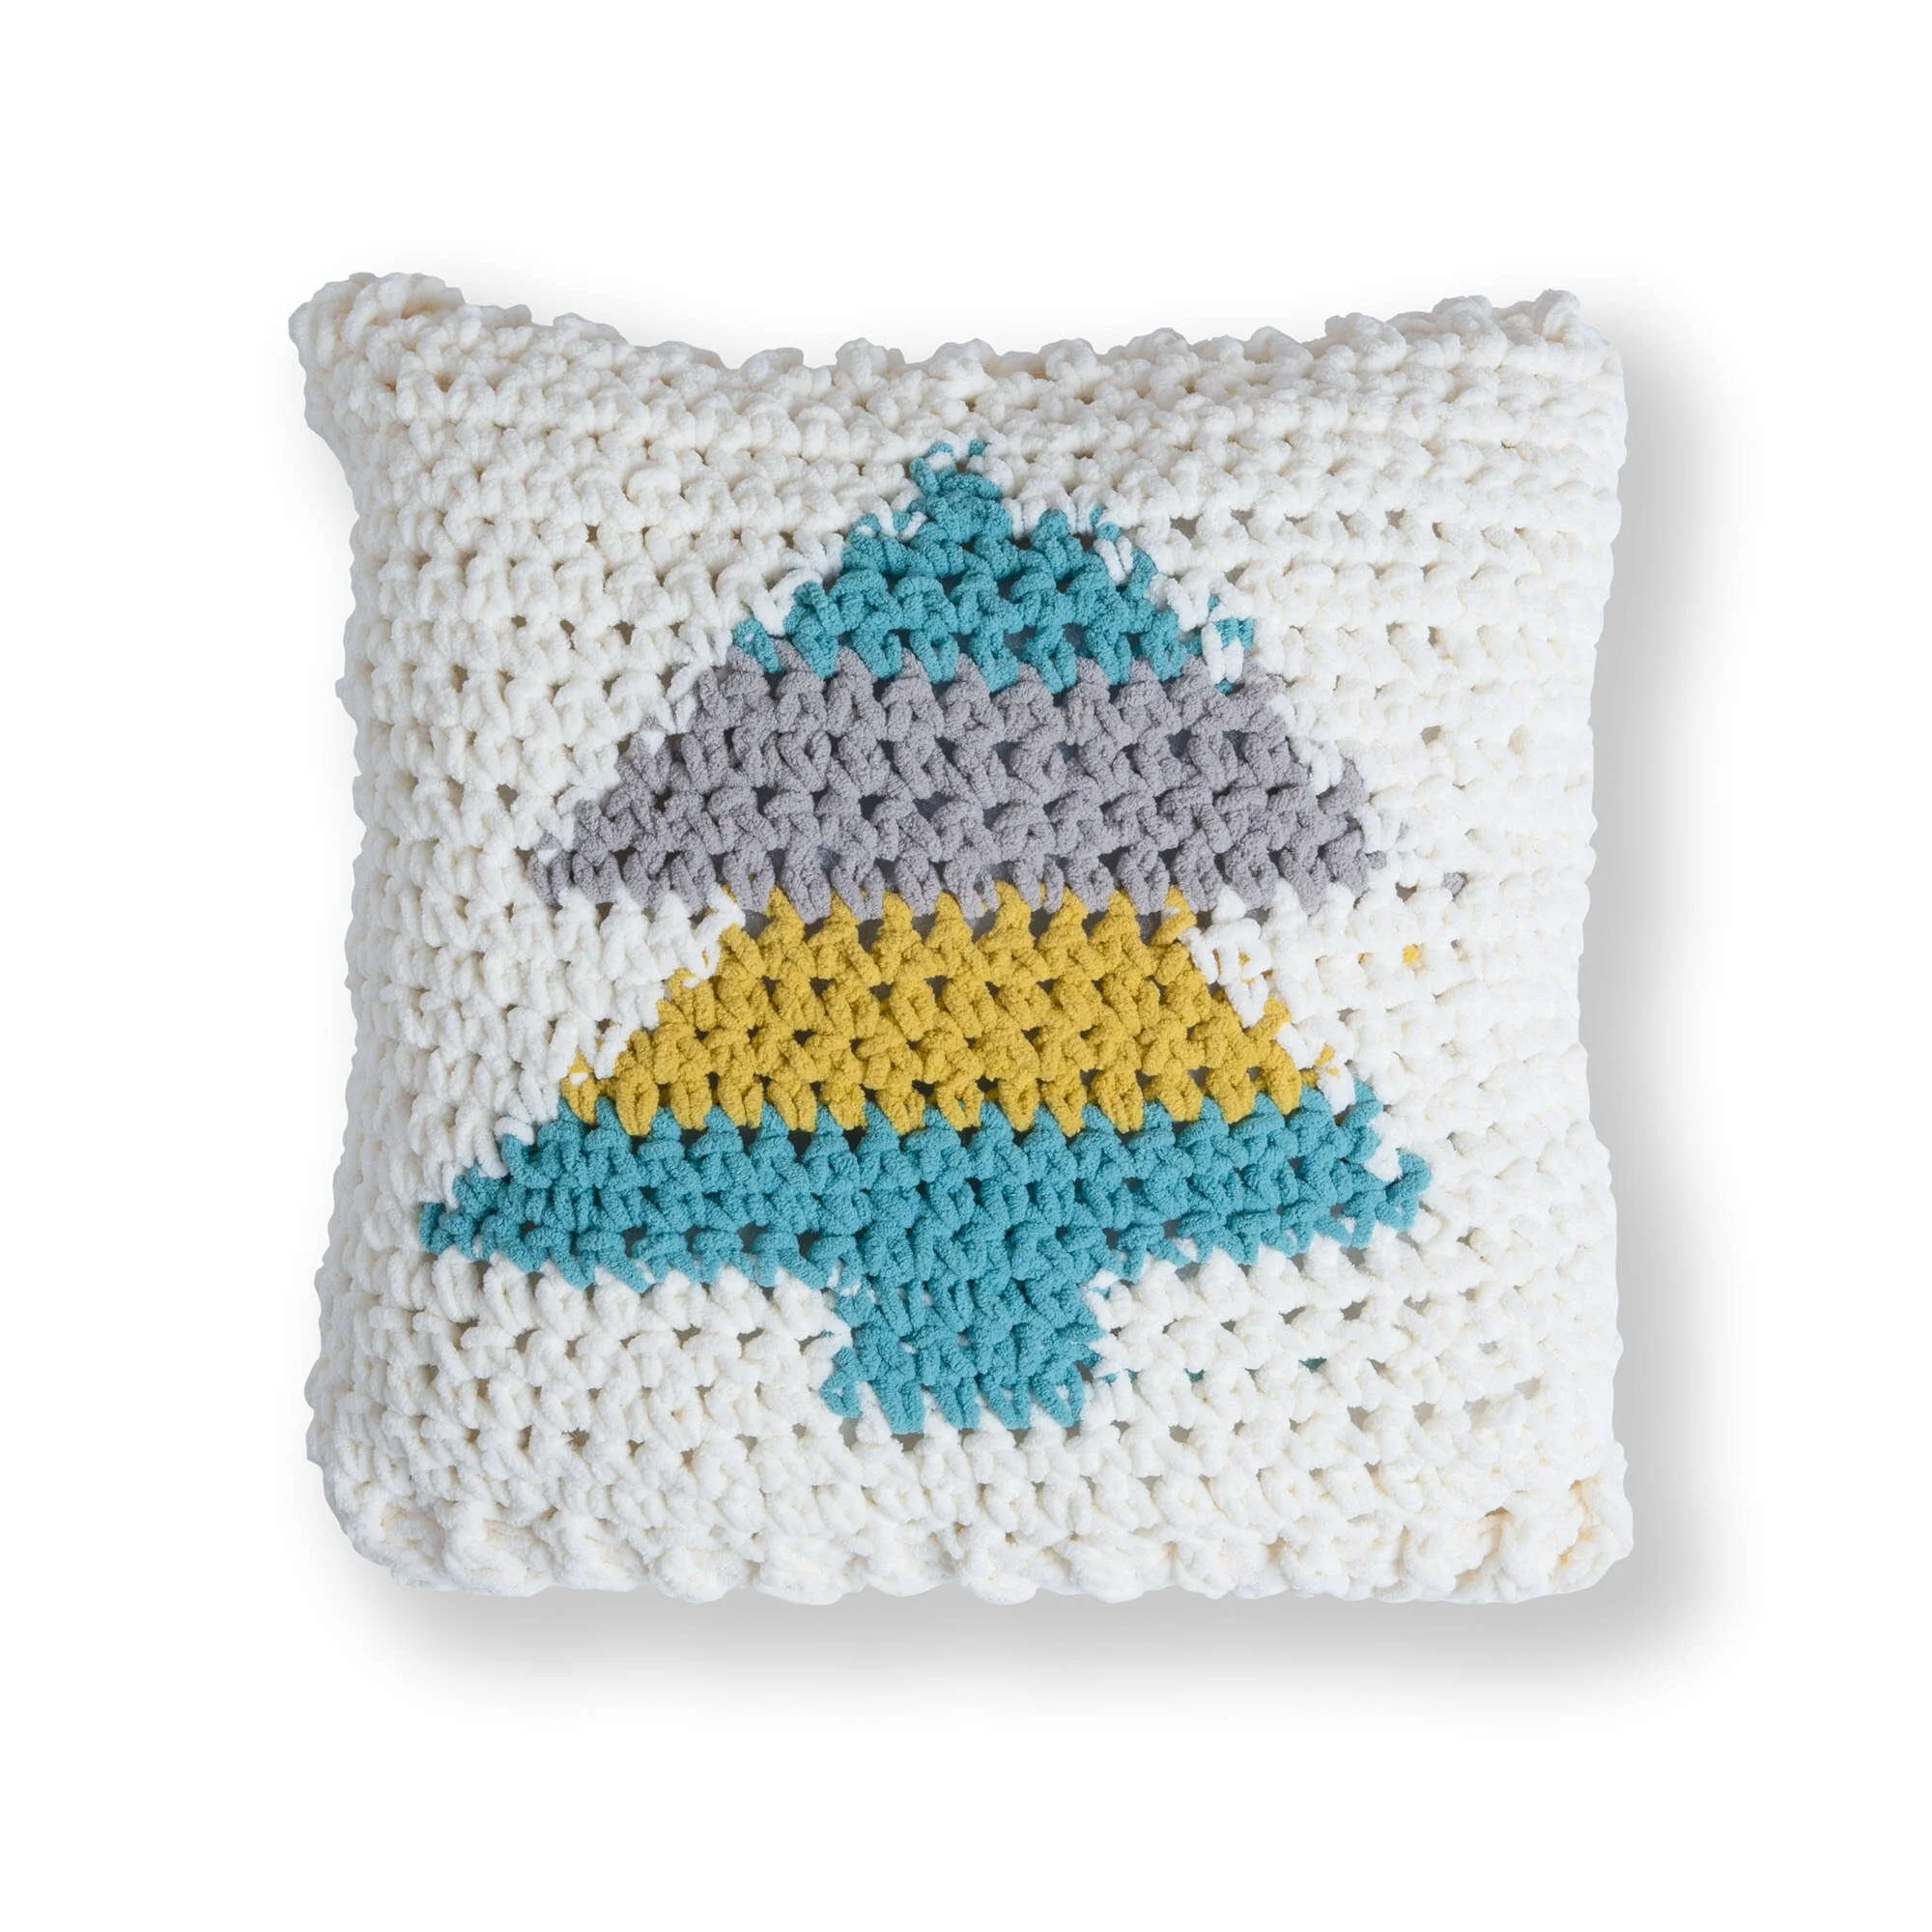
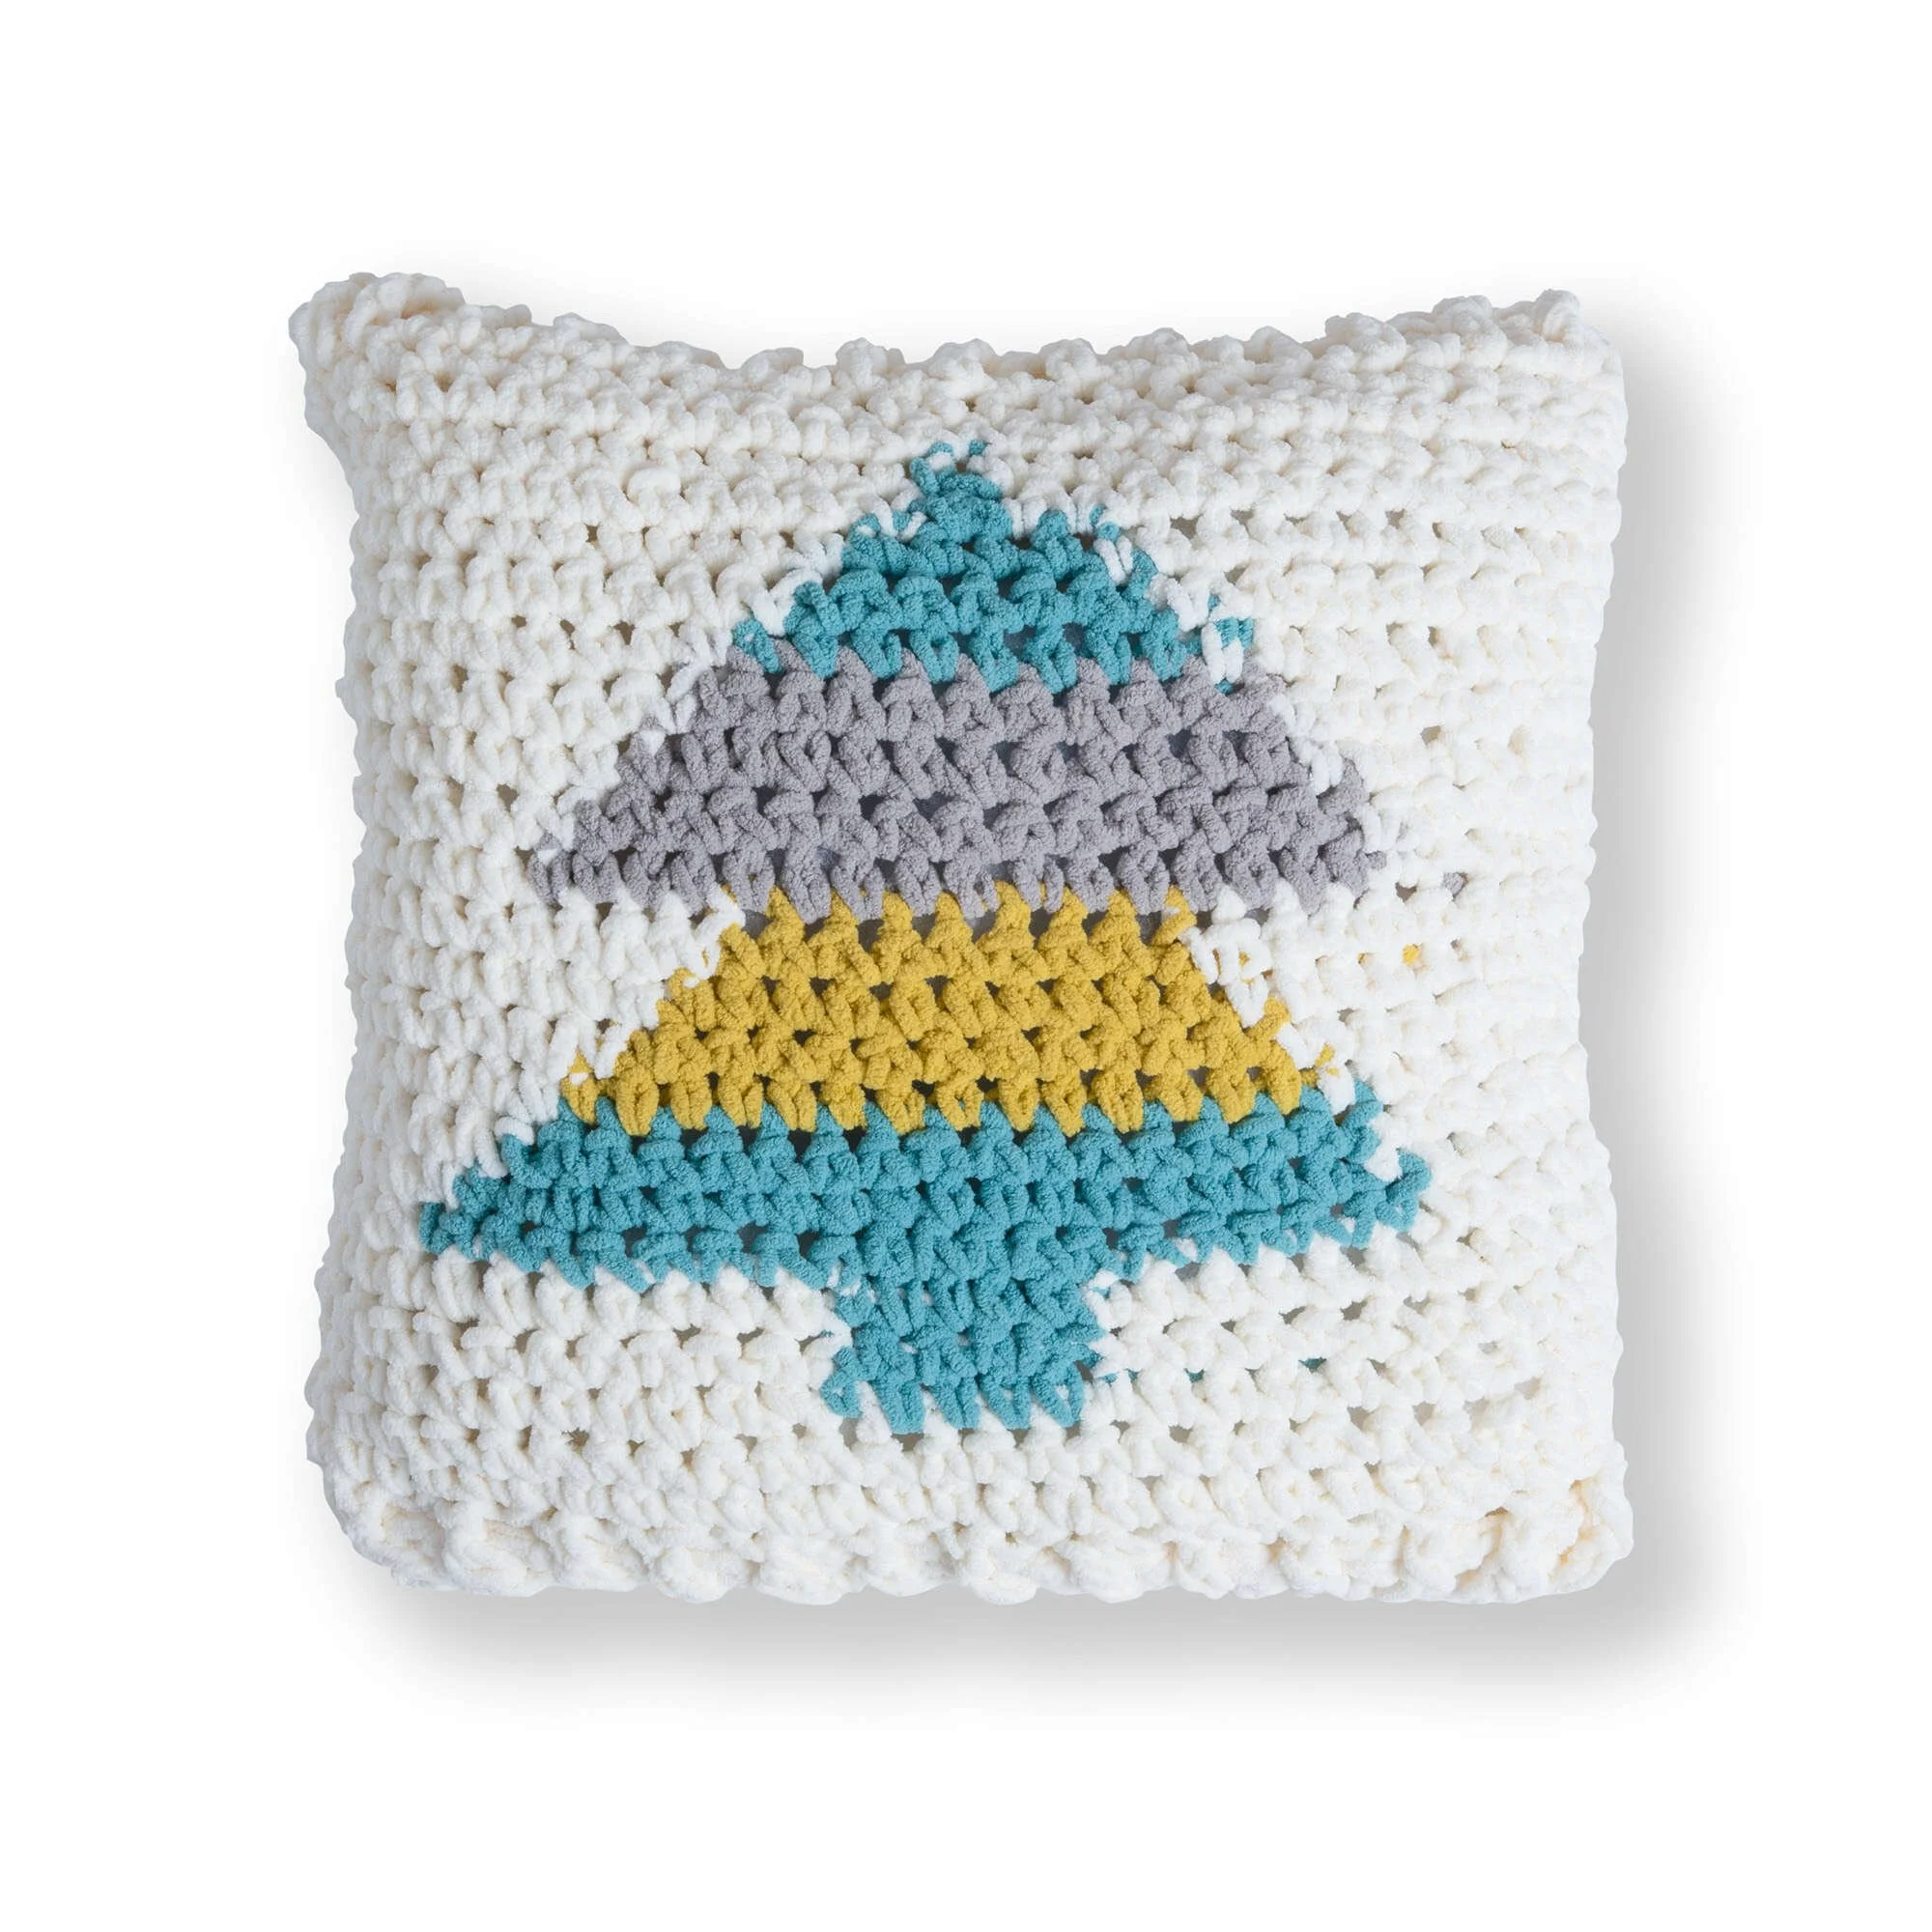
Create a cozy and inviting atmosphere in your home with this Crochet Tree Pillow Pattern. This whimsical design features a lovely tree motif on a plush pillow that adds warmth and charm to any space. Constructed with soft Bernat Blanket yarn, it’s perfect for snuggling up with on chilly days. This project combines various crochet techniques, including double crochet, single crochet, and back/front post stitches, making it engaging for those familiar with basic stitches. Follow the written instructions alongside the chart for the tree motif for a fun and rewarding crochet experience!
Project Details
- Crochet terminology: U.S.
- Skill level: Intermediate
- Finished size: 20″ [51 cm] square
- Construction method: Flat panels sewn together
Materials and Tools
| Yarn option | Yarn and specifications | Amount |
|---|---|---|
| Contrast A | Bernat® Blanket™ (10006) Vintage White; 10.5 oz/300 g; 220 yds/201 m | 2 balls |
| Contrast B | Bernat® Blanket Stripes™ (76003) Meadowbrook; 10.5 oz/300 g; 220 yds/201 m | 1 ball |
- Crochet hook: Size U.S. N/15 (10 mm) or size needed to obtain gauge
- Pillow form: 20″ [51 cm] square
Abbreviations
| Abbreviation | Meaning |
|---|---|
| ch | chain |
| dc | double crochet |
| dcbp | double crochet back post |
| dfp | double crochet front post |
| sc | single crochet |
Preparation and Techniques
Working in Rows
For this project, you will work rows back and forth to create flat panels. Every pattern row begins with a turning chain to prepare for the next row’s stitches.
Changing Yarn Colors
When changing colors, complete the last stitch of the current color, then pull the new color through the last two loops of that stitch to switch colors. This will ensure a neat color transition.
Complete Pattern Instructions
Front
Start with the bottom border:
- With A, ch 30.
- 1st row: (RS). 1 dc in 4th ch from hook (counts as 2 dc). 1 dc in each ch to end of chain. Turn. 28 dc.
- 2nd row: Ch 2. *1 dcbp around next st. 1 dcfp around next st.* Rep from * to end of row. Turn.
- 3rd and 4th rows: Ch 1. 1 sc in each st to end of row. Turn.
Begin Tree Motif
The Tree Motif can be worked by following the written instructions or following the chart, noting each square of the chart represents 1 sc. Read RS rows from right to left and WS rows from left to right.
| Row | Instructions | Stitches |
|---|---|---|
| 1 | (RS). With A, ch 1. 1 sc in each of next 11 sc. With B, 1 sc in each of next 6 sc. With A, 1 sc in each sc to end of row. Turn. | 28 |
| 2-3 | As 1st row. | 28 |
| 4 | With A, ch 1. 1 sc in each of next 5 sc. With B, 1 sc in each of next 18 sc. With A, 1 sc in each sc to end of row. Turn. | 28 |
| 5 | With A, ch 1. 1 sc in each of next 6 sc. With B, 1 sc in each of next 16 sc. With A, 1 sc in each sc to end of row. Turn. | 28 |
| 6 | With A, ch 1. 1 sc in each of next 7 sc. With B, 1 sc in each of next 14 sc. With A, 1 sc in each sc to end of row. Turn. | 28 |
| 7 | With A, ch 1. 1 sc in each of next 8 sc. With B, 1 sc in each of next 12 sc. With A, 1 sc in each sc to end of row. Turn. | 28 |
| 8 | With A, ch 1. 1 sc in each of next 9 sc. With B, 1 sc in each of next 10 sc. With A, 1 sc in each sc to end of row. Turn. | 28 |
| 9 | With A, ch 1. 1 sc in each of next 10 sc. With B, 1 sc in each of next 8 sc. With A, 1 sc in each sc to end of row. Turn. | 28 |
| 10-14 | As rows 4-8. | 28 |
| 15 | With A, ch 1. 1 sc in each of next 11 sc. With B, 1 sc in each of next 6 sc. With A, 1 sc in each sc to end of row. Turn. | 28 |
| 16 | With A, ch 1. 1 sc in each of next 12 sc. With B, 1 sc in each of next 4 sc. With A, 1 sc in each sc to end of row. Turn. | 28 |
| 17 | With A, ch 1. 1 sc in each of next 13 sc. With B, 1 sc in each of next 2 sc. With A, 1 sc in each sc to end of row. Turn. | 28 |
| 18 | With A, ch 1. 1 sc in each of next 14 sc. With B, 1 sc in next sc. With A, 1 sc in each sc to end of row. Turn. | 28 |
Top Border
- 1st row: (RS). With A, ch 1. 1 sc in each sc to end of row. Turn.
- 2nd and 3rd rows: As 1st row.
- 4th row: Ch 2. 1 dc in each st to end of row. Turn.
- 5th row: Ch 2. *1 dcbp around next st. 1 dcfp around next st.* Rep from * to end of row. Fasten off.
Back
- Ch 29.
- 1st row: (RS) With A, 1 sc in 2nd ch from hook. 1 sc in each ch to end of chain. Turn. 28 sc.
- 2nd row: Ch 1. 1 sc in each st to end of row. Turn.
- Rep 2nd row until Back measures the same length as Front. Fasten off.
Assembly and Finishing
- Sew 3 sides of the pillow together.
- Insert the pillow form.
- Sew the remaining side closed.
Practical Tips
- Choosing the right hook: Ensure your crochet hook size matches your yarn for achieving the correct gauge and maintaining loose stitches.
- Maintaining tension: Keep your tension consistent throughout the project to ensure even stitches and a balanced finish.
- Stuffing the pillow: Ensure the pillow form fits well and adjust as needed for a firm yet soft result.
Troubleshooting
- Uneven edges: Check your counting on each row; practice consistent tension to maintain even edges.
- Incorrect stitch count: If your stitch count doesn’t match the instructed number, carefully review the pattern to confirm all rows and stitches are followed properly.
Care
To care for your cozy crochet pillow, check the yarn label for specific washing instructions, but generally, it’s best to hand wash and lay flat to dry. This preserves the plush quality of the yarn:
- Hand wash in cold water.
- Lay flat to dry.
- Avoid bleach or harsh detergents.
Frequently Asked Questions
How do I adjust the pattern if I’m using a different yarn weight?
When using a different yarn weight, reevaluate your hook size and yarn gauge. Generally, you’ll need to adjust your stitch counts accordingly to maintain the pillow’s dimensions, keeping in mind that thicker yarn will yield a larger pillow.
What is the best way to secure the ends?
Weave in your ends using a tapestry needle through nearby stitches to hide them securely. This helps keep your pillow looking neat and prevents unraveling.
Can I machine wash the finished pillow?
Check the yarn label for specific care instructions. While many plush yarns can handle gentle machine washing, hand washing is often recommended to maintain the pillow’s shape and texture.
How long will it take to complete this project?
The time to complete this project varies by individual speed and experience. Allocate a few hours for the assembly and sewing processes, plus additional time for working on individual sections.
Can I use different colors for the tree motif?
Absolutely! Feel free to customize the colors to suit your decor or preference. Just ensure that the contrast helps the tree motif stand out against the background color.