Get 30+ FREE Crochet Patterns — Join Our Newsletter
Crochet Tree Skirt Pattern Tutorial
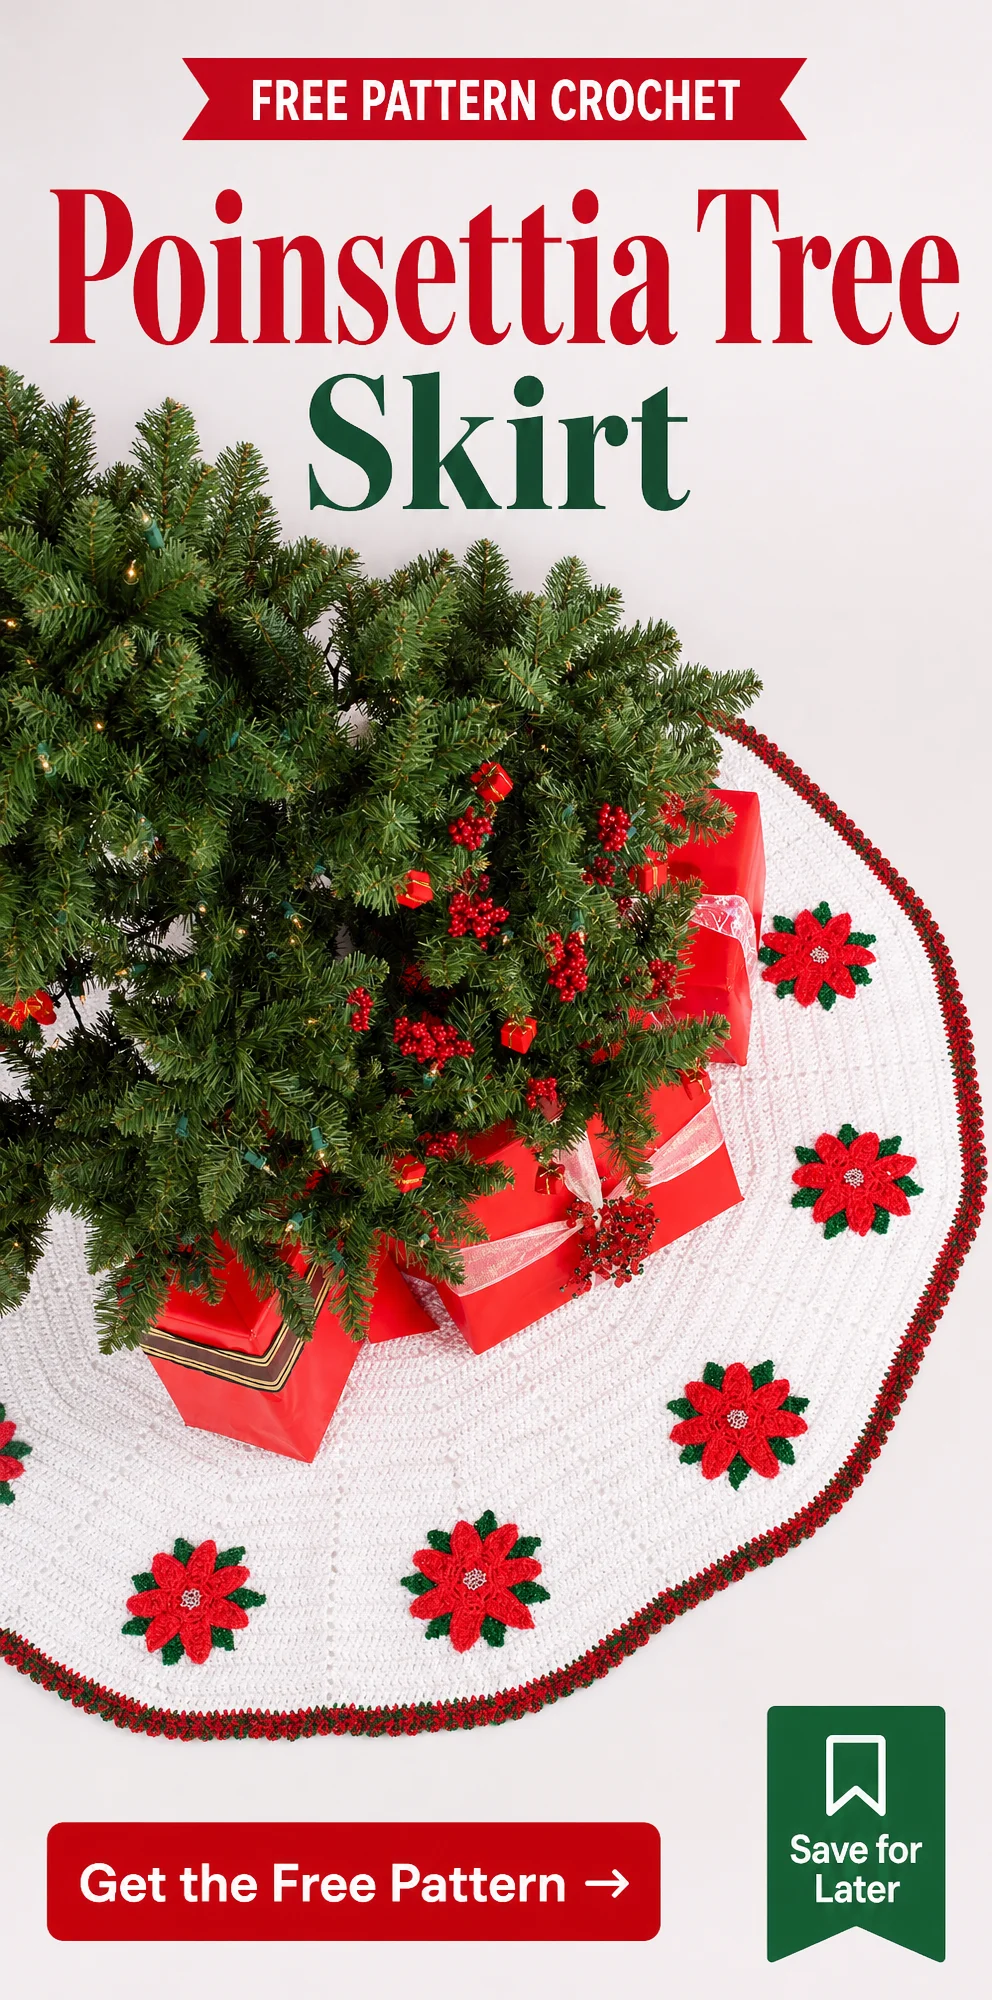
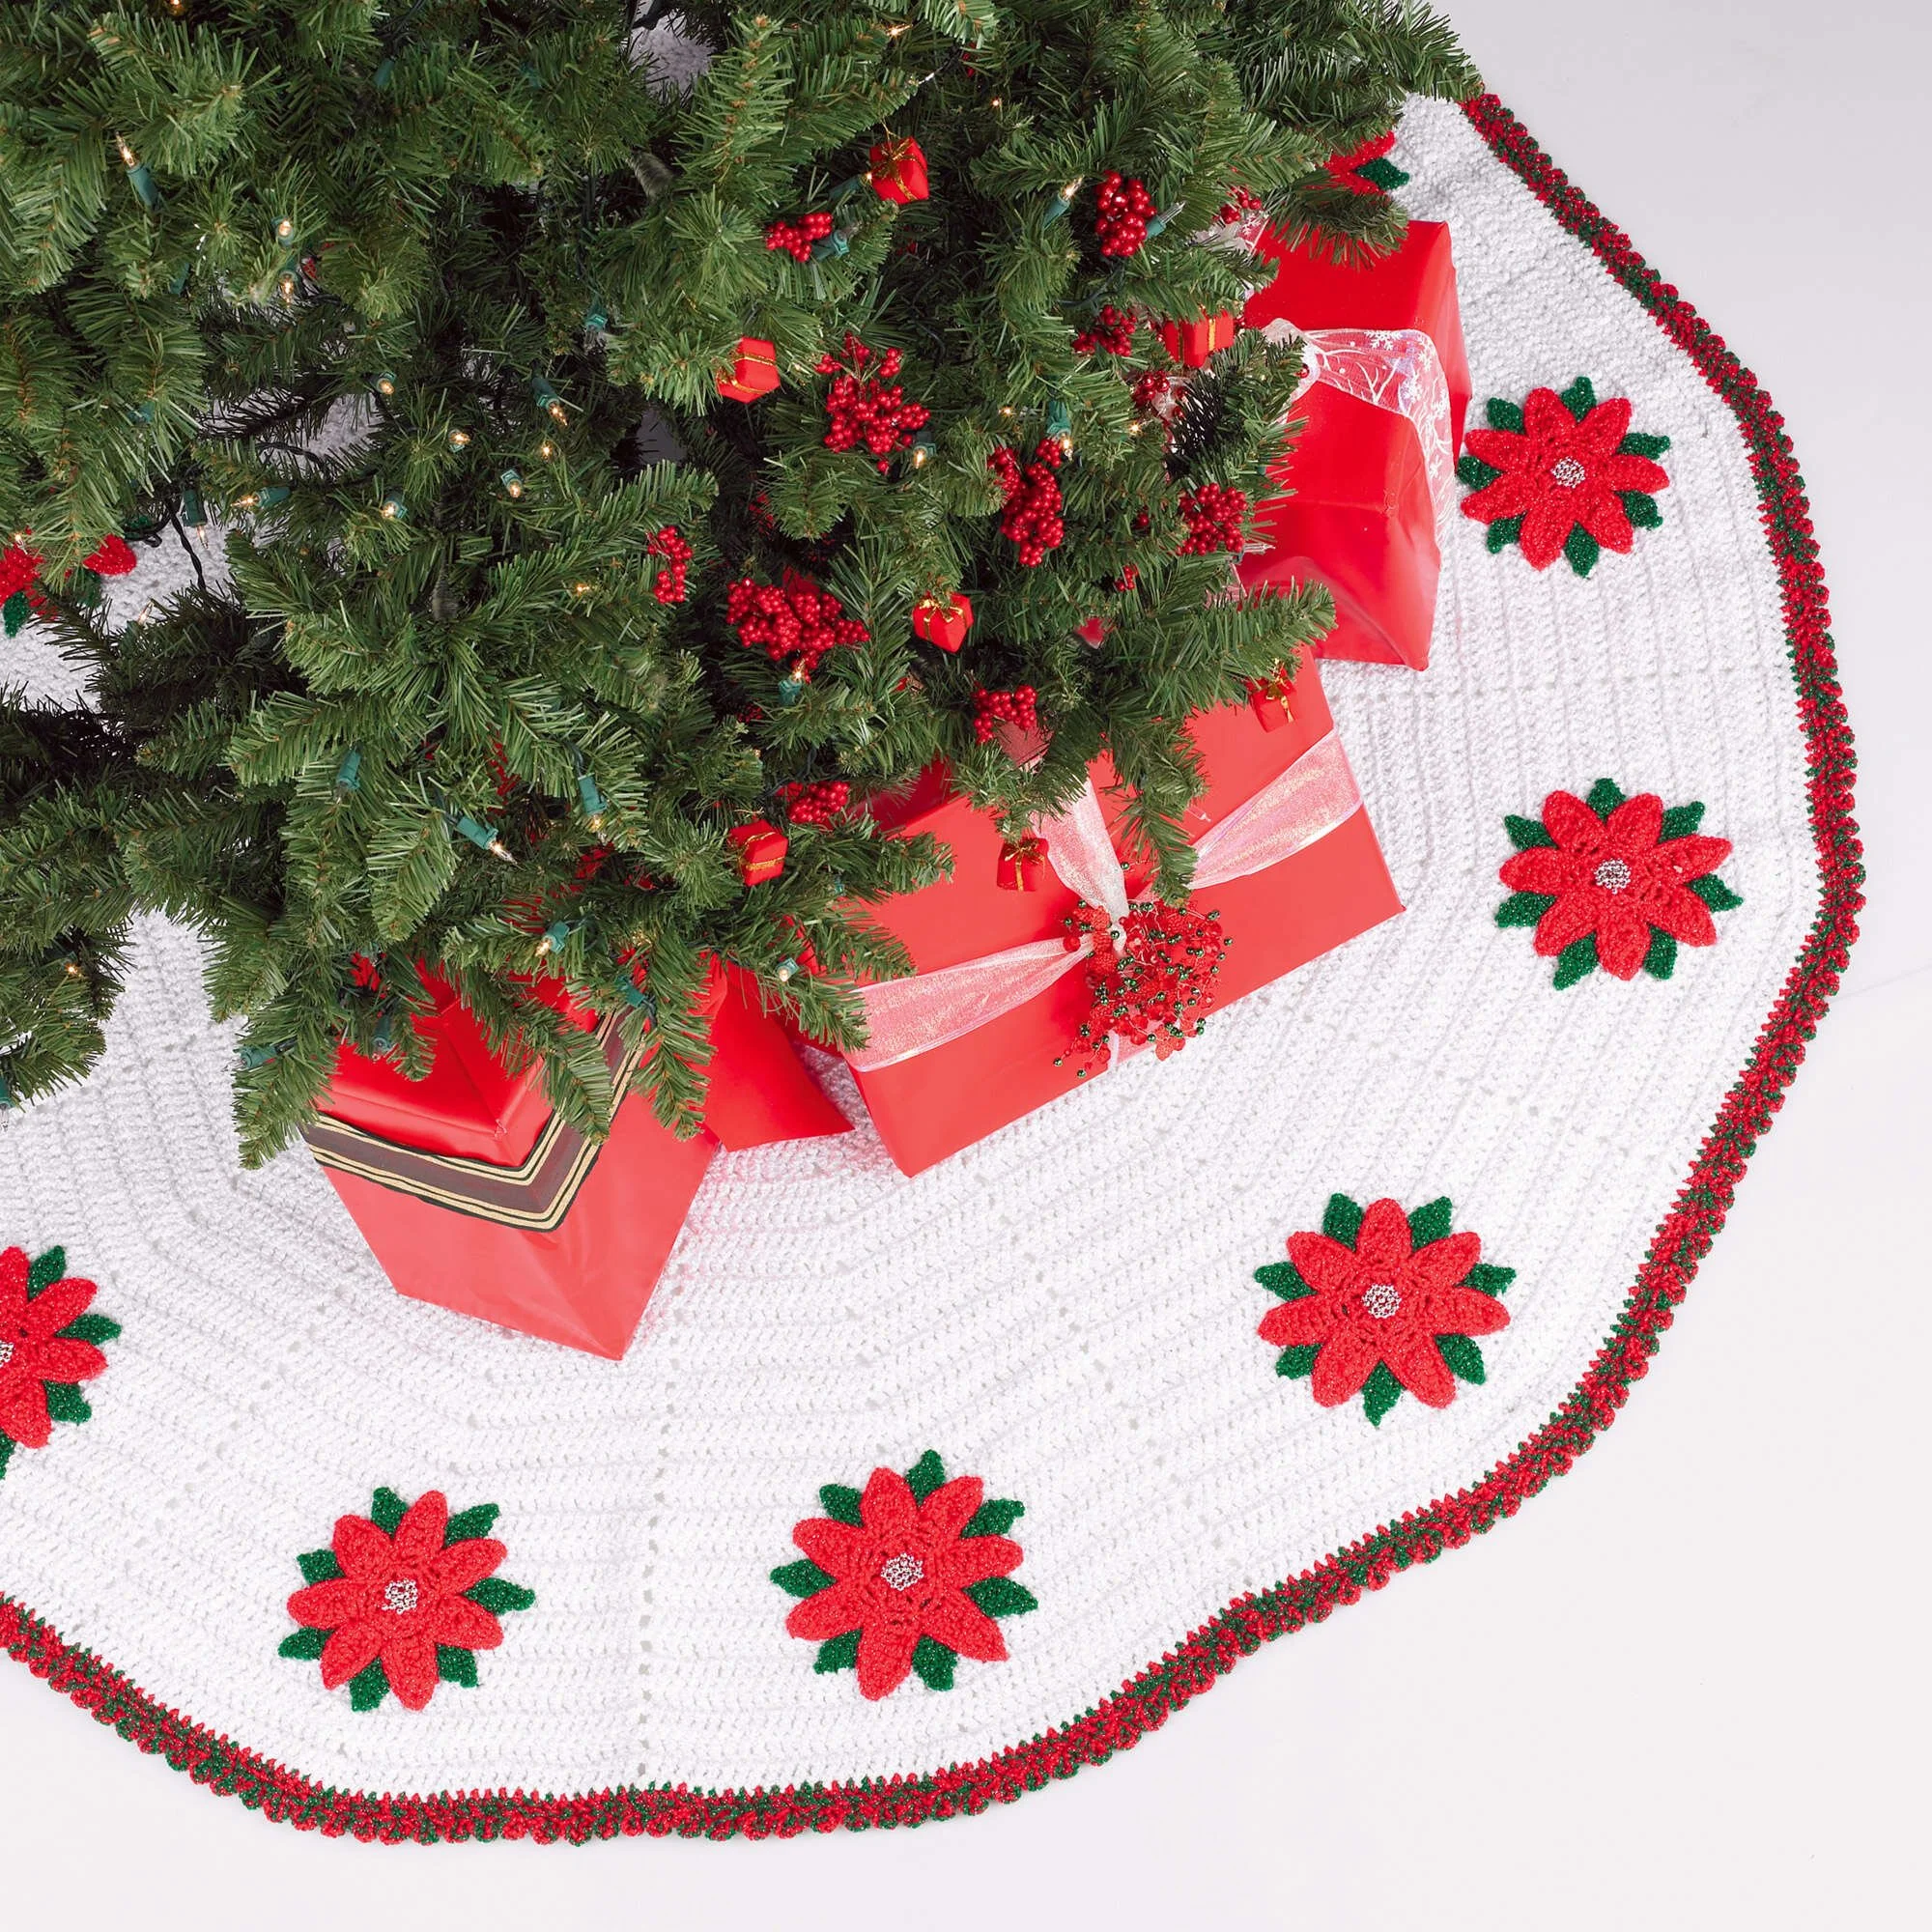
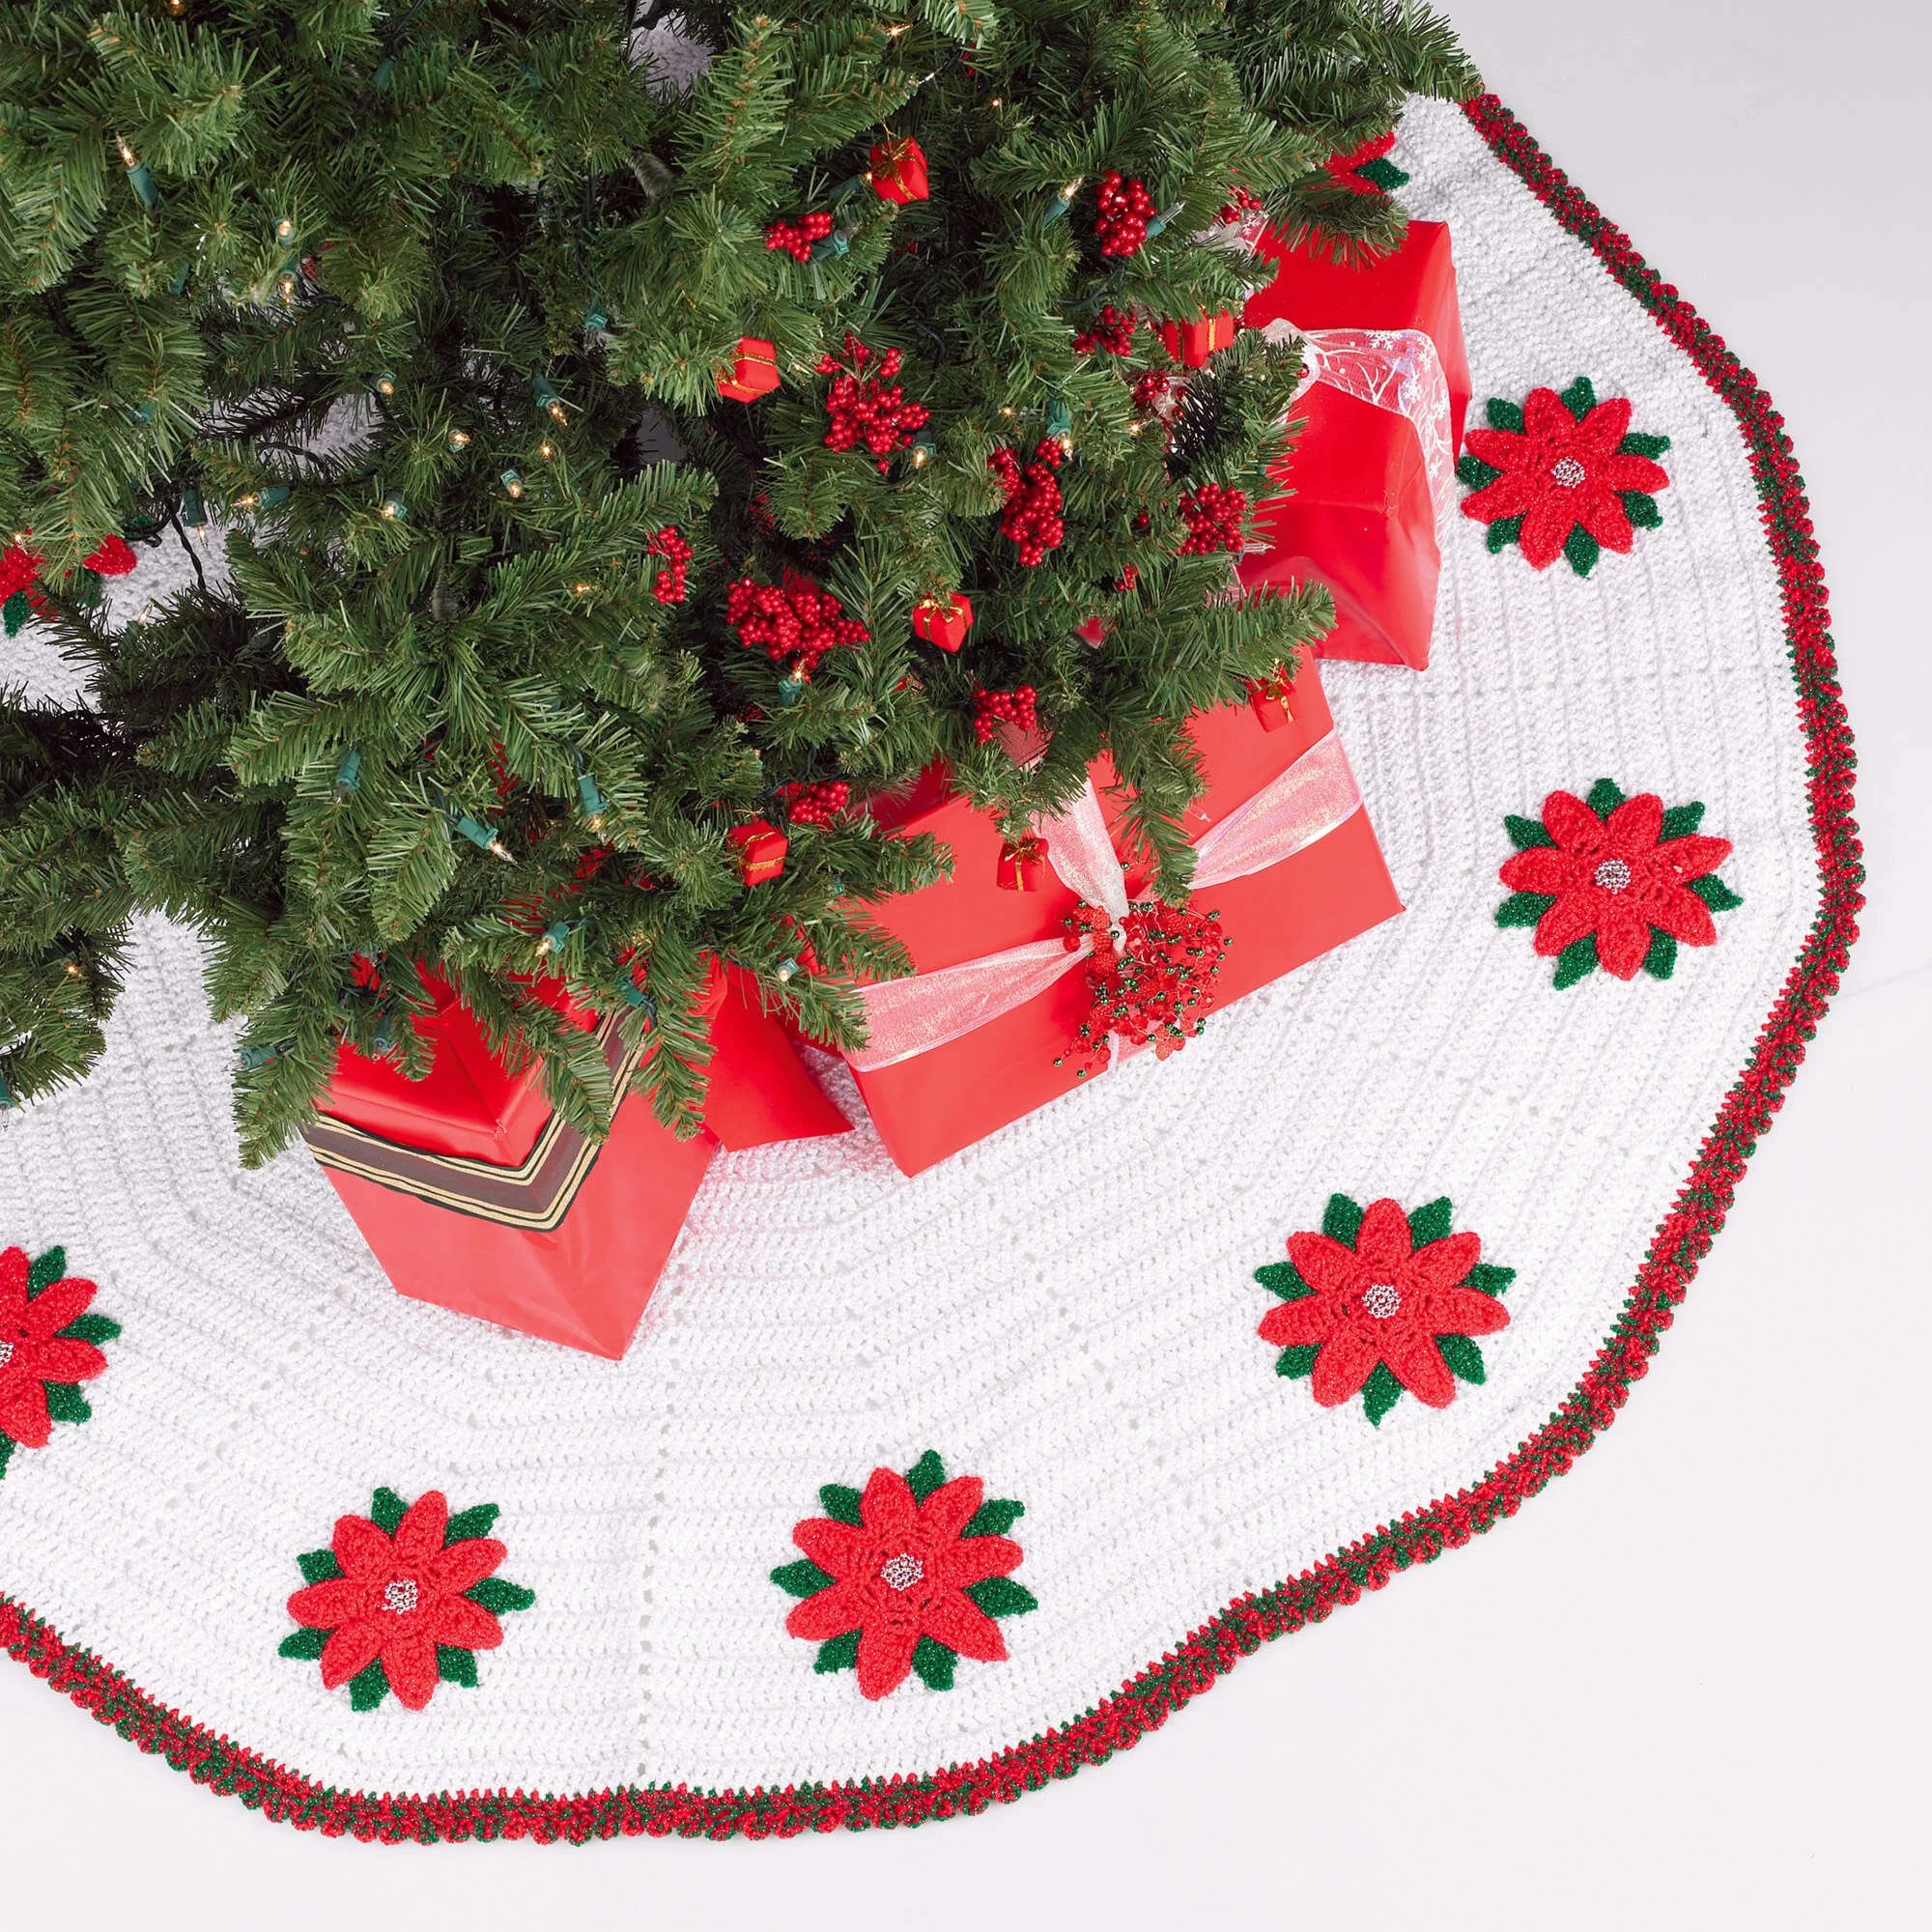
Embrace the festive spirit with a handmade crochet tree skirt, an ideal way to enhance your holiday décor. This lovely pattern features intricate stitches and vibrant colors, adding a charming touch to your Christmas tree. With simple yet effective construction, you’ll create a beautiful piece that showcases your crochet skills while providing a splendid backdrop for your presents. Follow along closely with the provided instructions and photos to craft your own beautiful crochet tree skirt.
Project Details
- Crochet terminology: US terms
- Skill level: Intermediate
- Finished size: Adjusts to fit around your tree base
- Construction method: Worked in rows and rounds
Materials and Tools
| Yarn Option | Yarn and Specifications | Amount |
|---|---|---|
| Traditional | RED HEART® “Super Saver®” 311 White CA | 11 ounces |
| RED HEART® “Super Saver®” 390 Hot Red CB | 5 ounces | |
| RED HEART® “Super Saver®” 368 Paddy Green CC | 20 ounces | |
| Victorian | RED HEART® “Super Saver®” 313 Aran CA | 11 ounces |
| RED HEART® “Super Saver®” 376 Burgundy CB | 5 ounces | |
| RED HEART® “Super Saver®” 389 Hunter CC | 20 ounces |
- Crochet Hooks: 6mm [US J-10], 5mm [US H-8]
- Needles / Notions: yarn needle; sewing needle and thread
- Beads: 264 5mm and/or 6mm silver (or gold for Victorian) beads
Abbreviations
| Abbreviation | Meaning |
|---|---|
| ch | chain |
| dc | double crochet |
| sc | single crochet |
| tr | treble crochet |
| dtr | double treble crochet |
| sl st | slip stitch |
Preparation and Techniques
Working in Rows and Rounds
This pattern alternates between rows and rounds. The initial foundation is created in rows, and subsequent motifs are formed in rounds. Make sure to count your stitches consistently to maintain the desired shape.
Complete Pattern Instructions
Foundation
With CA, ch 29.
Body of the Skirt
| Row | Instructions | Stitches |
|---|---|---|
| 1 | Dc in 5th ch from hook, *ch 1, dc in next ch; rep from * across; turn. | – |
| 2 | Ch 4, skip ch-1 sp, *dc in next dc, 2 dc in next ch-1 sp, dc in next dc, ch 1, skip next ch-1 sp; rep from * to last st; dc in 3rd ch of ch-4; turn. | 12 groups of 4 dc |
| 3 | Ch 4, skip ch-1 sp, *[dc in next 2 dc, ch 1] twice, skip next ch-1 sp; rep from * to last st; dc in 3rd ch of ch-4; turn. | – |
| 4 | Ch 4, skip ch-1 sp, *dc in next 2 dc, 2 dc in next sp, dc in next 2 dc, ch 1, skip next sp; rep from * to last st; dc in 3rd ch of ch-4; turn. | 12 groups of 6 dc |
| 5 | Ch 4, skip ch-1 sp, *[dc in next 3 dc, ch 1] twice, skip next sp; rep from * to last st; dc in 3rd ch of ch-4. | – |
| 6 | Ch 4, skip sp, *dc in next 3 dc, 2 dc in sp, dc in next 3 dc, ch 1, skip sp; rep from * to last st; dc in 3rd ch of ch-4; turn. | 12 groups of 8 dc |
| Continue | Continue in the manner of the last 2 rows until there are 12 groups of 44 dc. | 12 groups of 44 dc |
| Last Row | Ch 4, skip sp, *dc in next 21 dc, 2 dc in sp, dc in next 21 dc, ch 1, skip sp; rep from * to last st; dc in 3rd ch of ch-4. Fasten off. | 12 groups of 44 dc |
Lower Edging
| Row | Instructions |
|---|---|
| 1 | With right side facing and larger hook, attach CB in top of last dc; ch 3, dc in next sp, dc in next dc and in each dc across (skip all other ch-1 sps), dc in 3rd ch of ch-4; turn. |
| 2 | Ch 1, (sc, ch 3, sc) all in first dc, *skip next dc, (sc, ch 3, sc) all in next st; rep from * across. Fasten off. |
Center Opening Edging
With right side facing and larger hook, attach CB at opening; ch 1, sc evenly up center opening edge, across opposite side of beg ch, and down next edge. Fasten off.
Tie
With larger hook and CB, ch 150. Fasten off. Weave through the ch-1 sps of Row 1. Knot each end. Trim.
Poinsettia (Make 12)
With smaller hook and CB, ch 4; join with a sl st in first ch to form a ring.
| Round | Instructions |
|---|---|
| 1 | Ch 3, dc in ring, ch 1, [2 dc in ring, ch 1] 6 times; join with a sl st to top of ch-3. |
| 2 | Sl st in next dc, ch 1, sc in next sp, *ch 9, sc in 3rd ch from hook, dc in next ch, tr in next ch, dtr in each of next 2 ch, tr in next ch, dc in next ch, sc in next sp of Rnd 1; rep from * around; join with a sl st to first sc – 7 petals. |
| 3 | Ch 1, *skip sc, sc at the base of next 7 sts, (sc, ch 1, sc) all in ch-2 sp at tip of petal, sc in next 7 sts; rep from * around; join. Fasten off. |
Leaves (Make 12)
With CC, work same as Poinsettia through Rnd 1.
| Round | Instructions |
|---|---|
| 2 | Sl st in next dc, ch 1, sc in next sp, *ch 11, sc in 3rd ch from hook, dc in next ch, tr in next ch, dtr in each of next 2 ch, tr in next ch, dc in next ch, ch 2, skip last 2 ch, sc in next sp of Rnd 1; rep from * around, end at join with a sl st to first sc – 7 leaves. Fasten off. |
Assembly and Finishing
Sew the Motifs Together
Arrange a poinsettia motif over a leaf motif so that a leaf shows between each of the flower petals and tack together. Sew a group of 22 beads to the center of the poinsettia. Center the assembled motif on one of the 12 sections of the skirt as shown and sew in place.
Practical Tips
- Color Choice: For a festive look, choose bright contrast colors in the traditional section. For a vintage appeal, opt for deeper jewel tones in the Victorian section.
- Consistent Tension: Maintain an even tension throughout your stitches to ensure a uniform finish. Use a gauge check if needed.
- Bead Placement: Carefully plan where you sew the beads to enhance the overall aesthetic of the poinsettia. Position them in the center for a focal pop.
Troubleshooting
- Uneven Edges: If edges are uneven, you may be missing dc stitches. Count your stitches at every row’s end to check accuracy.
- Flare or Curling: If the skirt flares or curls tightly, decrease stitch tension. Aim for relaxed tension when working dc stitches.
- Difficulty with Petals or Leaves: If you struggle with formation, take time to closely follow the stitch counts in each round. Revisit the section if needed.
Care
To keep your crochet tree skirt looking its best:
- Hand wash gently in cold water.
- Lay flat to dry to avoid stretching.
- Avoid high heat from the iron; if needed, use a cool setting to smooth edges.
Frequently Asked Questions
What materials do I need for the crochet tree skirt?
You will need RED HEART® “Super Saver®” yarn in various colors, crochet hooks in sizes 6mm and 5mm, along with a yarn needle, sewing needle and thread, and beads. Specific amounts and yarn types are detailed in the materials section.
How long does it take to complete this project?
The time to complete the crochet tree skirt will vary by individual skill level, but expect several evenings for an intermediate crocheter, especially if you want to detail the motifs carefully.
Can I use a different yarn for this project?
Yes, you may substitute yarn; however, keep in mind that the weight and fiber type can alter the finished size and drape. Make sure the yarn matches the gauge you require for your pattern.
How can I change the size of the tree skirt?
Adjusting the size involves changing the foundation chain length as well as adding stitches in subsequent rows or rounds. Ensure to keep a symmetrical design for even appearance.
Is the pattern suitable for beginners?
This crochet tree skirt pattern is classified as intermediate, mainly due to the various techniques involved, such as working in rounds and shaping motifs. Beginners might find it challenging without prior experience.
How do I secure my beads onto the poinsettia?
To secure your beads, thread them onto the yarn and sew them into place at the center of each flower motif after completing the assembly. This will add a decorative finish and stability.