Get 30+ FREE Crochet Patterns — Join Our Newsletter
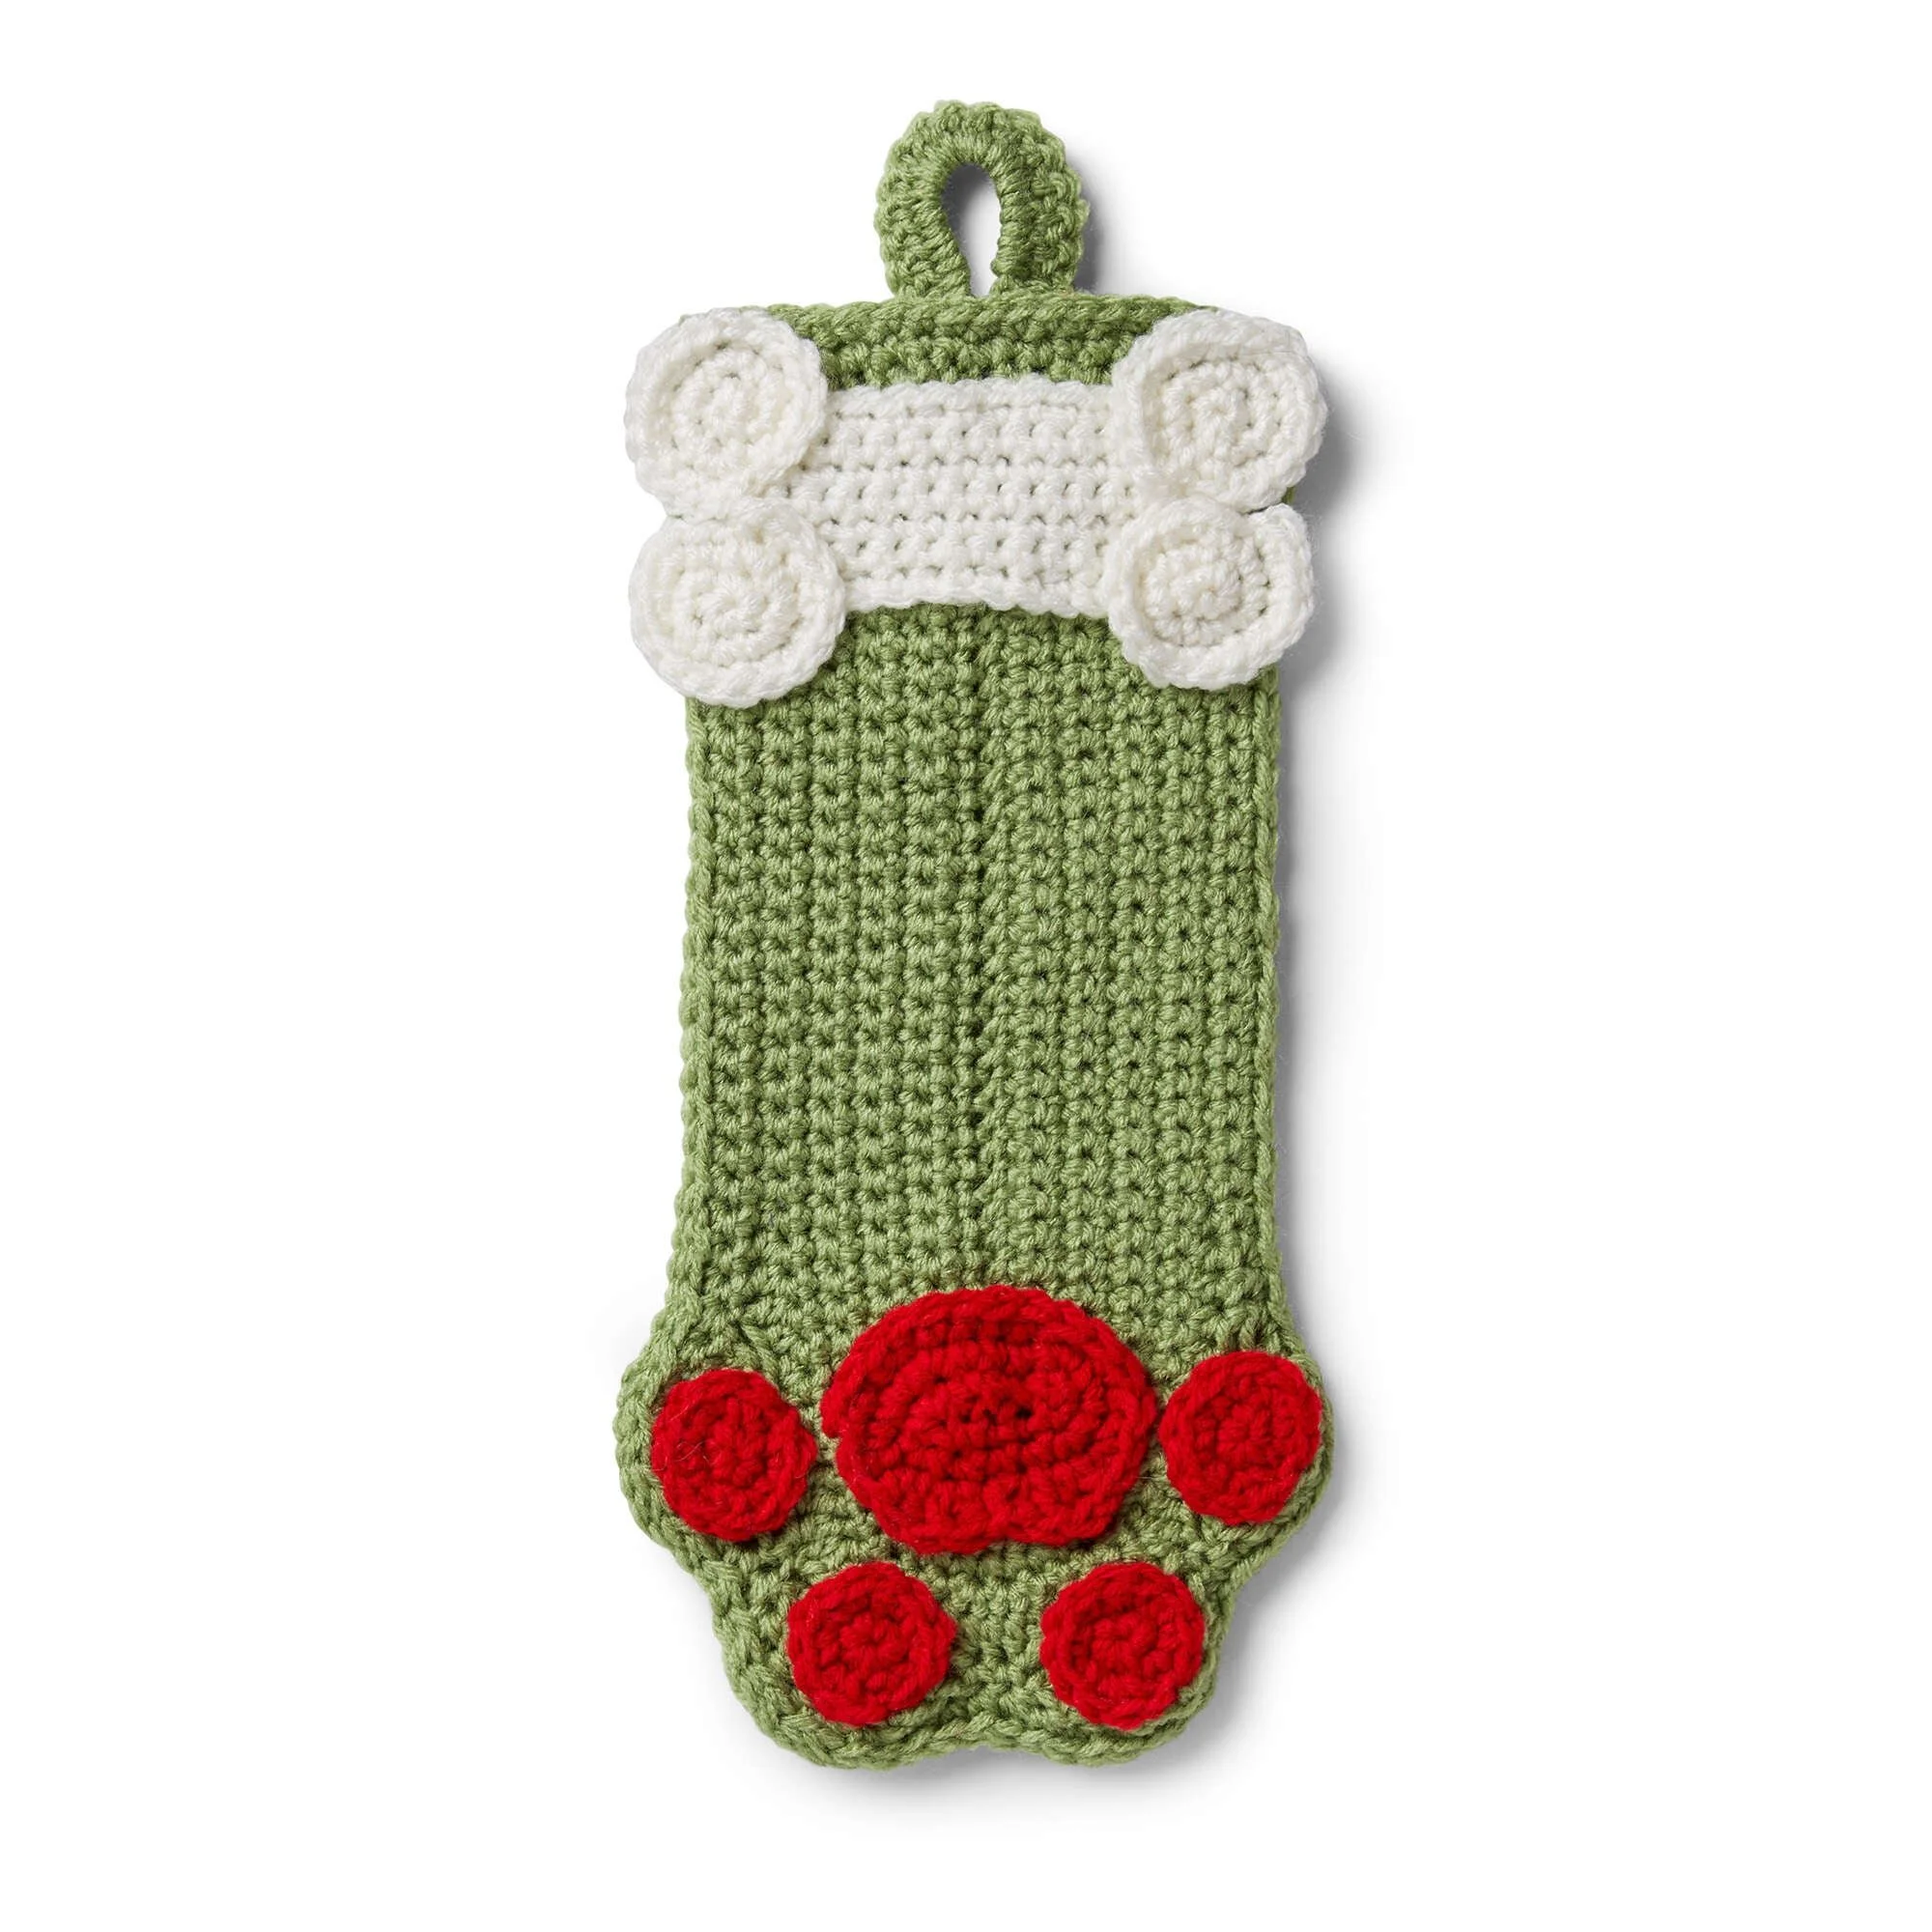
Dog Paws Christmas Stocking Crochet Pattern
Make the perfect festive piece for your furry friend with this Crochet Dog Paws Christmas Stocking Pattern. Adorned with cute paw prints and bone motifs, this stocking is designed for dogs and adds a whimsical touch to your holiday decor. The construction involves simple rows of single and half double crochet, making it suitable for crochet enthusiasts who have basic skills. Follow along as we break down the materials and steps required to crochet your very own stocking!
Project Details
- Crochet terminology: US terms
- Skill level: Intermediate – Requires basic crochet skills and knowledge of working in rounds.
- Finished size: Approximately 18 inches (46 cm) tall.
- Construction method: Worked in flat and continuous rounds.
- Gauge: Not specified.
Materials and Tools
| Yarn option | Yarn and specifications | Amount |
|---|---|---|
| Red Heart® Super Saver™ | 364 yds/333 m | 1 ball of each color |
| Contrast A | Tea Leaf (0624) | 1 ball |
| Contrast B | Cherry Red (0319) | 1 ball |
| Contrast C | Soft White (0316) | 1 ball |
- Size U.S. H/8 (5 mm) crochet hook or size needed to obtain gauge
- Stitch marker
Abbreviations
| Abbreviation | Meaning |
|---|---|
| ch | chain |
| sc | single crochet |
| hdc | half double crochet |
| tr | triple crochet |
| sl st | slip stitch |
| PM | place marker |
Preparation and Techniques
Working in Rounds
This pattern features both flat and continuous rounds. For the continuous rounds, do not join at the end of each round; instead, mark the end of your rounds with a stitch marker and continue working in the same direction.
Complete Pattern Instructions
Back and Front (make alike)
With Contrast A, ch 34.
| Row | Instructions | Stitches |
|---|---|---|
| 1 | (RS) 1 sc in 2nd ch from hook and each of next 31 ch. 3 sc in last ch. Do not turn. Working on opposite side of ch, 1 sc in each of next 32 ch. Turn. | 67 sc |
| 2 | Ch 1. 1 sc in each of next 32 sc. (2 sc in next sc) 3 times. 1 sc in each of last 32 sc. Turn. | 70 sc |
| 3 | Ch 1. 1 sc in each of next 33 sc. 2 sc in next sc. 1 sc in each of next 2 sc. 2 sc in next sc. 1 sc in each of last 33 sc. Turn. | 72 sc |
| 4 | Ch 1. 1 sc in each of next 34 sc. (2 sc in next sc) 4 times. 1 sc in each of last 34 sc. Turn. | 76 sc |
| 5 | Ch 1. 1 sc in each of next 37 sc. (2 sc in next sc) twice. 1 sc in each of last 37 sc. Turn. | 78 sc |
| 6 | Ch 1. 1 sc in each of next 37 sc. (2 sc in next sc) 4 times. 1 sc in each of last 37 sc. Turn. | 82 sc |
| 7 | Ch 1. 1 sc in each of next 37 sc. 2 sc in next sc. 1 sc in each of next 6 sc. 2 sc in next sc. 1 sc in each of last 37 sc. Turn. | 84 sc |
| 8 | Ch 1. 1 sc in each of next 38 sc. 2 sc in next sc. 1 sc in each of next 2 sc. (2 sc in next sc) twice. 1 sc in each of next 2 sc. 2 sc in next sc. 1 sc in each of last 38 sc. Turn. | 88 sc |
| 9 | Ch 1. 1 sc in each of next 27 sc. 1 hdc in each of next 10 sc. 2 hdc in next sc. 1 hdc in each of next 2 sc. 2 hdc in next sc. 1 hdc in each of next 6 sc. 2 hdc in next sc. 1 hdc in each of next 2 sc. 2 hdc in next sc. 1 hdc in each of next 10 sc. 1 sc in each of last 27 sc. Turn. | 92 sts |
| 10 | Ch 1. 1 sc in each of next 30 sts. *(Skip next 3 sts. 7 tr in next st. Skip next 3 sts. 1 sc in next st) twice.* 1 sc in last 29 sts. Turn. | – |
| 11 | Ch 1. 1 sc in each of next 32 sts. (2 sc in next sc) 3 times. 1 sc in each of next 5 sts. (2 sc in next sc) 3 times. 1 sc in each of next 6 sts. (2 sc in next sc) 3 times. 1 sc in each of last 32 sc. Fasten off. | – |
Center Paw
Note: Do not join at end of rnd. Work in continuous rnds. PM to indicate end of rnd. Move marker as work progresses.
With Contrast B, ch 6.
| Round | Instructions | Stitches |
|---|---|---|
| 1 | 1 sc in 2nd ch from hook and each of next 3 ch. 3 sc in last ch. Working on opposite side of ch, 1 sc in each of next 3 ch. 2 sc in last ch. Do not join but work in continuous rnds. | 12 sc |
| 2 | 2 sc in first sc. 1 sc in each of next 3 sc. (2 sc in next sc) 3 times. 1 sc in each of next 3 sc. (2 sc in next sc) twice. | 18 sc |
| 3 | *(1 sc, 1 hdc) in first sc. (1 hdc, 1 dc) in next sc. 2 dc in next sc. Sl st in next sc. 2 dc in next sc. (1 dc, 1 hdc) in next sc. (1 hdc, 1 sc) in next sc. 1 sc in each of last 11 sc.* Fasten off. | – |
Sew in place at front side of Stocking.
Paw Prints (make 4)
With Contrast B, ch 2.
| Round | Instructions | Stitches |
|---|---|---|
| 1 | 6 sc in 2nd ch from hook. Join with sl st to first sc. | – |
| 2 | Ch 1. 2 sc in each sc around. Join with sl st to first sc. Fasten off. | – |
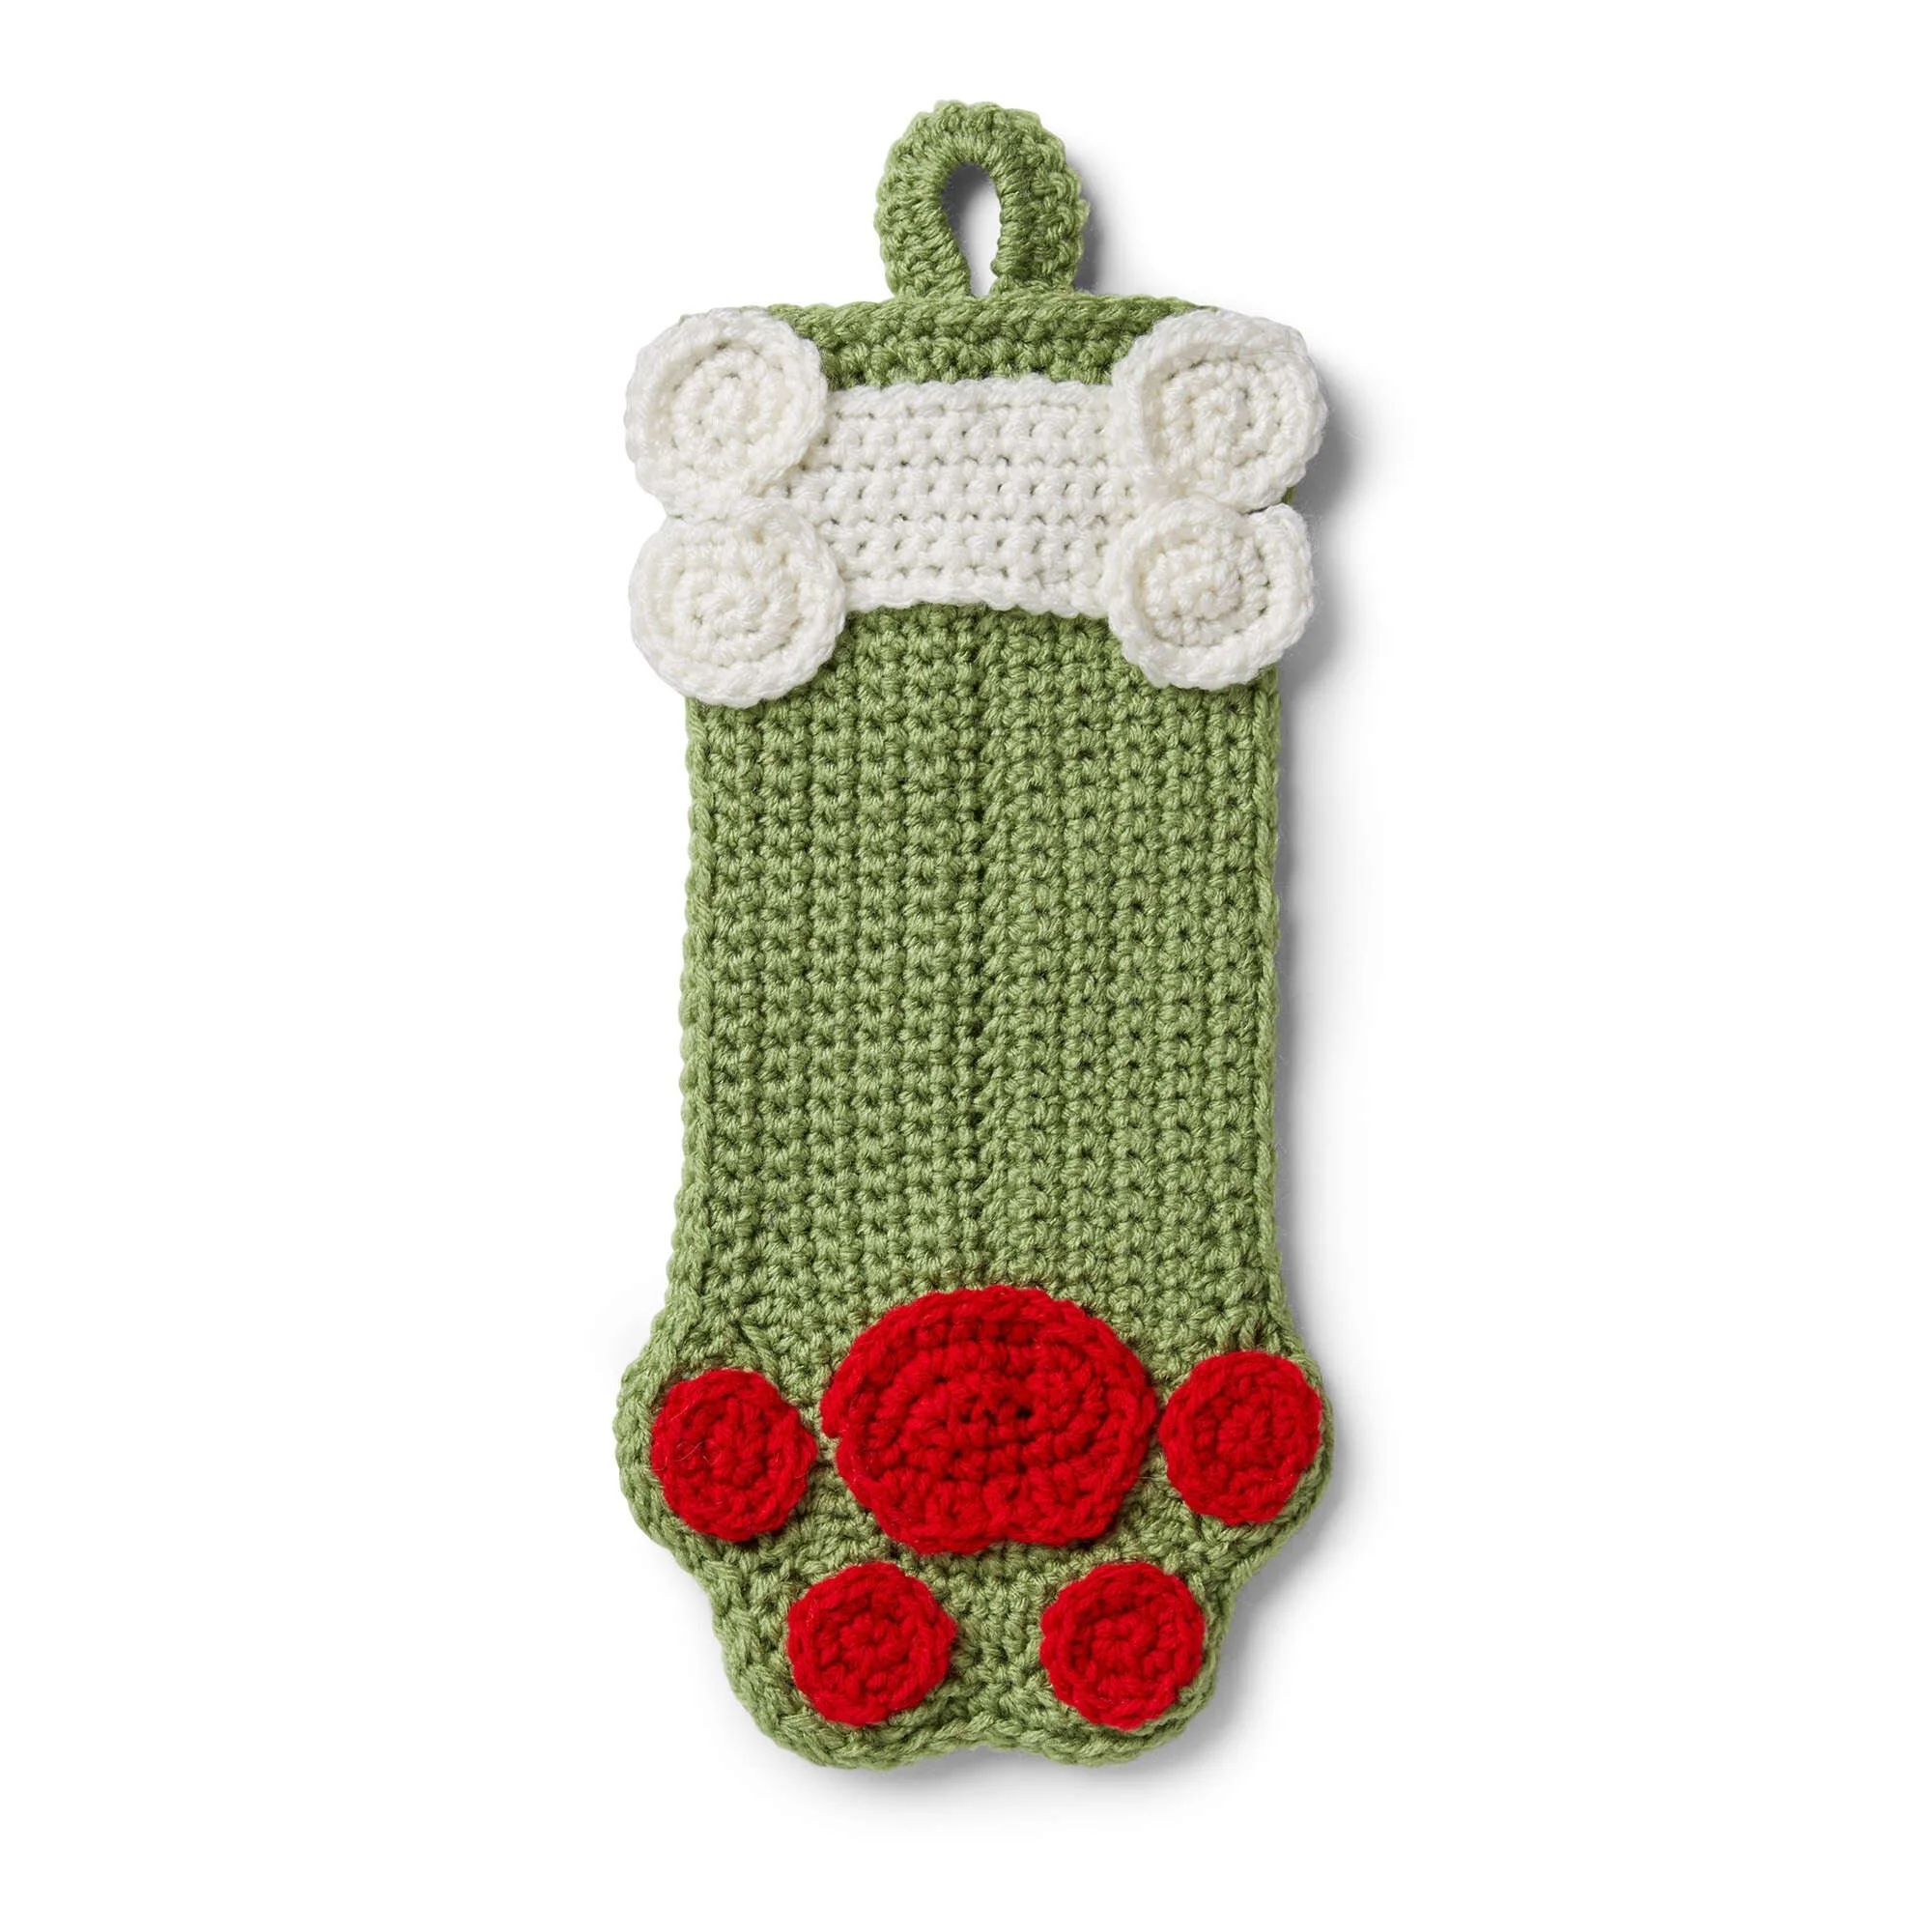
Sew paw prints in place around the Center Paw as shown in pictures.
Bone
With Contrast C, ch 15.
| Row | Instructions | Stitches |
|---|---|---|
| 1 | (RS) 1 sc in 2nd ch from hook and each ch to end of chain. Turn. | 14 sc |
| 2 to 7 | Ch 1. 1 sc in each sc to end of row. Turn. Fasten off. | – |
Ends of Bone (make 4)
Note: Do not join at end of rnd. Work in continuous rnds. Move marker as work progresses.
With Contrast C, ch 2.
| Round | Instructions | Stitches |
|---|---|---|
| 1 | 6 sc in 2nd ch from hook. Do not join but work in continuous rnds. | – |
| 2 | 2 sc in each sc around. | 12 sc |
| 3 | Ch 1. (1 sc in next sc. 2 sc in next sc) 6 times. Fasten off. | 18 sc |
Sew Bone in place with 2 Ends over each short edge of Bone as shown in picture.
Assembly and Finishing
Sew the Pieces Together
Sew the Front and Back of the Stocking together through both loops of the last row.
Border and Hanging Loop
- Join Contrast A with sl st to top center back st of Stocking. Ch 1. Work sc evenly around. Ch 10 for hanging loop. Join with sl st to first sc.
- Sl st in each of first 3 sc. Ch 1. 1 sc in same sp as last sl st and each sc to last 2 sc. Skip last 2 sc. 16 dc in next ch-10 loop. Skip first 2 sl st. Join with sl st to first sc. Fasten off.
Practical Tips
- Use a stitch marker: Always mark your rounds when working in continuous rounds to keep track easily.
- Consistent tension: Maintain an even tension throughout your work to ensure a uniform finished piece.
- Keep paw prints visible: Arrange the paw prints and bone motif in a way that makes them visible when the stocking is hanging.
Troubleshooting
- Uneven edges: This could be due to inconsistent tension. Make sure to crochet firmly and evenly to keep your edges smooth.
- Stitch count discrepancies: If your stitch count doesn’t match the expected number, retrace your rounds and ensure you haven’t missed sc or hdc increases.
- Paw prints falling off: If your paw prints or bone motif feel loose, reinforce your stitches when sewing them on to ensure they stay in place.
Care Instructions
To clean your stocking, hand wash in cold water and lay flat to dry. Avoid direct sunlight to prevent colors from fading.
- Hand wash recommended.
- Avoid bleach.
- Store in a cool, dry place.
Frequently Asked Questions
What is the finished size of the stocking?
The finished size of this stocking is approximately 18 inches (46 cm) tall. This size makes it ideal for hanging from a mantelpiece or gifting to your dog on Christmas morning.
Can I use a different yarn weight?
Yes, you can use a different yarn weight, but this may affect the overall size and appearance of the finished stocking. Always ensure your tension matches the desired outcome.
What skill level is this pattern suitable for?
This pattern is categorized as intermediate. Basic skills in crochet are required, particularly familiarity with working in rounds and various stitches like sc and hdc.
How do I prevent my stitches from loosening?
To prevent loose stitches, maintain an even tension throughout your project. Consider using a smaller hook if you find your stitches are too loose with the recommended size.
What can I use instead of Red Heart® Super Saver™?
You can substitute with any other worsted-weight yarn. Just ensure it has similar fibers and gauge characteristics for the best results.