Get 30+ FREE Crochet Patterns — Join Our Newsletter
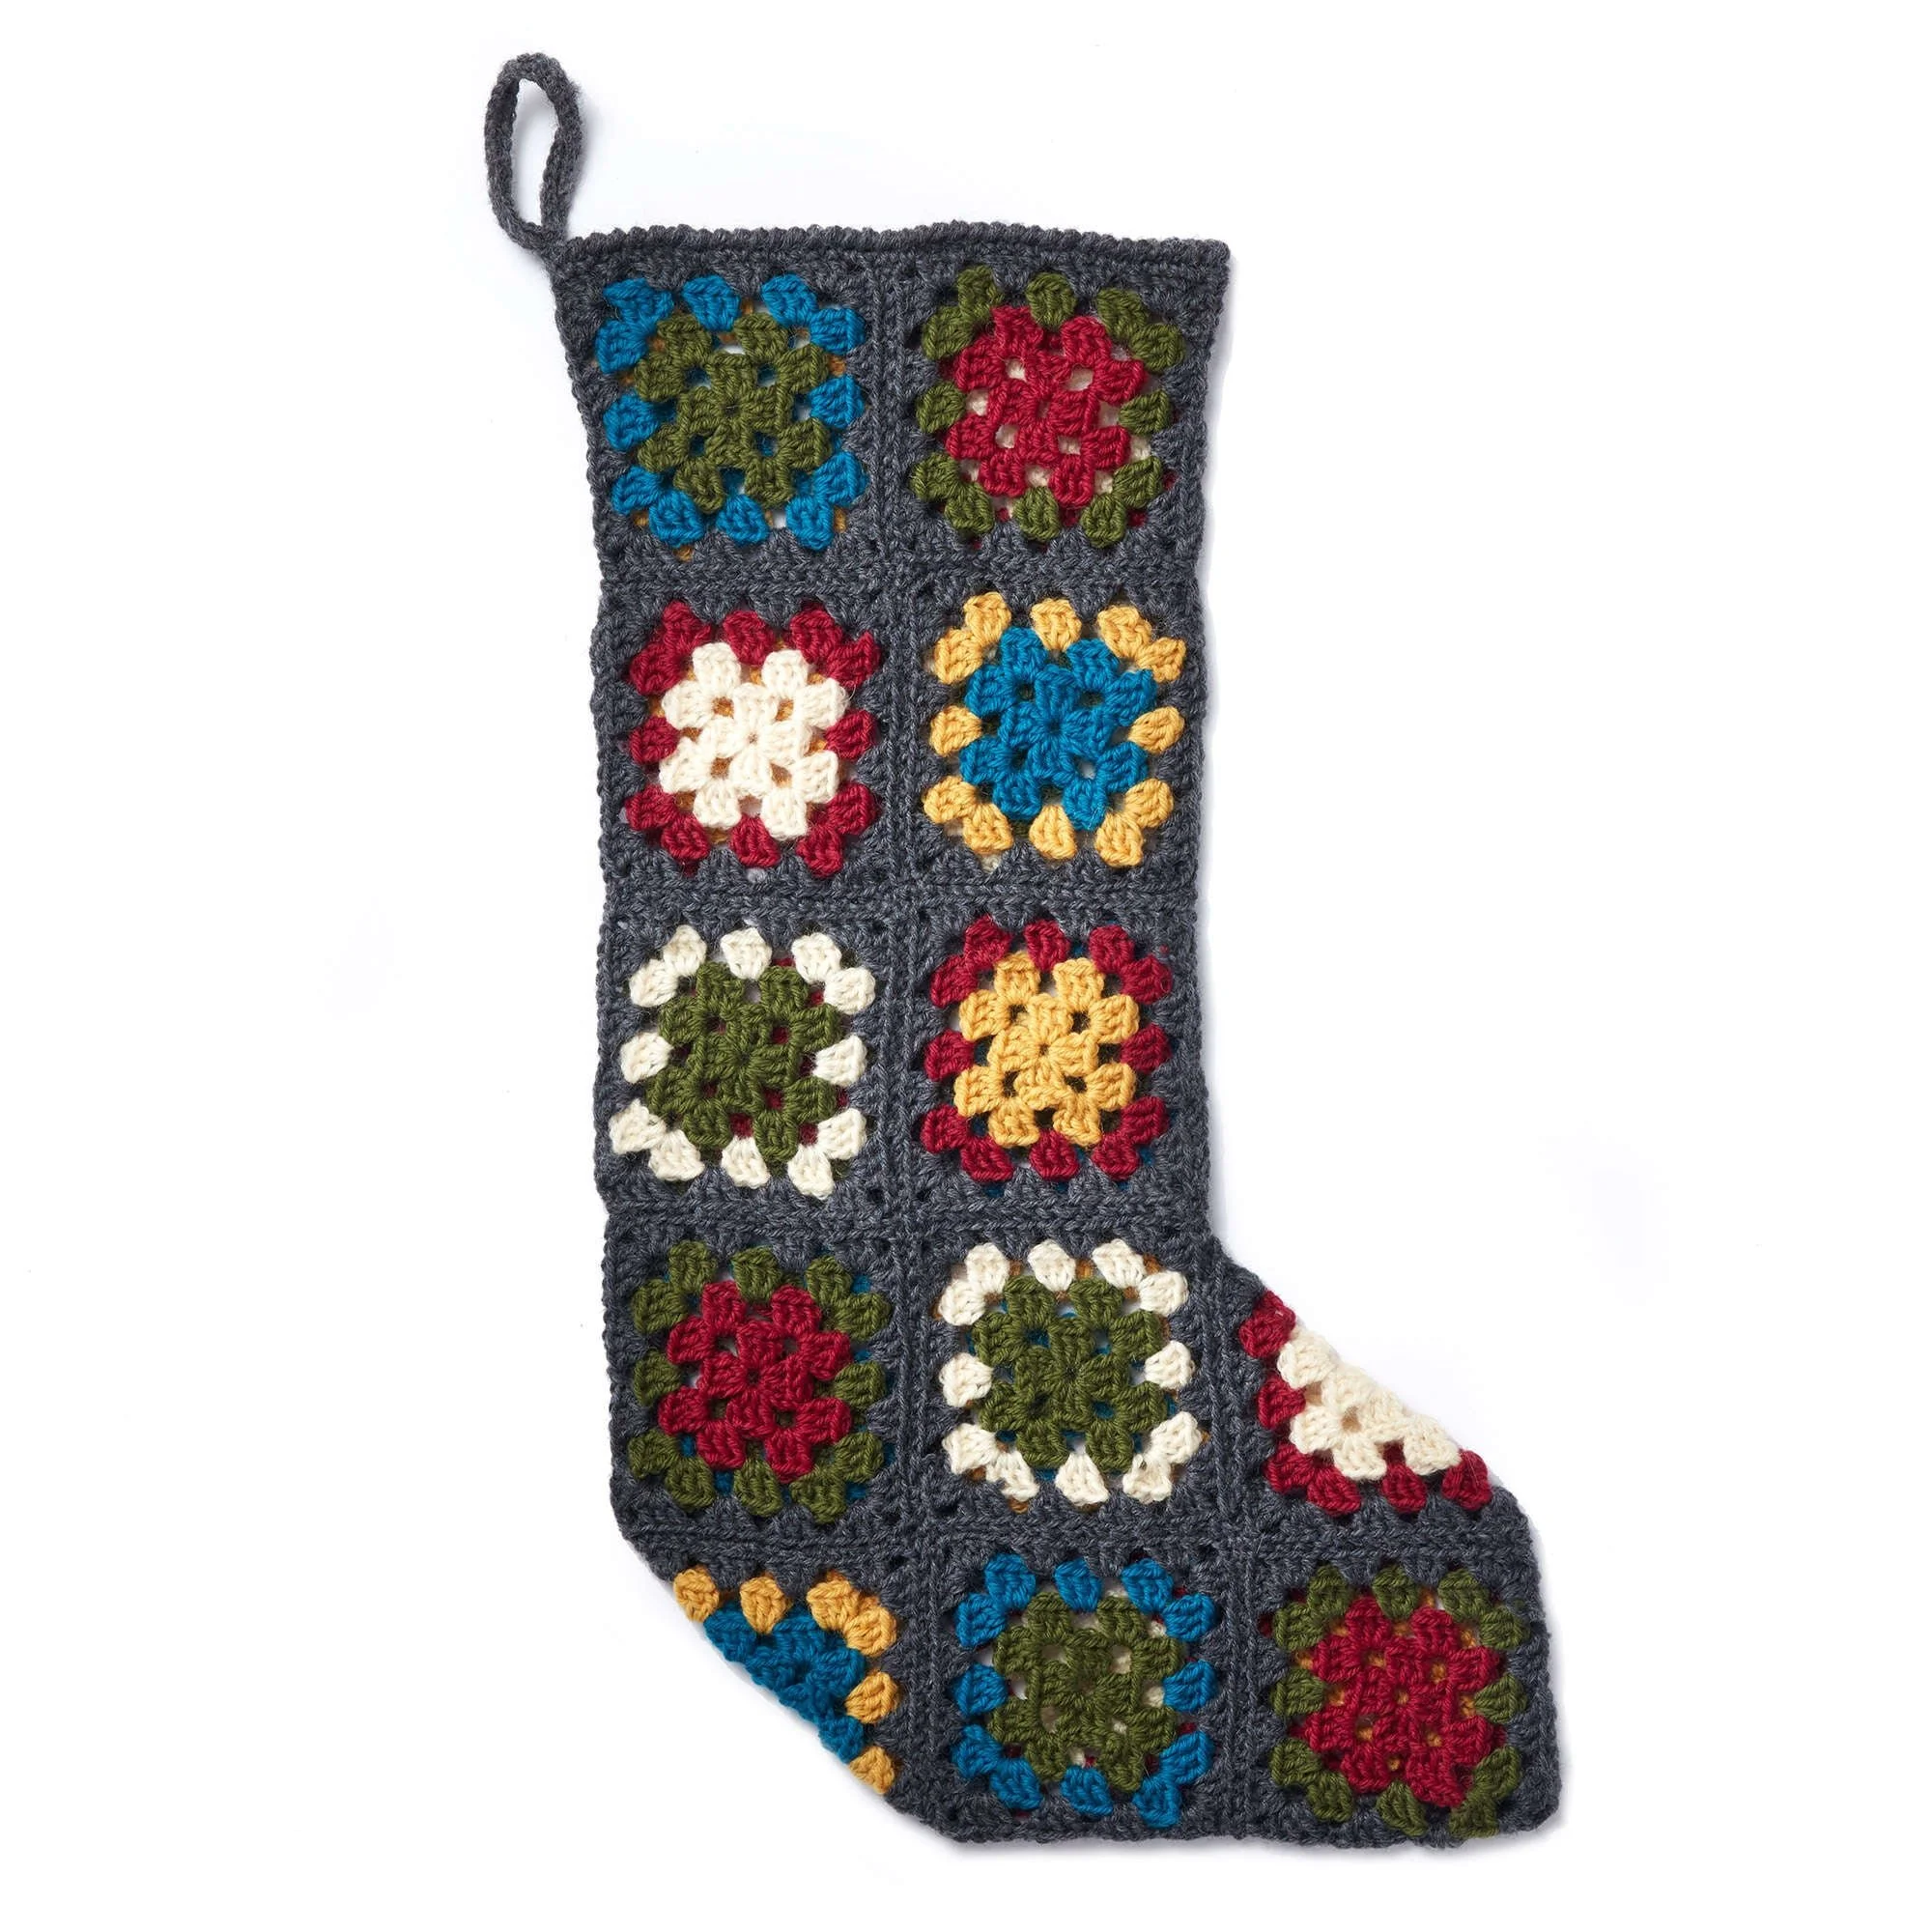
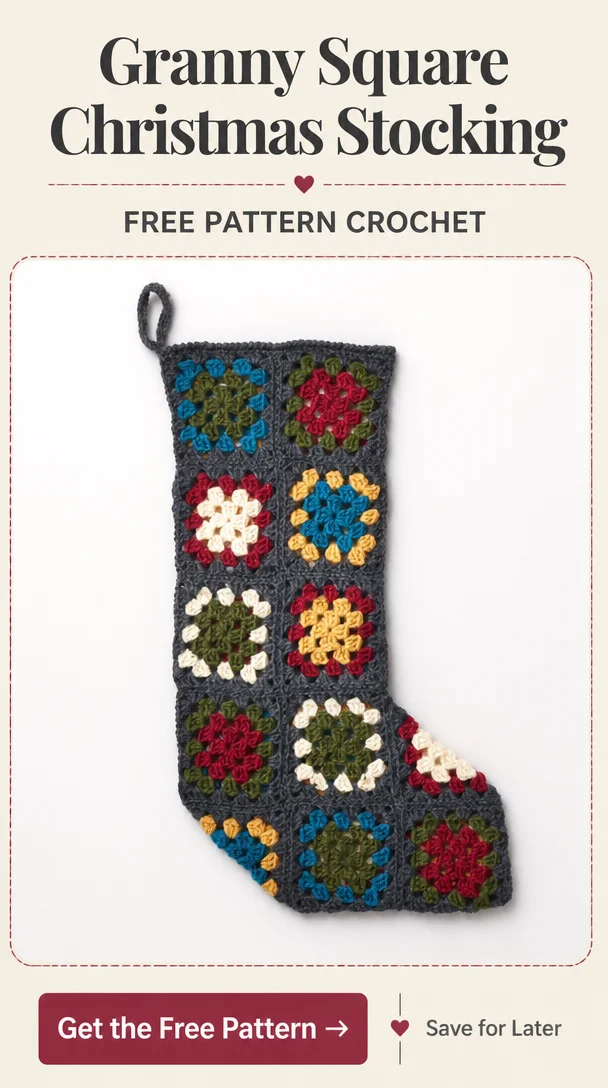
Granny Square Crochet Stocking Pattern
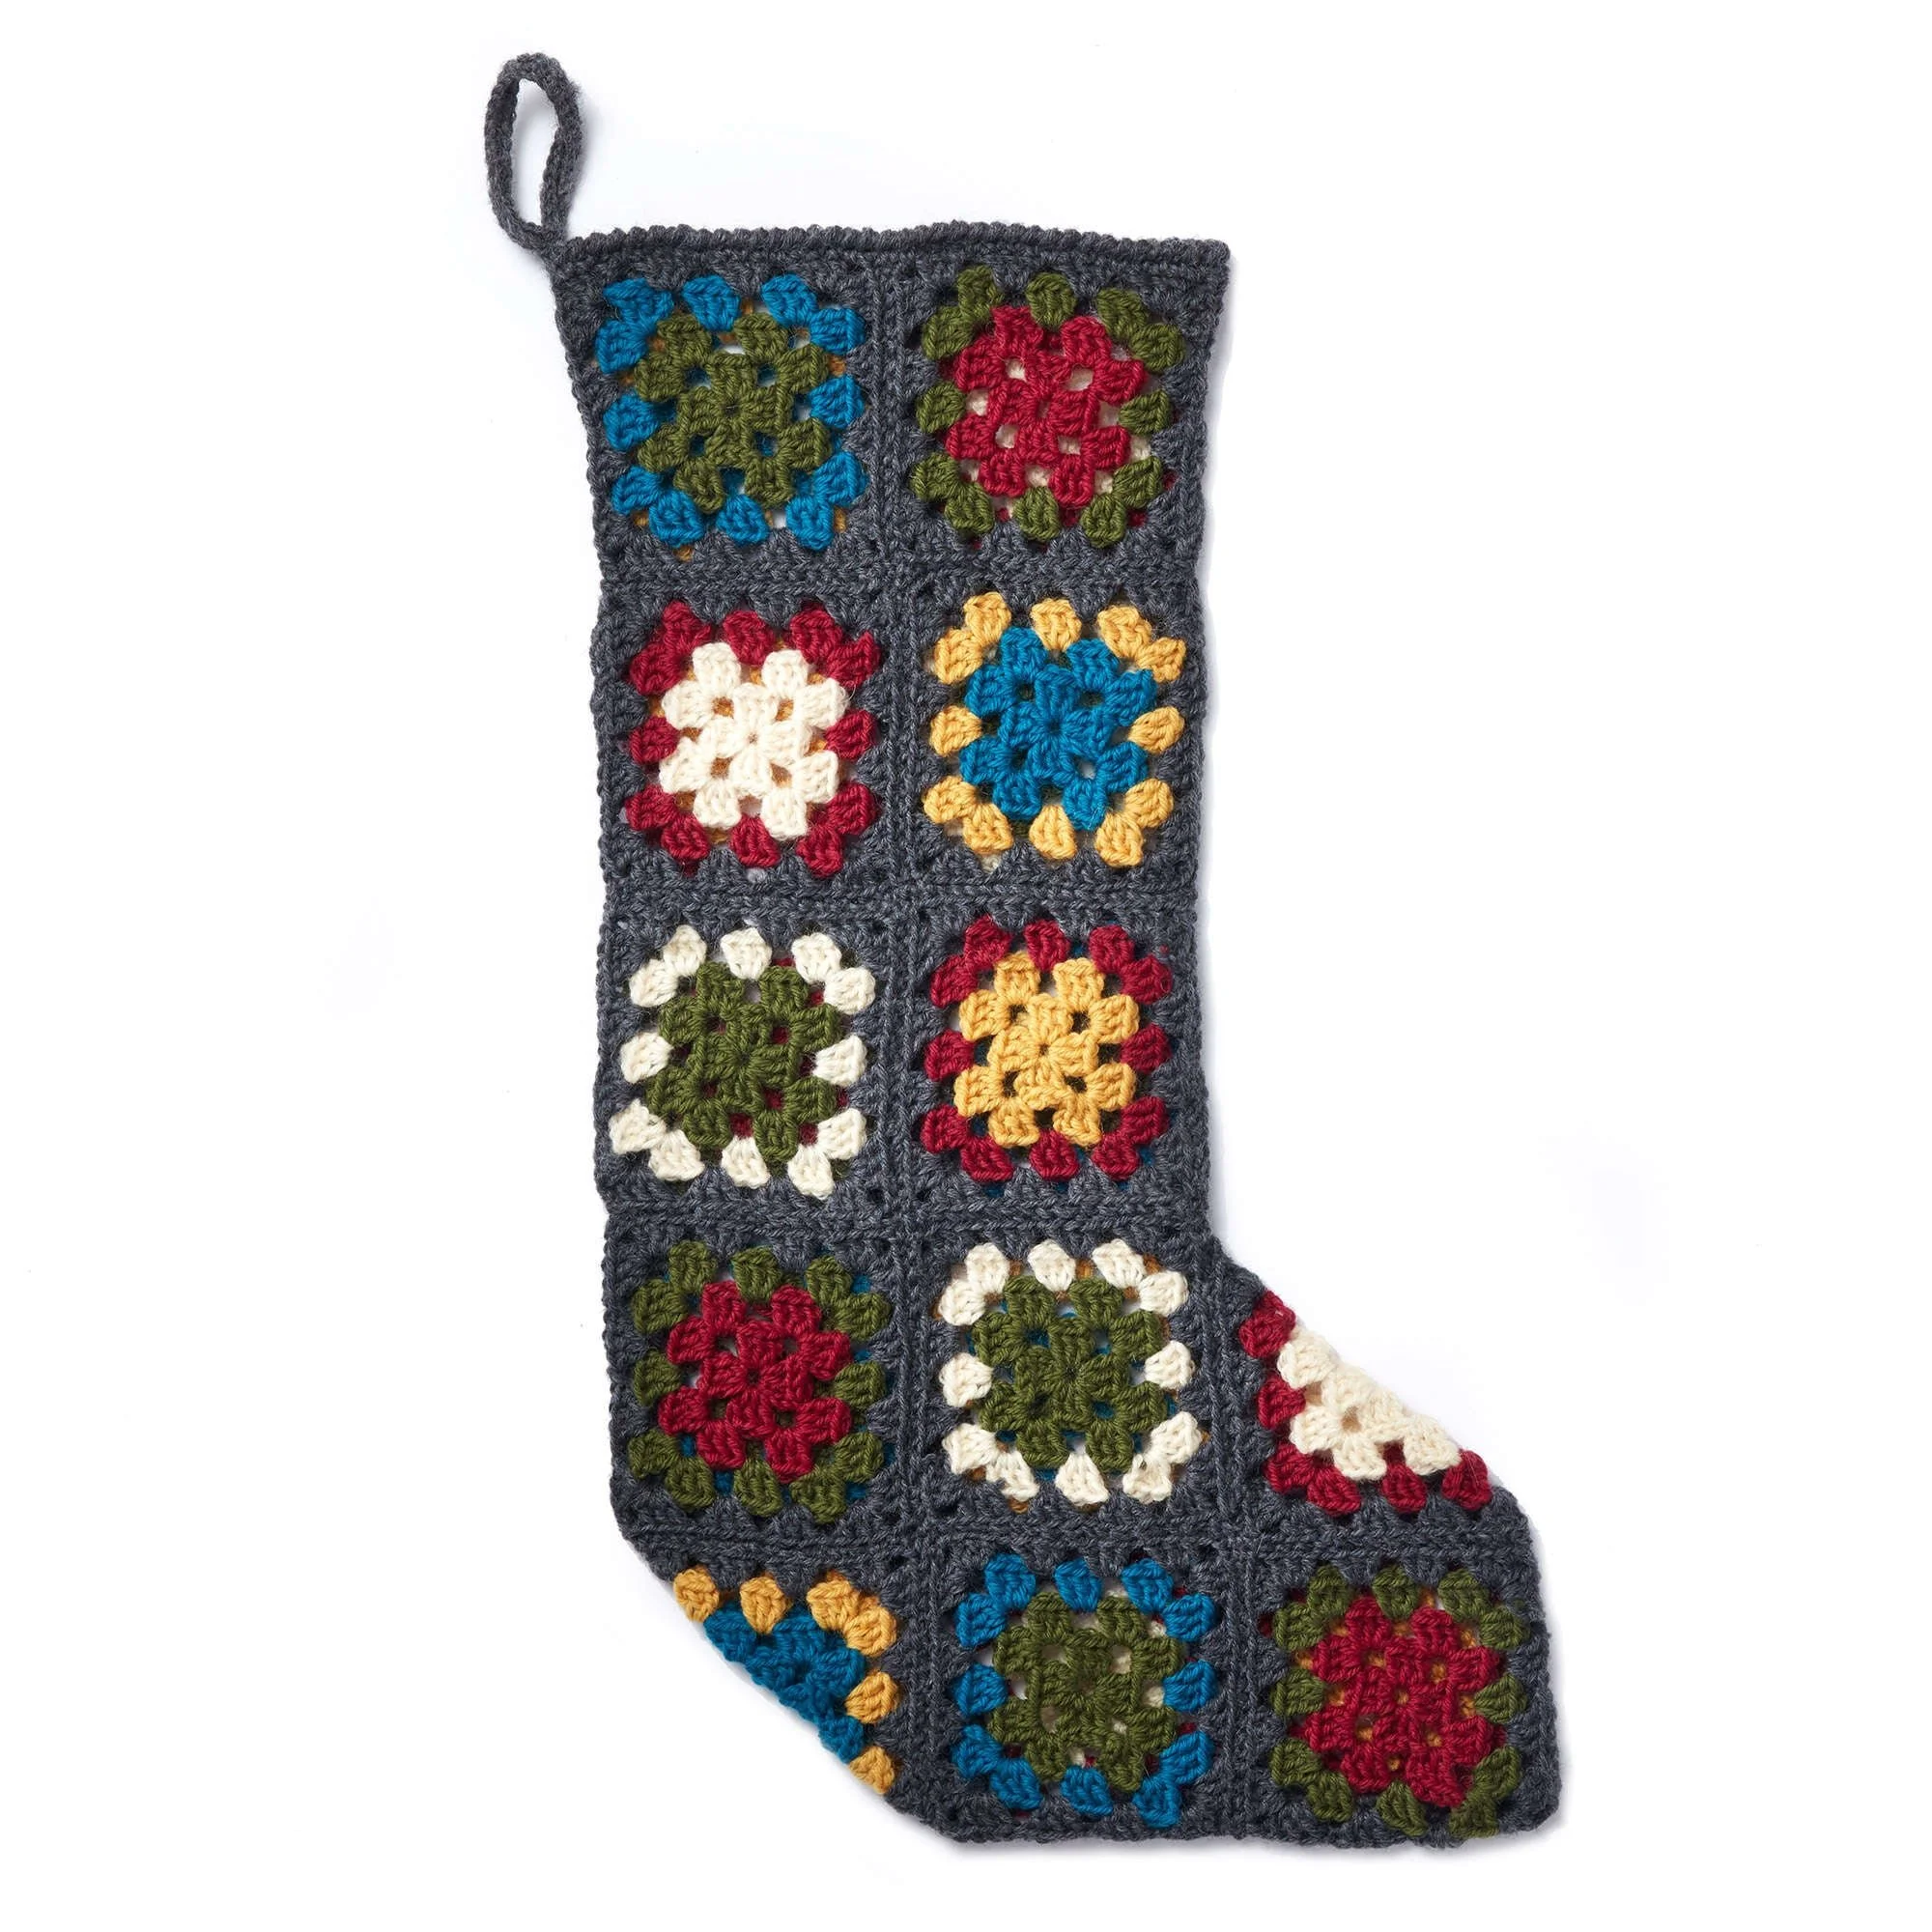
Create a unique and cozy Crochet Granny Square Stocking to adorn your home. This charming project combines traditional granny square motifs with a functional stocking shape, making it both decorative and practical for the holiday season. The finished stocking features vibrant colors and an appealing texture, perfect for gifting or personal use. Follow along with the written directions and the accompanying photos to guide you through each step.
This project is suitable for those with intermediate crochet skills, as it involves joining granny squares and working in rounds. Gather your materials, and let’s get started on this delightful crochet pattern!
Project Details
- Crochet terminology: U.S.
- Skill level: Intermediate
- Finished size: Approximately 14 inches tall (when finished and blocked)
- Construction method: Motif assembly and edging
Materials and Tools
| Yarn option | Yarn and specifications | Amount |
|---|---|---|
| Contrast A | Patons® Classic Wool DK Superwash™ Dark Grey Heather (12042) | 3 balls |
| Contrast B | Patons® Classic Wool DK Superwash™ Gold (12609) | 1 ball |
| Contrast C | Patons® Classic Wool DK Superwash™ Green (12243) | 1 ball |
| Contrast D | Patons® Classic Wool DK Superwash™ Mallard Teal (12203) | 1 ball |
| Contrast E | Patons® Classic Wool DK Superwash™ Aran (12008) | 1 ball |
| Contrast F | Patons® Classic Wool DK Superwash™ Claret (12532) | 1 ball |
Size: U.S. E/4 (3.5 mm) crochet hook or size needed to obtain gauge.
Note: Yarn weight, hook size, and tension can affect the finished dimensions. For the best results, keep gauge consistent.
Abbreviations
| Abbreviation | Meaning |
|---|---|
| ch | Chain |
| dc | Double crochet |
| sl st | Slip stitch |
| sc | Single crochet |
| sp | Space |
Preparation and Techniques
Working in Rounds
This pattern involves working in rounds for the granny squares. Each round is joined with a slip stitch to ensure a seamless connection.
Changing Yarn Colors
When switching colors for the motifs, be sure to complete the last stitch of the previous color, then complete it with the new color. This technique helps in achieving a clean color change.
Joining Rounds
Each round is completed with a slip stitch to the top of the first chain 3 from the beginning of the round. This method helps maintain the structure of your motif.
Complete Pattern Instructions
Motif Instructions
For each motif, follow these instructions:
| Round | Instructions | Stitches |
|---|---|---|
| 1st rnd | With Color 1, ch 4. Join with sl st to first ch to form a ring. Ch 3, 2 dc in ring. (Ch 3, 3 dc in ring) 3 times. Ch 3. Join with sl st to top of ch-3. | (3 dc, 3 dc, 3 dc, 3 dc) |
| 2nd rnd | Sl st in each of next 2 dc and ch-3 sp. Ch 3. (2 dc, Ch 3, 3 dc) in same ch-3 sp. *Ch 1. (3 dc, Ch 3, 3 dc) in next ch-3 sp. Rep from * twice more. Ch 1. Join with sl st to top of ch-3. Fasten off. | (3 dc, 3 dc, 3 dc, 3 dc) |
| 3rd rnd | Join Color 2 with sl to any ch-3 corner sp. Ch 3. (2 dc, Ch 3, 3 dc) in same sp. *Ch 1. 3 dc in next ch-1 sp. Ch 1. (3 dc, Ch 3, 3 dc) in next ch-3 sp. Rep from * twice more. Ch 1. 3 dc in next ch-1 sp. Ch 1. Join with sl st to top of ch-3. Fasten off. | (3 dc, 3 dc, 3 dc, 3 dc) |
| 4th rnd | Join A with sl st to ch-3 corner sp. Ch 3. (2 dc, Ch 3, 3 dc) in same sp. *(Ch 1, 3 dc in next ch-1 sp) twice. Ch 1. (3 dc, Ch 3, 3 dc) in next ch-3 sp. Rep from * twice more. (Ch 1, 3 dc in next ch-1 sp) twice. Ch 1. Join with sl st to top of ch-3. Fasten off. | (3 dc, 3 dc, 3 dc, 3 dc) |
Make the following number of motifs:
- Motif 1: Make 4 using E as Color 1 and F as Color 2.
- Motif 2: Make 4 using D as Color 1 and B as Color 2.
- Motif 3: Make 4 using C as Color 1 and D as Color 2.
- Motif 4: Make 4 using F as Color 1 and C as Color 2.
- Motif 5: Make 3 using C as Color 1 and E as Color 2.
- Motif 6: Make 3 using B as Color 1 and F as Color 2.
Finishing
Sew motifs together as per the provided diagram. Fold where indicated and sew side seams to form the stocking shape.
Top Edging
| Round | Instructions |
|---|---|
| 1st rnd | Join A with sl st to top edge of stocking. Ch 1. Work 1 rnd of sc evenly around the top. Join with sl st to first sc. |
| 2nd rnd | Ch 1. Work 1 reverse sc in each sc from left to right instead of from right to left. Join with sl st to first sc. Fasten off. |
Hanging Loop
With A, ch 31.
| Row | Instructions |
|---|---|
| 1st row | 1 sc in 2nd ch from hook. 1 sc in each ch to end. Turn. (30 sc) |
| 2nd row | Ch 1. 1 sc in each sc to end of row. Fasten off. |
Attach the hanging loop to the top of the stocking.
Practical Tips
- Consistent Tension: Maintain an even tension throughout the project for uniformity in stitches.
- Color Placement: Plan your color combinations before starting to visualize the patterns effectively.
- Secure Ends: Always weave in loose ends after completing motifs to avoid unraveling.
- Blocking: Consider blocking your finished stocking lightly to achieve a smooth shape.
Troubleshooting
- Ruffled Edges: This can occur from pulling stitches too tightly. Ensure your tension is even.
- Incorrect Stitch Count: Double check rounds if you lose stitches; count as you go.
- Uneven Motifs: If your motifs don’t line up, recheck the stitch counts to ensure accuracy.
Care
To keep your Crochet Granny Square Stocking looking its best, follow these care instructions:
- Hand wash in cold water.
- Lay flat to dry.
- Do not bleach; avoid tumble drying to prevent shrinkage.
Frequently Asked Questions
Can I use a different yarn?
Yes, you can use a different yarn as long as it matches the recommended gauge. Be mindful that different fibers will alter the texture and weight of your stocking.
What is the finished size of the stocking?
The finished stocking measures approximately 14 inches tall. Ensure your gauge is correct to achieve this size.
Can beginners make this stocking?
This pattern is more suited for intermediate crocheters due to the joining of granny squares and the range of techniques involved.
How can I customize the colors?
Feel free to mix and match the colors according to your taste! Choose contrasts that complement each other while remaining true to the granny square aesthetic.
How do I hang the stocking?
Use the hanging loop created in the project to securely hang your stocking. Ensure it’s securely attached to avoid accidents.