
Get 30+ FREE Crochet Patterns — Join Our Newsletter
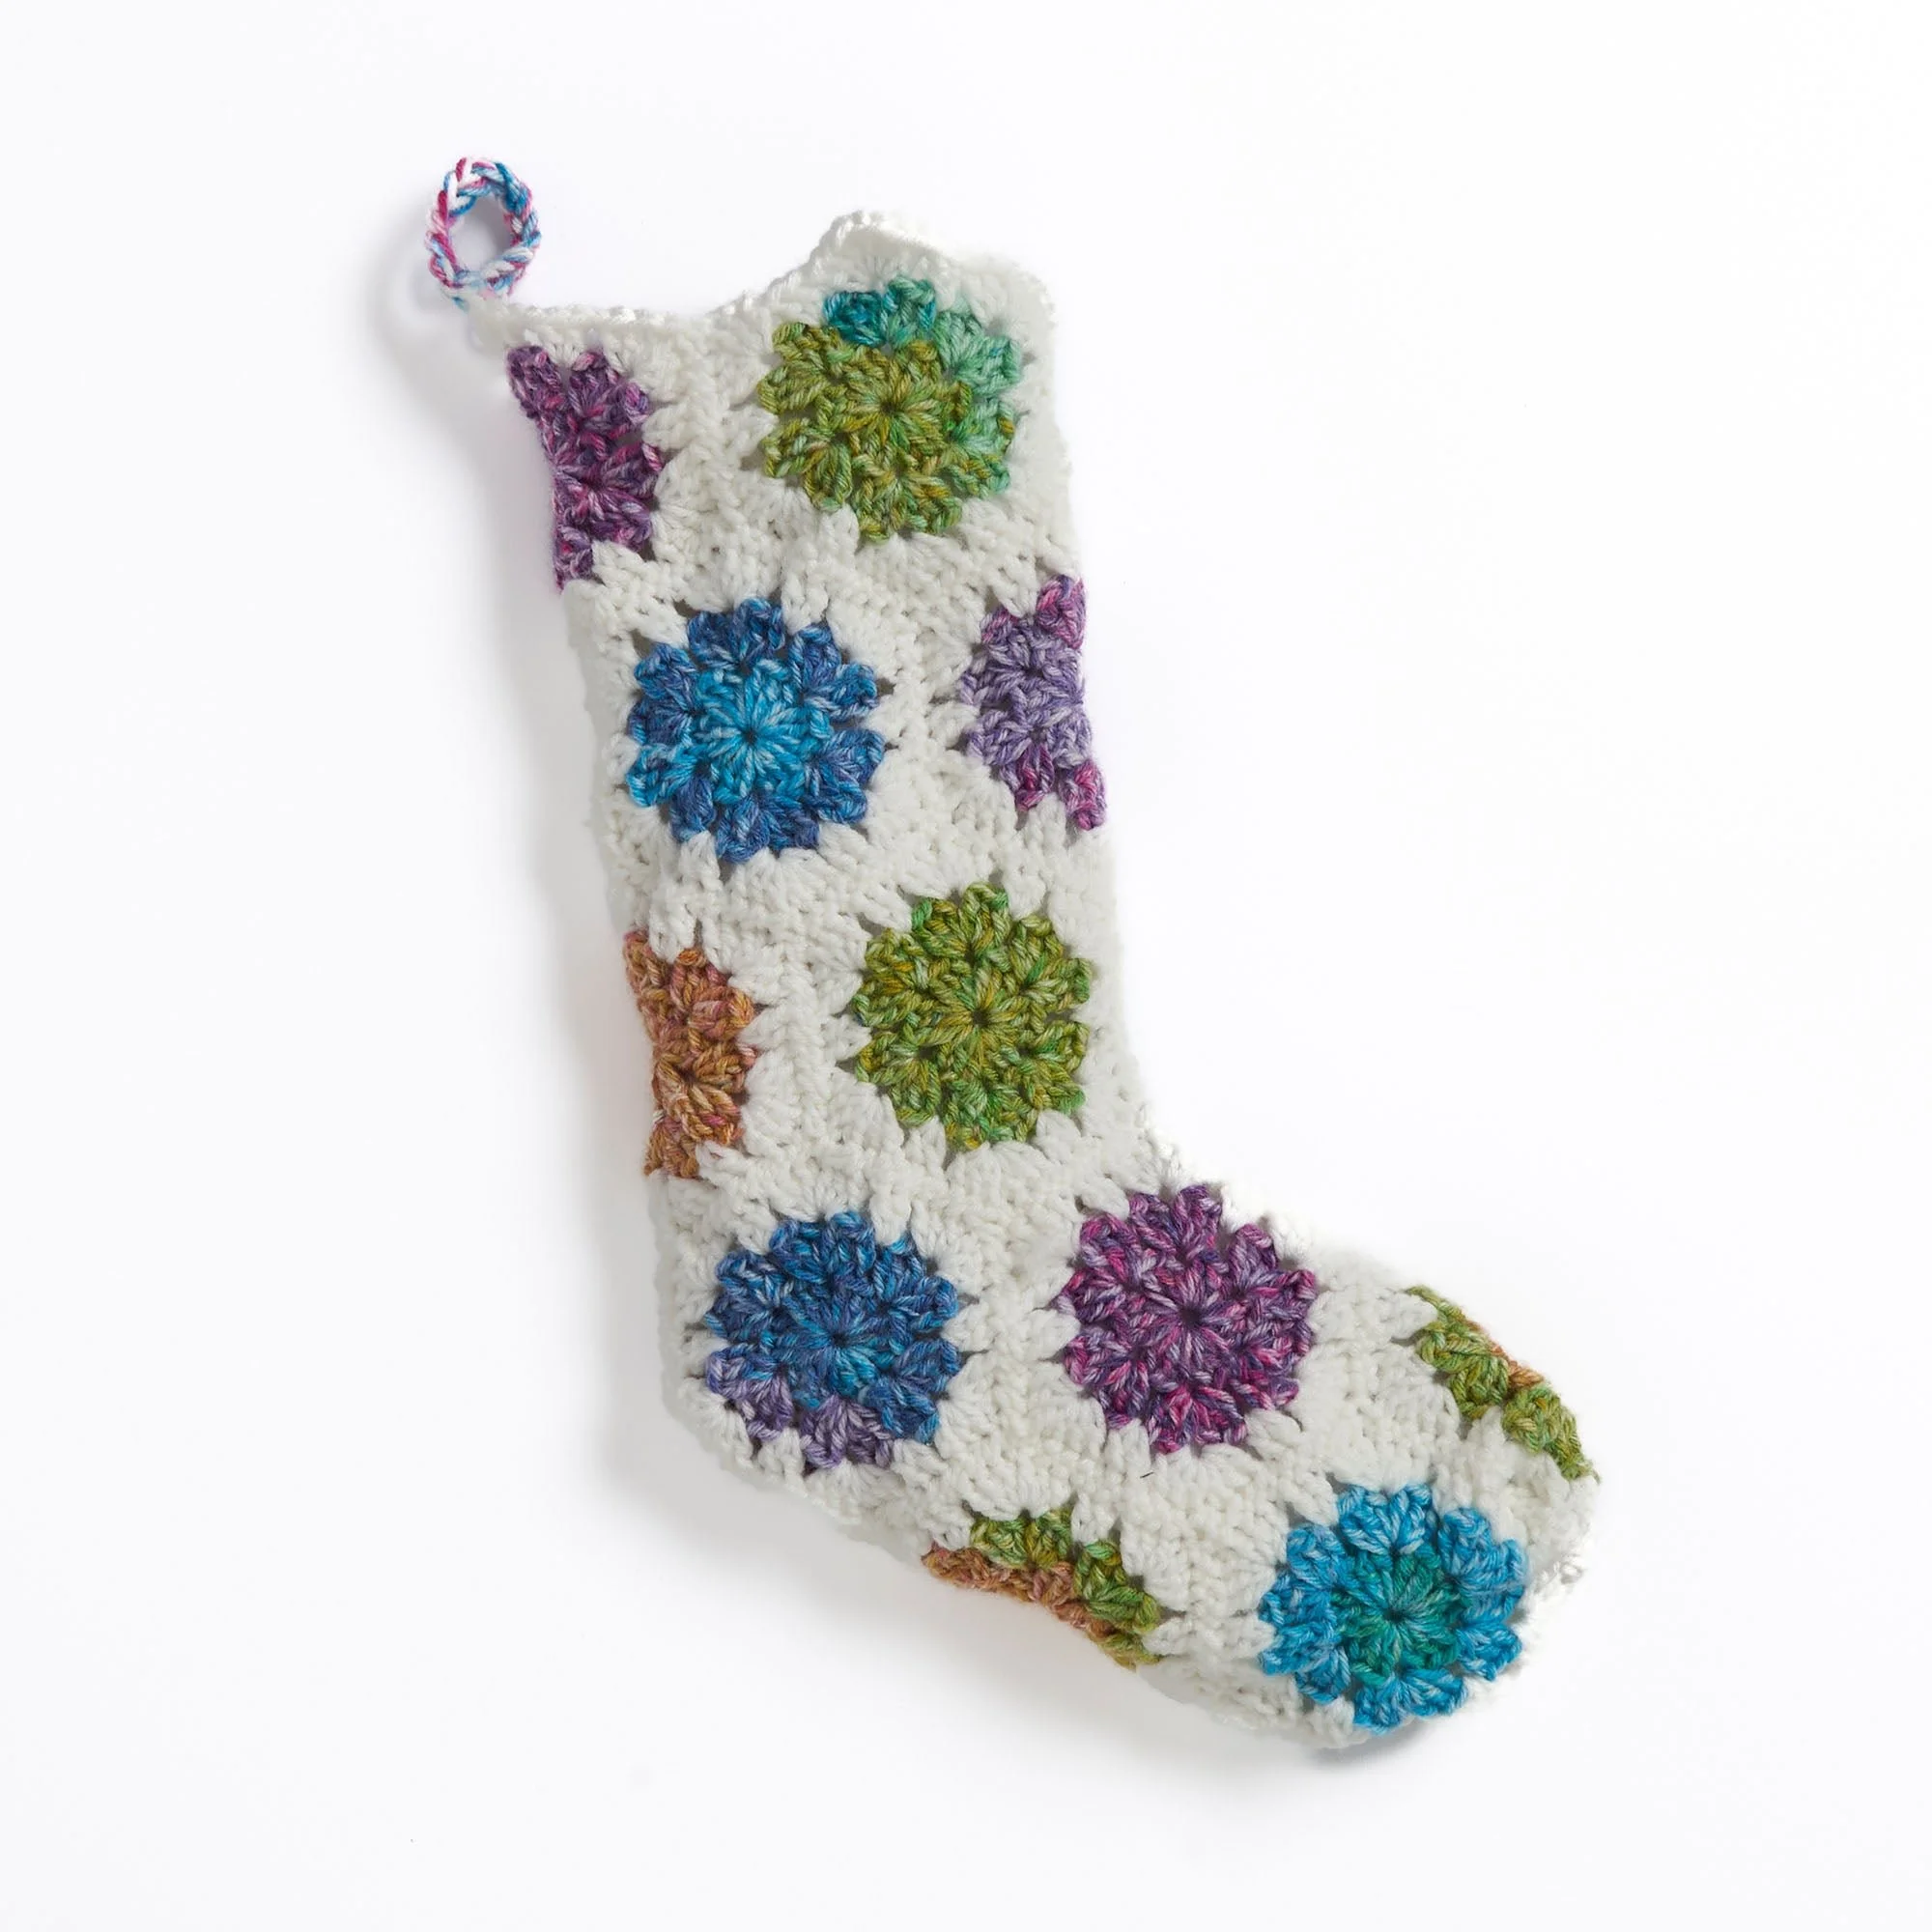
Hexi Motif Stocking Crochet Pattern
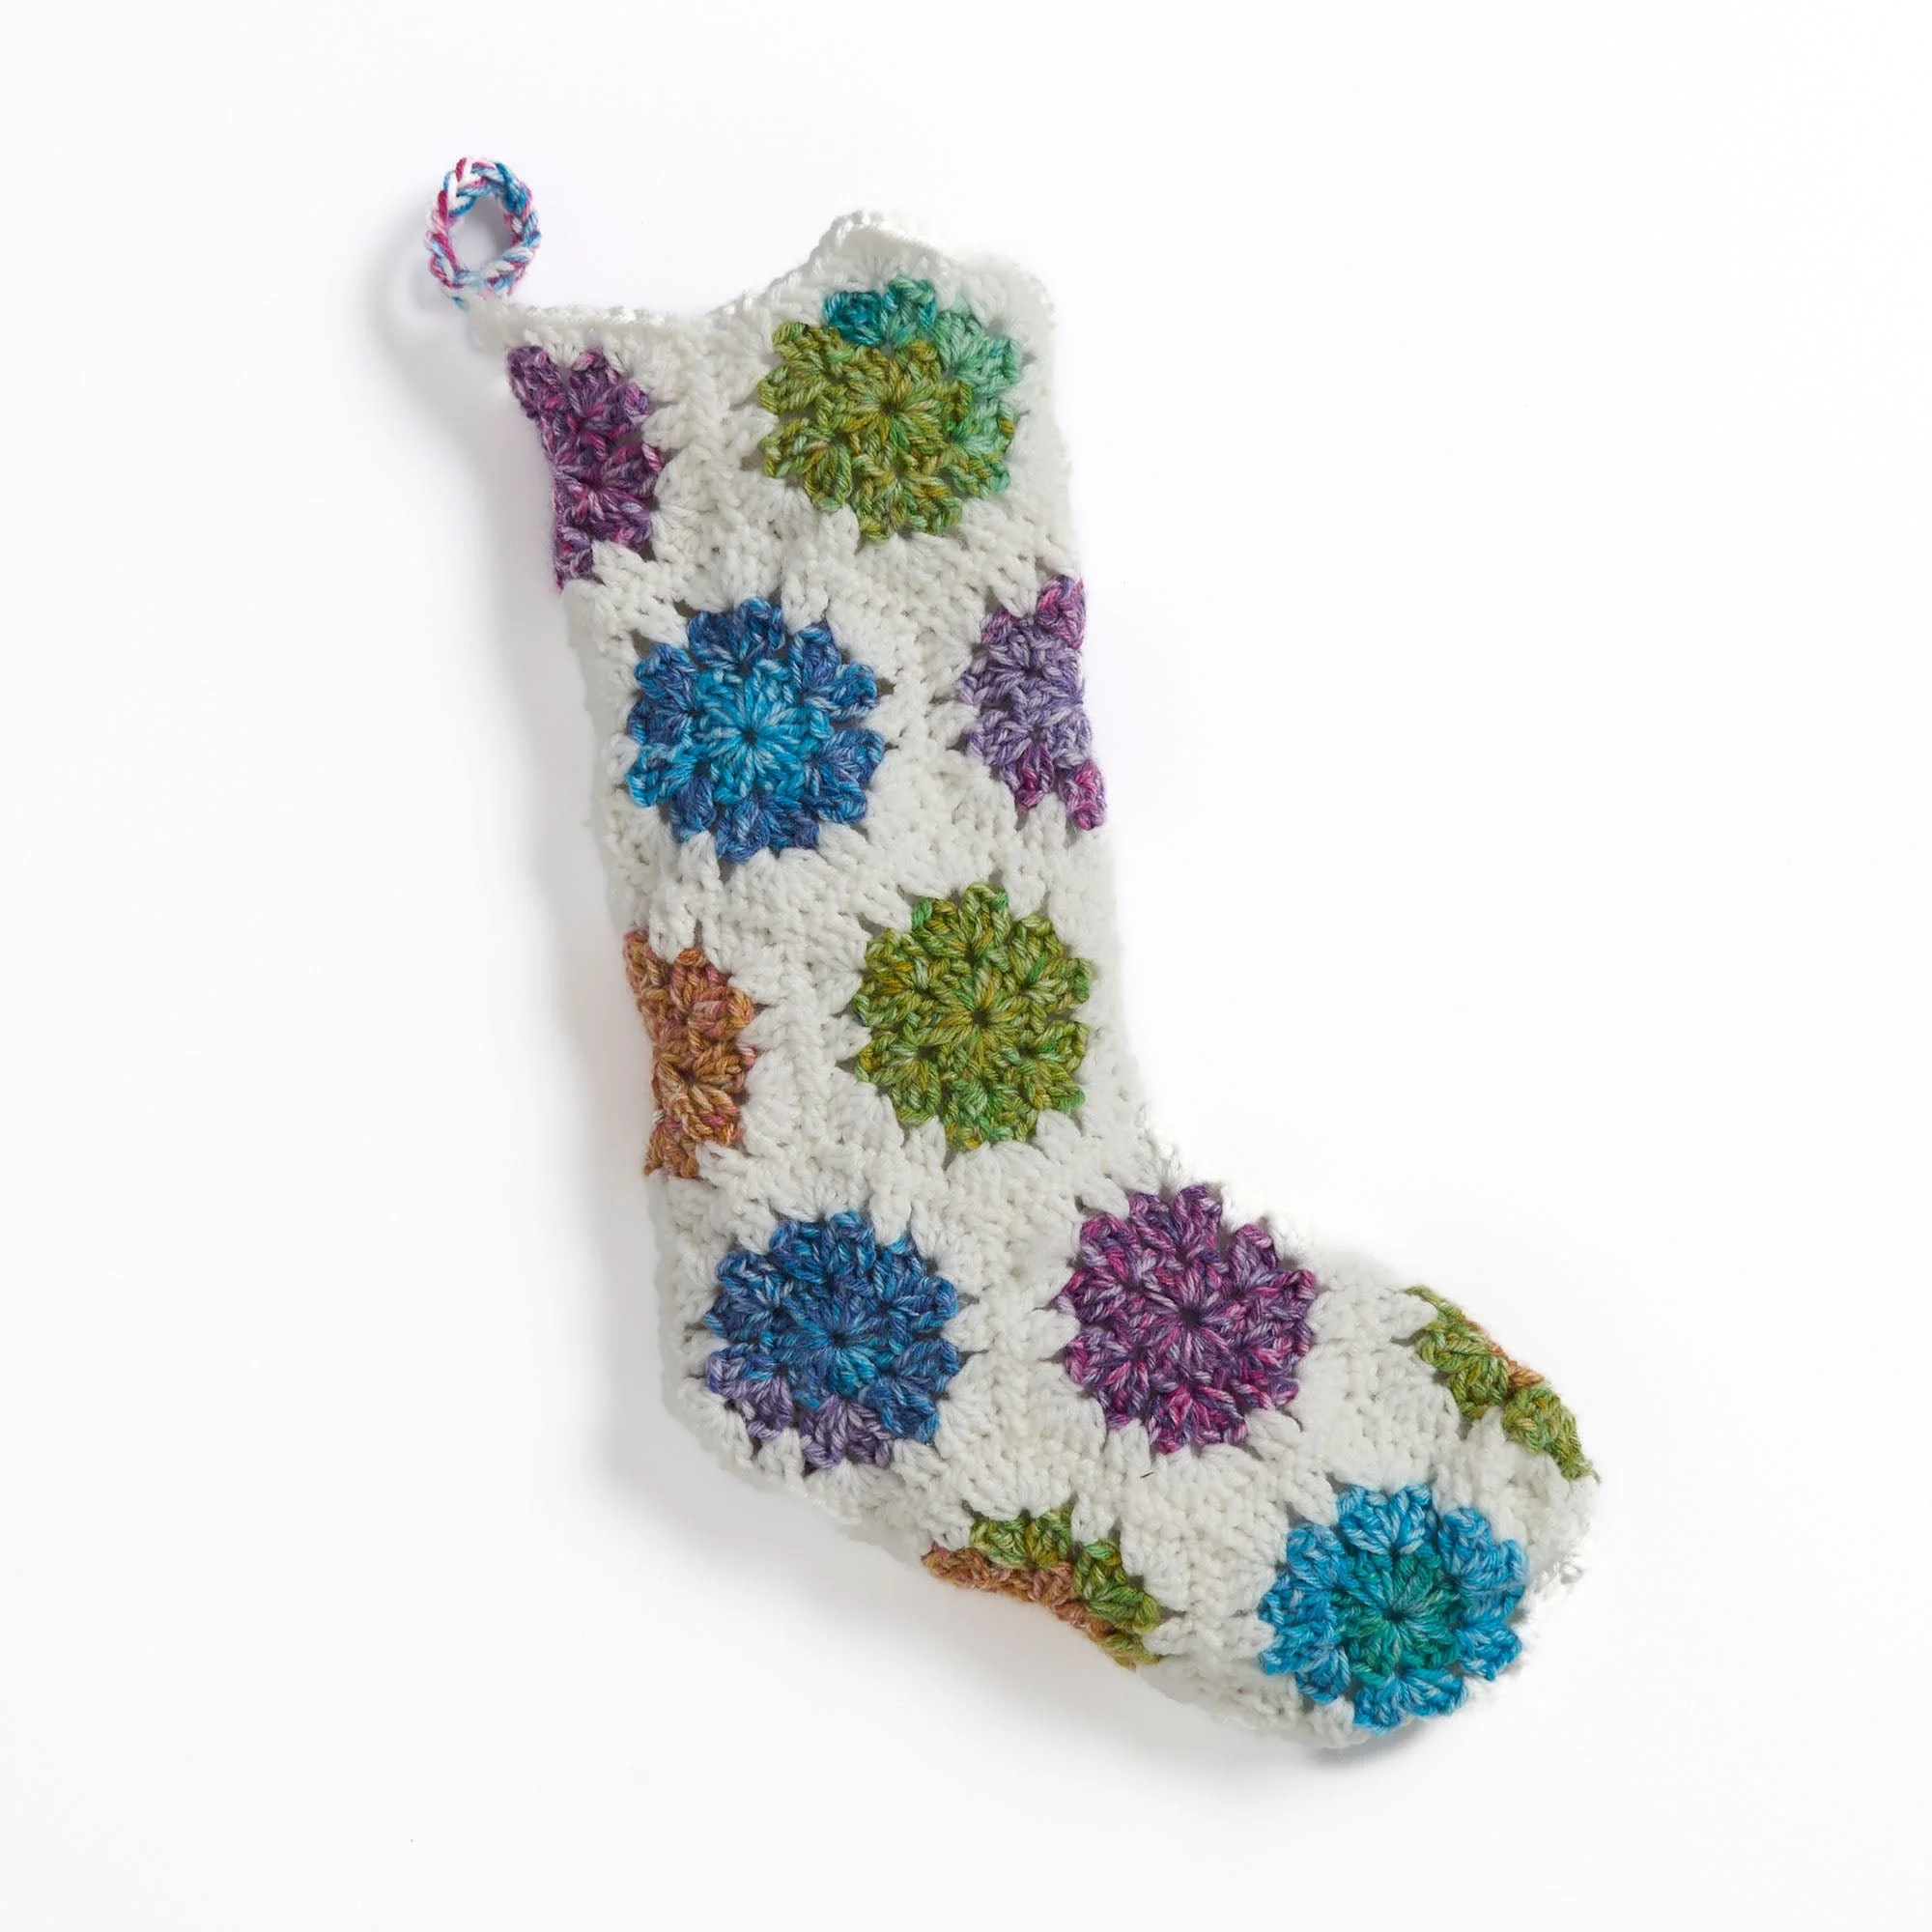
Create a beautiful and unique Crochet Hexi Motif Stocking with our detailed pattern. This project features eye-catching hexagon motifs and a playful combination of colors. The stocking is constructed from multiple hexagons joined together, making it a great way to practice your crochet skills while creating a piece that is both functional and decorative. You’ll enjoy the process of working with contrasting yarns and seeing how they come together to form a cozy holiday decoration.
Follow the written instructions closely alongside any photos provided to help guide you through each step of this charming crochet project.
Project Details
- Terminology: U.S. Terms
- Skill Level: Intermediate
- Finished Size: Approximately 20” tall (including the hanging loop)
- Construction Method: Hexagon motifs, joined as you go
Materials and Tools
| Yarn Option | Yarn and Specifications | Amount |
|---|---|---|
| Contrast A | Red Heart® Super Saver® Soft White (0316) – 7 oz / 198 g; 364 yds / 333 m | 1 ball or 221 yds / 202 m |
| Contrast B | Red Heart® Bitty Stripes™ Unicorn Mane (0115) – 10 oz / 283 g; 515 yds / 471 m | 1 ball or 230 yds / 210.5 m |
- Crochet hook: Size U.S. H/8 (5 mm) Susan Bates® Silvalume® crochet hook or size needed to obtain gauge
- Yarn needle (Susan Bates® yarn needle)
Abbreviations
| Abbreviation | Meaning |
|---|---|
| ch | chain |
| sl st | slip stitch |
| dc | double crochet |
Preparation and Techniques
Working in a Spiral
This pattern uses joined rounds to create the hexagons. Each new round begins by joining with a slip stitch to the appropriate space.
Complete Pattern Instructions
Hexagon Motif (make 17)
With B, ch 4. Join with sl st to the first ch to form a ring.
| Round | Instructions | Stitches |
|---|---|---|
| 1st rnd | Ch 3 (counts as dc). 2 dc in ring. Ch 1. (3 dc in ring. Ch 1) 5 times. Join with sl st to top of ch 3. | 18 dc, 6 ch-1 spaces |
| 2nd rnd | Sl st in each of next 2 dc and ch-1 sp. Ch 3. (2 dc. Ch 1. 3 dc) in same sp as last sl st. Ch 1. [(3 dc. Ch 1. 3 dc) in next ch-1 sp. Ch 1] 5 times. Join with sl st to top of ch 3. Fasten off. | 36 dc, 6 ch-1 spaces |
| 3rd rnd | Join A with sl st to any corner ch-1 sp. Ch 3. (2 dc. Ch 1. 3 dc) in same sp as last sl st. *Ch 1. 2 dc in next ch-1 sp. Ch 1. (3 dc. Ch 1. 3 dc) in next ch-1 sp. Rep from * to last ch-1 sp. Ch 1. 2 dc in last ch-1 sp. Ch 1. Join with sl st to top of ch 3. Fasten off. | 60 dc, 12 ch-1 spaces |
Assembly and Finishing
Sewing Hexagon Motifs Together
With A, sew hexagon motifs together following the arrangement shown in the diagram. Ensure color changes with Contrast B are randomly placed as shown in the photo, aligning:
- A side with A side
- B side with B side
- C side with C side
Note: Do not join G to D and F to E accidentally where the motifs fold to form the toe of the stocking.
Hanging Loop
Holding 3 strands together — 1 strand A and 2 strands B — join with sl st to the top left of the stocking. Ch 15. Join with sl st to the same sp as the first sl st. Fasten off.
Practical Tips
- Color Placement: Be intentional with your color choices, ensuring a balanced look throughout the motifs.
- Consistent Tension: Keep your tension consistent throughout your work to maintain uniformity in the size and appearance of the motifs.
- Sewing Neatly: When sewing the motifs together, align them carefully to keep the edges even and avoid puckering.
Troubleshooting
- Uneven Motifs: If your motifs are uneven, check your tension. Ensure you are using the same hook size and yarn throughout.
- Color Bleeding: If you notice the colors bleeding, consider using a color catch sheet when washing for the first time.
- Incorrect Stitch Count: If you find you are off on stitch counts, recount each round carefully and compare your numbers with the pattern instructions.
Care
To maintain the quality and appearance of your stocking, follow these care instructions:
- Hand wash in cold water with mild detergent.
- Avoid bleach and do not wring or twist the fabric.
- Lay flat to dry, reshaping as needed.
Frequently Asked Questions
What are the finished dimensions of the stocking?
The finished stocking measures approximately 20 inches tall, including the hanging loop, varying slightly depending on your tension.
Can I use a different yarn?
Yes, you can substitute the yarn, but keep in mind that your choice’s weight, texture, and fiber content can affect the finished size and look. Check gauge if you’re changing yarn types.
How do I hang the stocking?
The stocking includes a hanging loop made from 3 strands of yarn secured at the top left. Once your loop is made, it can be hung from a hook or garland.
What skills do I need for this pattern?
This project requires basic crochet skills, including chaining, slip stitching, and double crocheting. Familiarity with color changes and joining techniques will also be helpful.
What should I do if my stitches are too tight?
If your stitches are too tight, consider using a larger hook size or adjusting your tension while working to create a more comfortable gauge.
Can I sell items made from this pattern?
Check the original designer’s usage terms regarding selling items made from this pattern. It may vary based on their specific guidelines.
Choose Your Next Crochet Project
Explore more crochet patterns and projects to enhance your skills and add beautiful creations to your collection.



