Get 30+ FREE Crochet Patterns — Join Our Newsletter
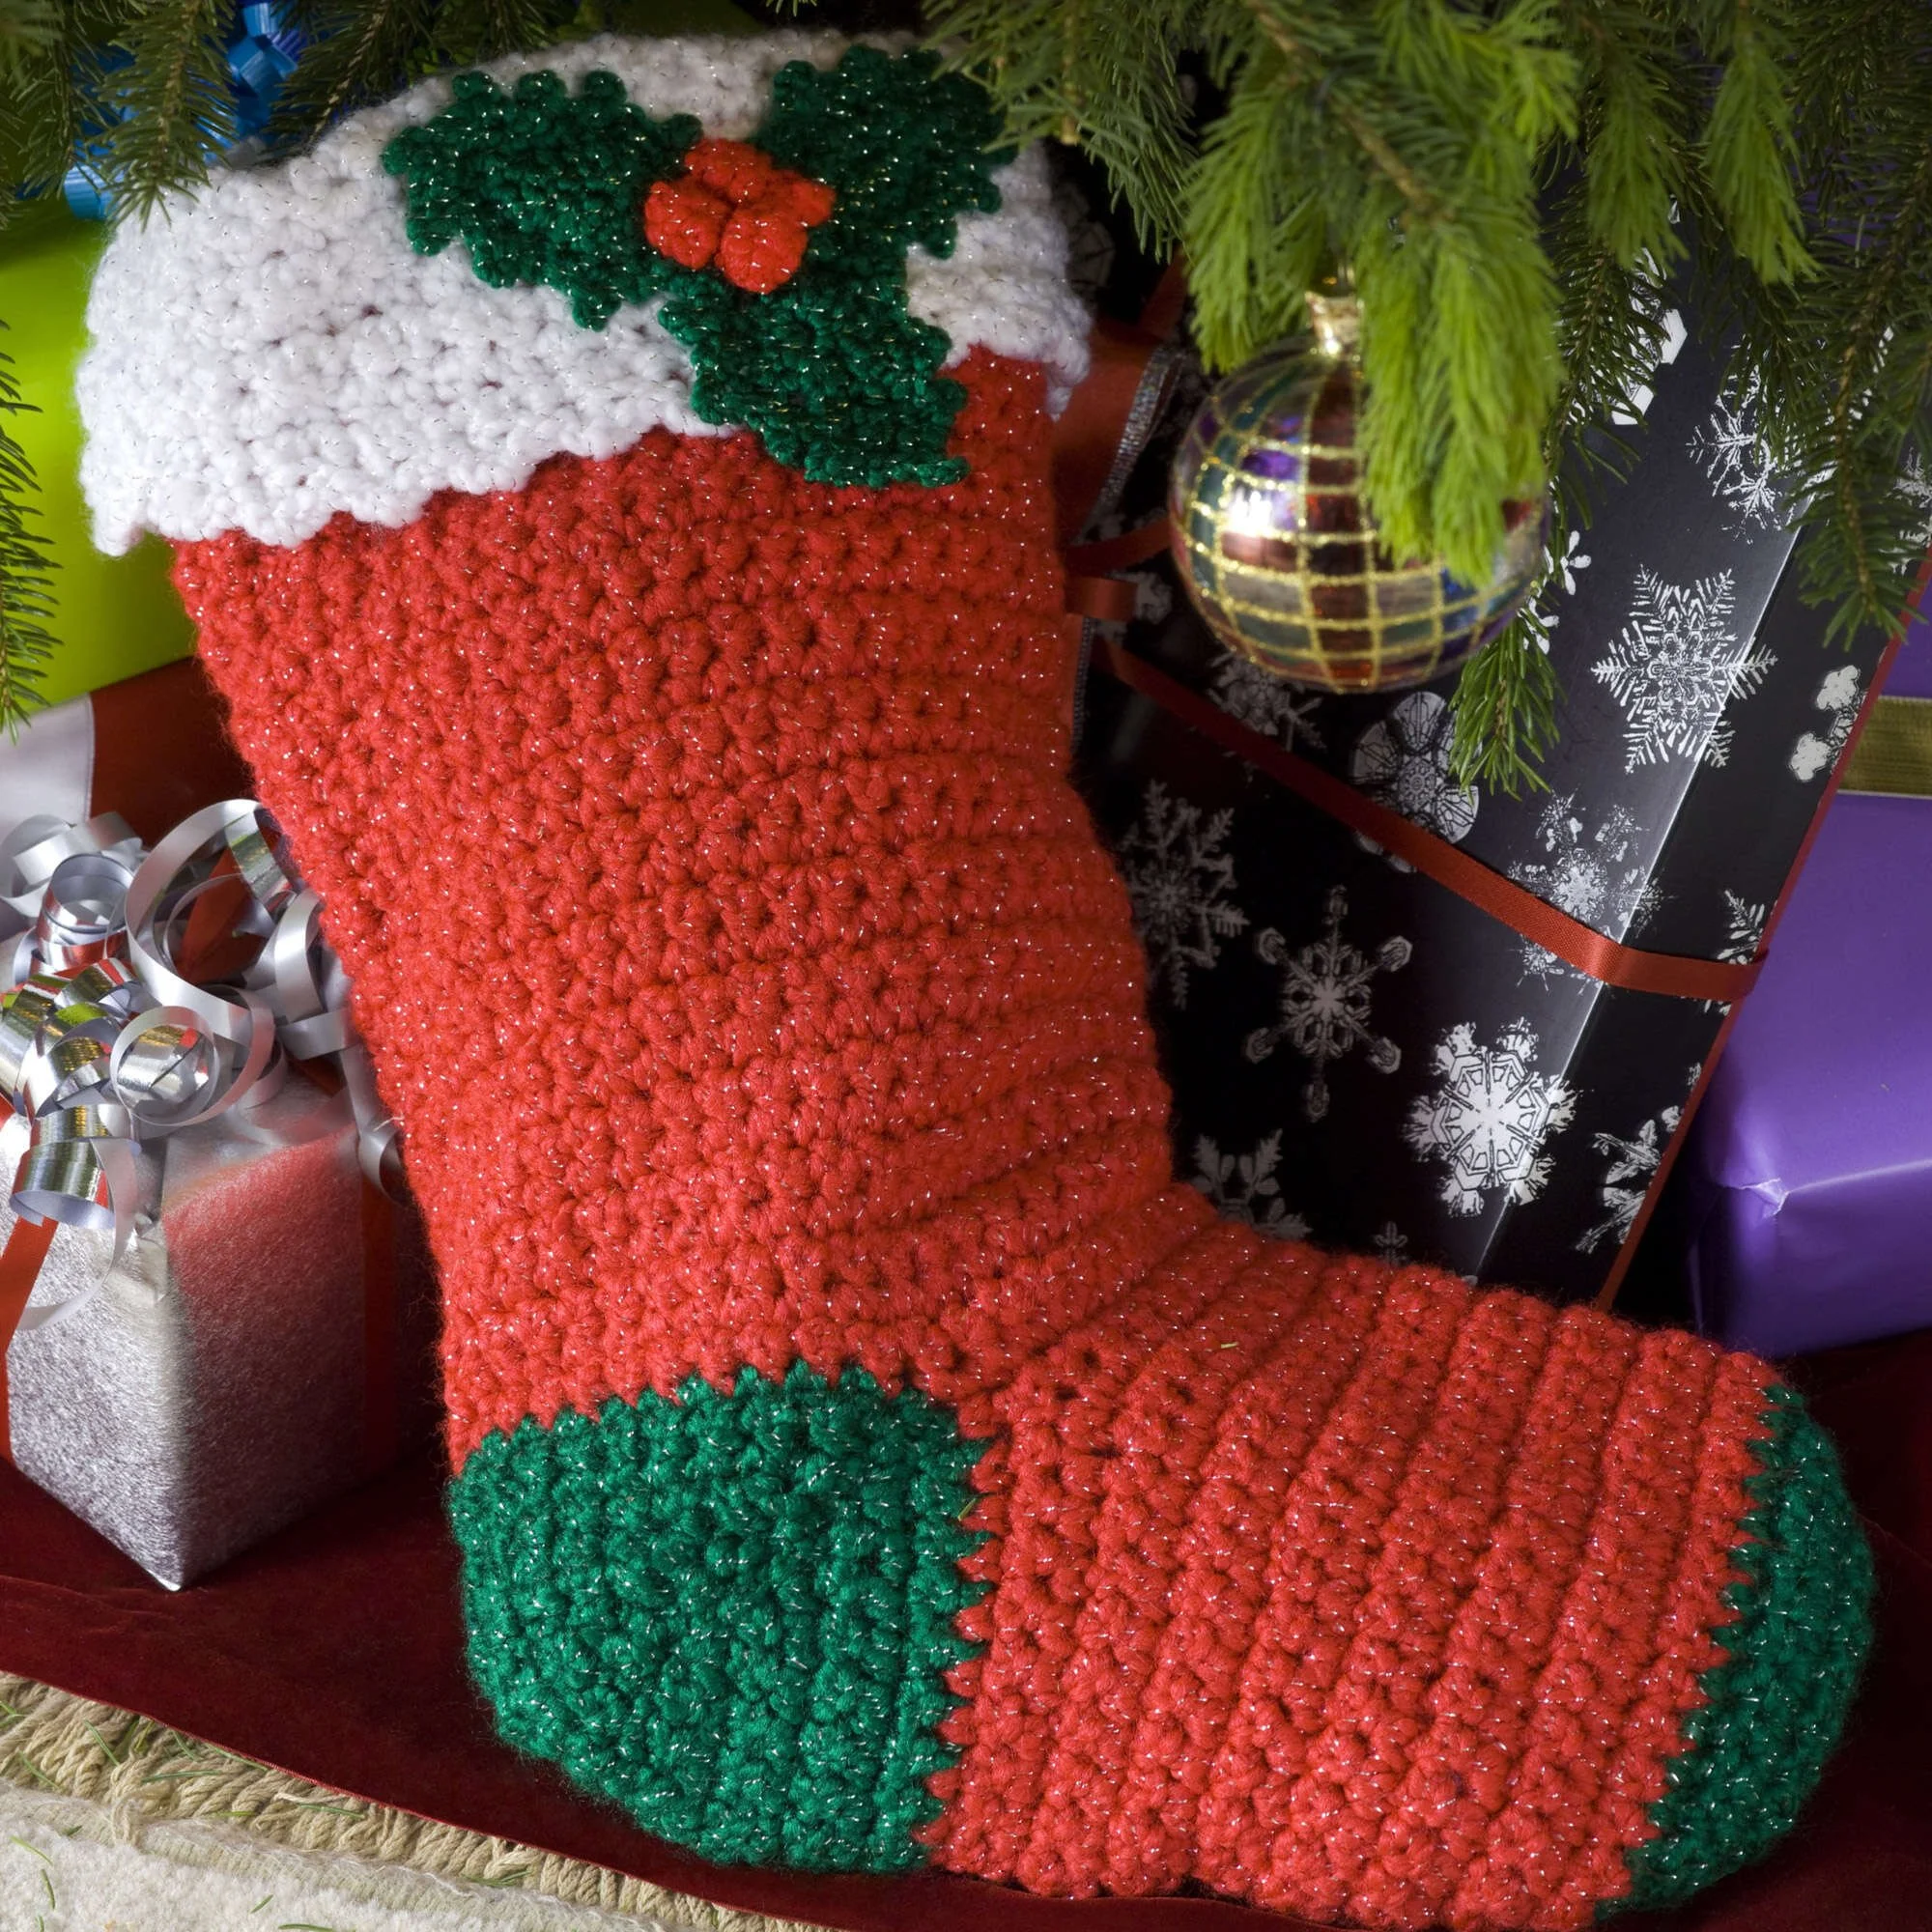
Holly Crochet Stocking Pattern
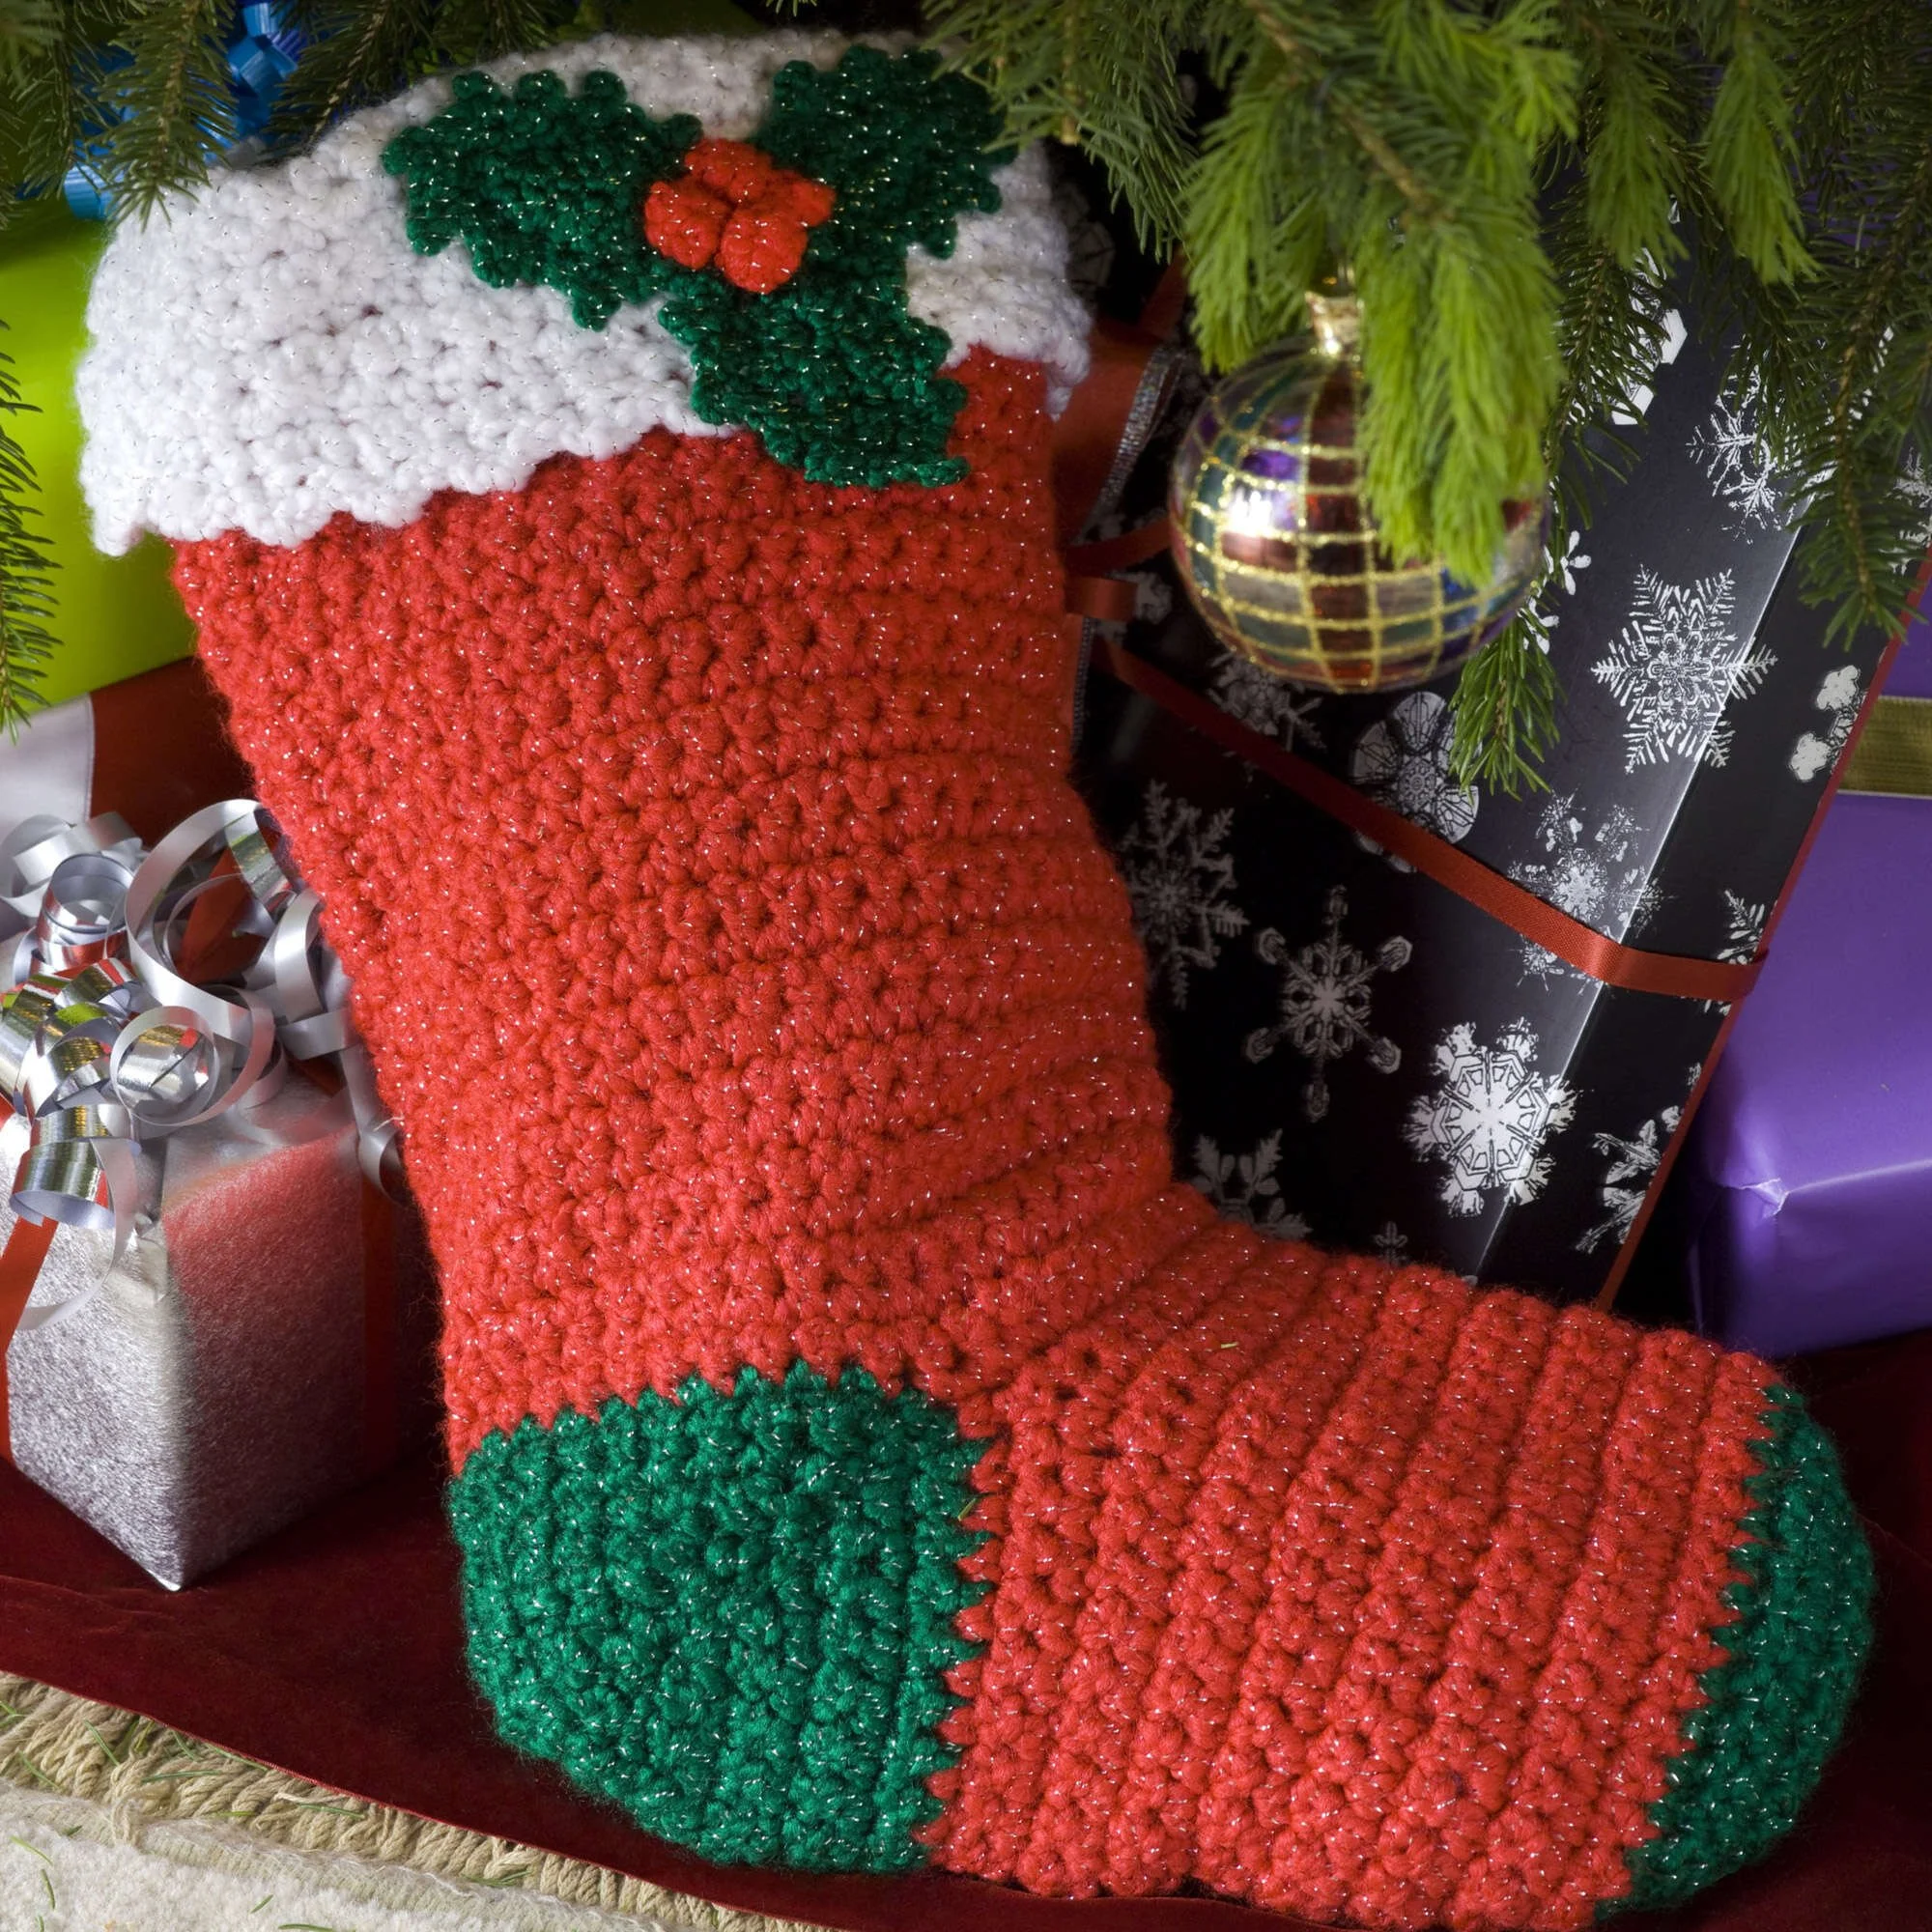
Celebrate the holiday season with this delightful Crochet Holly Stocking! This festive decoration features a classic design with a beautiful cuff and charming appliqués of holly leaves and berries, perfect for adding a joyful touch to your home. The stocking is worked in vibrant colors, showcasing both traditional and Victorian yarn options. With clear step-by-step instructions, you can create this lovely piece, making it a perfect project for crocheters who have some basic knowledge of stitches and shaping. Follow along with the written directions or photo references to complete your stocking just in time for the holidays.
Project Details
- Crochet terminology: US terms
- Skill level: Intermediate
- Finished size: Approximately 14″ long
- Construction method: Worked in rows and rounds
Materials and Tools
| Yarn option | Yarn and specifications | Amount |
|---|---|---|
| Traditional | RED HEART® “Super Saver®” Yarn: 311 White CA | 5 ounces |
| Traditional | 390 Hot Red CB | 1 ounce |
| Traditional | 368 Paddy Green CC | 1 ounce |
| Victorian | RED HEART® “Super Saver®” Yarn: 313 Aran CA | 5 ounces |
| Victorian | 376 Burgundy CB | 1 ounce |
| Victorian | 389 Hunter CC | 1 ounce |
- Crochet Hooks: 6.5 mm [US K-10.5], 4 mm [US G-6]
- Other: Yarn needle
Abbreviations
| Abbreviation | Meaning |
|---|---|
| ch | chain |
| sc | single crochet |
| hdc | half double crochet |
| dc | double crochet |
| sl st | slip stitch |
| yo | yarn over |
| dec | decrease |
| inc | increase |
Preparation and Techniques
Changing Yarn Colors
To change yarn colors, complete the last stitch of the old color but do not fasten off. Place the new color on the hook and pull through your last stitch to complete it. Continue working with the new color as indicated in the pattern.
Complete Pattern Instructions
Cuff
With larger hook and CA, ch 43.
| Row | Instructions | Stitches |
|---|---|---|
| 1 | *(Sc, hdc)* all in 2nd ch from hook; *sc in next ch, hdc in next ch; rep from * to last ch; *(sc, hdc)* all in last ch; turn | 44 sts |
| 2–8 | Ch 1, * sc in hdc, hdc in sc; rep from * across; turn | |
| 9 | Ch 2, sl st in first 2 sts; * ch 2, sl st in next 2 sts; rep from * across; fasten off |
Stocking—Leg
With larger hook and CB, ch 43.
| Row | Instructions | Stitches |
|---|---|---|
| 1 | Sc in 2nd ch from hook and in each ch across; turn | 42 sc |
| Next | Ch 1, sc in each sc across; turn |
Rep last row until leg measures 10″ from beg, end with a wrong side row. Fasten off.
Heel (Right side facing)
With right side facing:
- Skip 32 sc. Join CC
- Ch 1, sc in last 10 sc. Bring the other side of leg around and sc in first 10 sc; turn — 20 sc
| Row | Instructions | Stitches |
|---|---|---|
| Next | Ch 1, draw up a lp next 2 sc, yo and draw through all 3 lps on hook — dec made; sc in each sc to last 2 sc; dec; turn | 18 sc |
| Repeat | Repeat the last row to dec 1 st each end of every row until 4 sts remain. Work 1 row even. | |
| Final | Now inc 1 st (work 2 sc in a st) each end of every row until there are 20 sc. Fasten off. |
Foot
With right side facing:
- Skip first 10 sc of heel
- Join CB in next sc
- Ch 1, sc in last 10 sc of heel
- Skip row ends of heel; [dec over next 2 sc of leg] twice
- Sc in next 14 sc; [dec] twice
- Skip row ends of heel; sc in rem 10 sc of heel; turn — 38 sc
Continue in sc:
- Dec 1 st each end of every 6th row twice — 34 sts
- Work even until foot measures 5″ from last row of heel, end with a wrong side row, changing to CC. Cut CB.
Toe
| Row | Instructions | Stitches |
|---|---|---|
| Next (with CC) | Ch 1, dec, sc in next 13 sc, [dec] twice, sc in next 13 sts, dec; turn | 30 sts |
| Next | Ch 1, dec, sc in next 11 sc, [dec] twice, sc in next 11 sc, dec; turn | 26 sts |
| Next | Ch 1, dec, sc in next 9 sc, [dec] twice, sc in next 9 sc, dec; turn | 22 sts |
| Next | Ch 1, dec, sc in next 7 sc, [dec] twice, sc in next 7 sc, dec; turn | 18 sts |
| Next | Ch 1, dec, sc in next 5 sc, [dec] twice, sc in next 5 sc, dec; turn | 14 sts |
| Next | Ch 1, dec, sc in next 3 sc, [dec] twice, sc in next 3 sc, dec; fasten off | Final count: 10 sts before fasten off |
Assembly and Finishing
Seams & Cuff Turn
- Holding right side of cuff against wrong side of leg, attach yarn and work sl st in each st across through both layers.
- Fasten off.
- Sew toe, foot, heel, leg, and cuff seams.
- If heel rows have formed gaps in the fabric, weave matching yarn through sts on the wrong side to close them.
- Turn cuff to the right side.
Hanging Loop
- With CA, ch 13.
- Sc in 2nd ch from hook and in each ch across; fasten off.
- Fold in half and sew inside cuff at seam.
Appliqués
Leaf (Make 3)
- With a smaller hook and CC, ch 8.
- Rnd 1: 3 dc in 4th ch from hook, hdc in next 2 ch, sc in next ch, 3 sc in last ch, working across the opposite side of ch: sc in next ch, hdc in next 2 ch, 3 dc in same ch as first 3 dc, join with a sl st in top of ch-3.
- Rnd 2: Ch 1, 3 sc in same st as joining; *sc in next st; ch 2, sl st in side lps of last sc made — picot made; [sc in next st, (sc, picot) all in next st] 3 times; (2 sc, ch 3, sl st in 3rd ch from hook, sc) all in next sc; rep from * to * once more; join to first sc; fasten off.
Berries (Make 4)
- With a smaller hook and a single strand of CB: ch 2, 8 sc in 2nd ch from hook; join with a sl st to first sc; fasten off.
- With needle, weave yarn end through top lps of all sts; draw up tightly and secure.
Sew leaves and berries to cuff as shown. Weave in ends.
Practical Tips
- Choose the Right Yarn: Using the recommended yarn gives the best results in terms of texture and appearance for your stocking. Swatching first can help ensure you get the appropriate tension.
- Check Tension: Make sure to maintain tension throughout your work to avoid uneven stitches, especially in the cuff area where multiple stitches are worked together.
- Hiding Ends: When finishing off, leave a long tail to weave in through several stitches on the inside of the stocking to secure them well.
- Embroidery Techniques: Try using a lightweight embroidery thread for additional details on the appliqués, which can enhance the overall look of the stocking.
- Perfecting the Cuff Turn: Ensure the cuff is securely fastened to avoid it slipping down once the stocking is hung. A few extra rows of sl st across will provide added security.
Troubleshooting
- Uneven Edge: If the edges of your stocking aren’t straight, check your initial chain tension. It should be firm but not overly tight to allow for flexibility in your stitches.
- Gaping in Heel: If gaps appear, make sure your sc stitches are snug and evenly distributed. Audit your decrease rows to ensure proper stitch counts.
- Appliqué Stability: Reinforce leaves and berries by sewing down with matching thread after attaching them to ensure they do not peel off over time.
- Shape Loss Over Time: Storing the stocking flat and stuffing it lightly can help maintain its elegant shape instead of leaving it hanging in a tight space.
Care
To care for your crochet stocking:
- Hand Wash: Use a mild detergent in cold water to preserve the integrity of the fibers.
- Avoid Bleach: This could damage the yarn colors and overall quality.
- Flat Dry: Avoid hanging while drying to prevent stretching; lay it flat on a towel.
Frequently Asked Questions
Can I use a different yarn weight?
Yes, but using a different weight can affect the size and drape of your final stocking. Always check your tension and consider adjusting the hook size accordingly.
What if I want to make the stocking bigger?
You can increase the length of the leg by adding more rows before starting the heel. Keep in mind to maintain the stitch counts for the heel and foot sections to ensure the shape remains consistent.
How do I secure the appliqués properly?
For best results when adding the appliqués, sew them securely with a yarn needle using the same color thread, which matches the stocking. This will help them stay in place effectively.
Can I add a name to the stocking?
Absolutely! Consider using embroidery or fabric paint to personalize your stocking. Just ensure the techniques you choose do not add bulk to the fabric.
How do I make this stocking safe for hanging?
Ensure all ends are weaved in securely and avoid heavy embellishments that could cause it to become unstable when filled. Always check the stitching integrity before hanging.
What size hook is recommended for this pattern?
This pattern recommends a 6.5 mm [US K-10.5] hook for the cuff and a 4 mm [US G-6] hook for the appliqués, ensuring you get the right tension and structure for each component of the stocking.