Get 30+ FREE Crochet Patterns — Join Our Newsletter
Plum Pudding Crochet Ornament Pattern
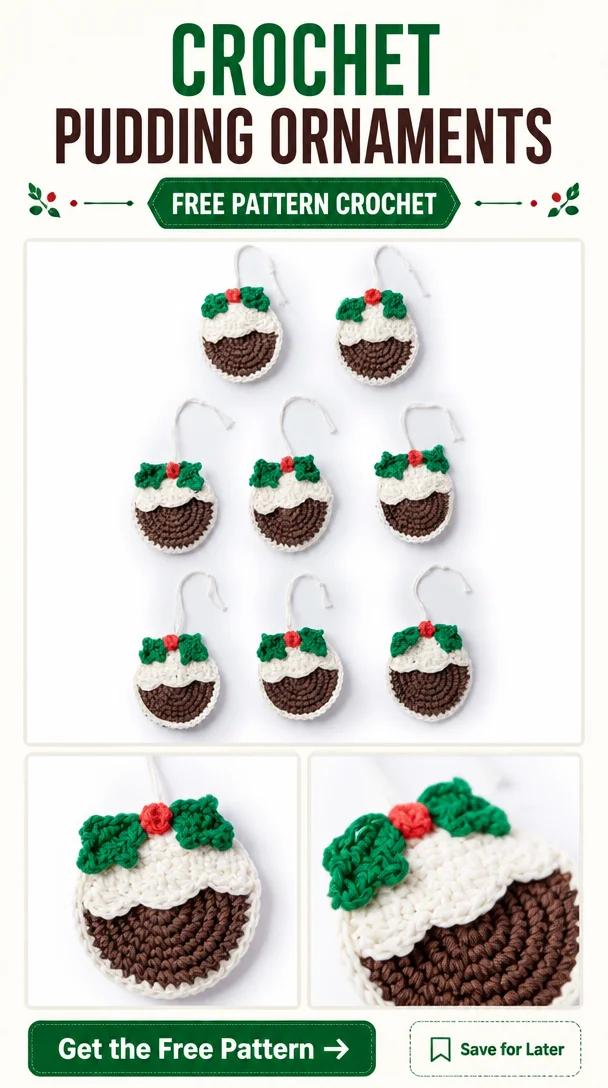
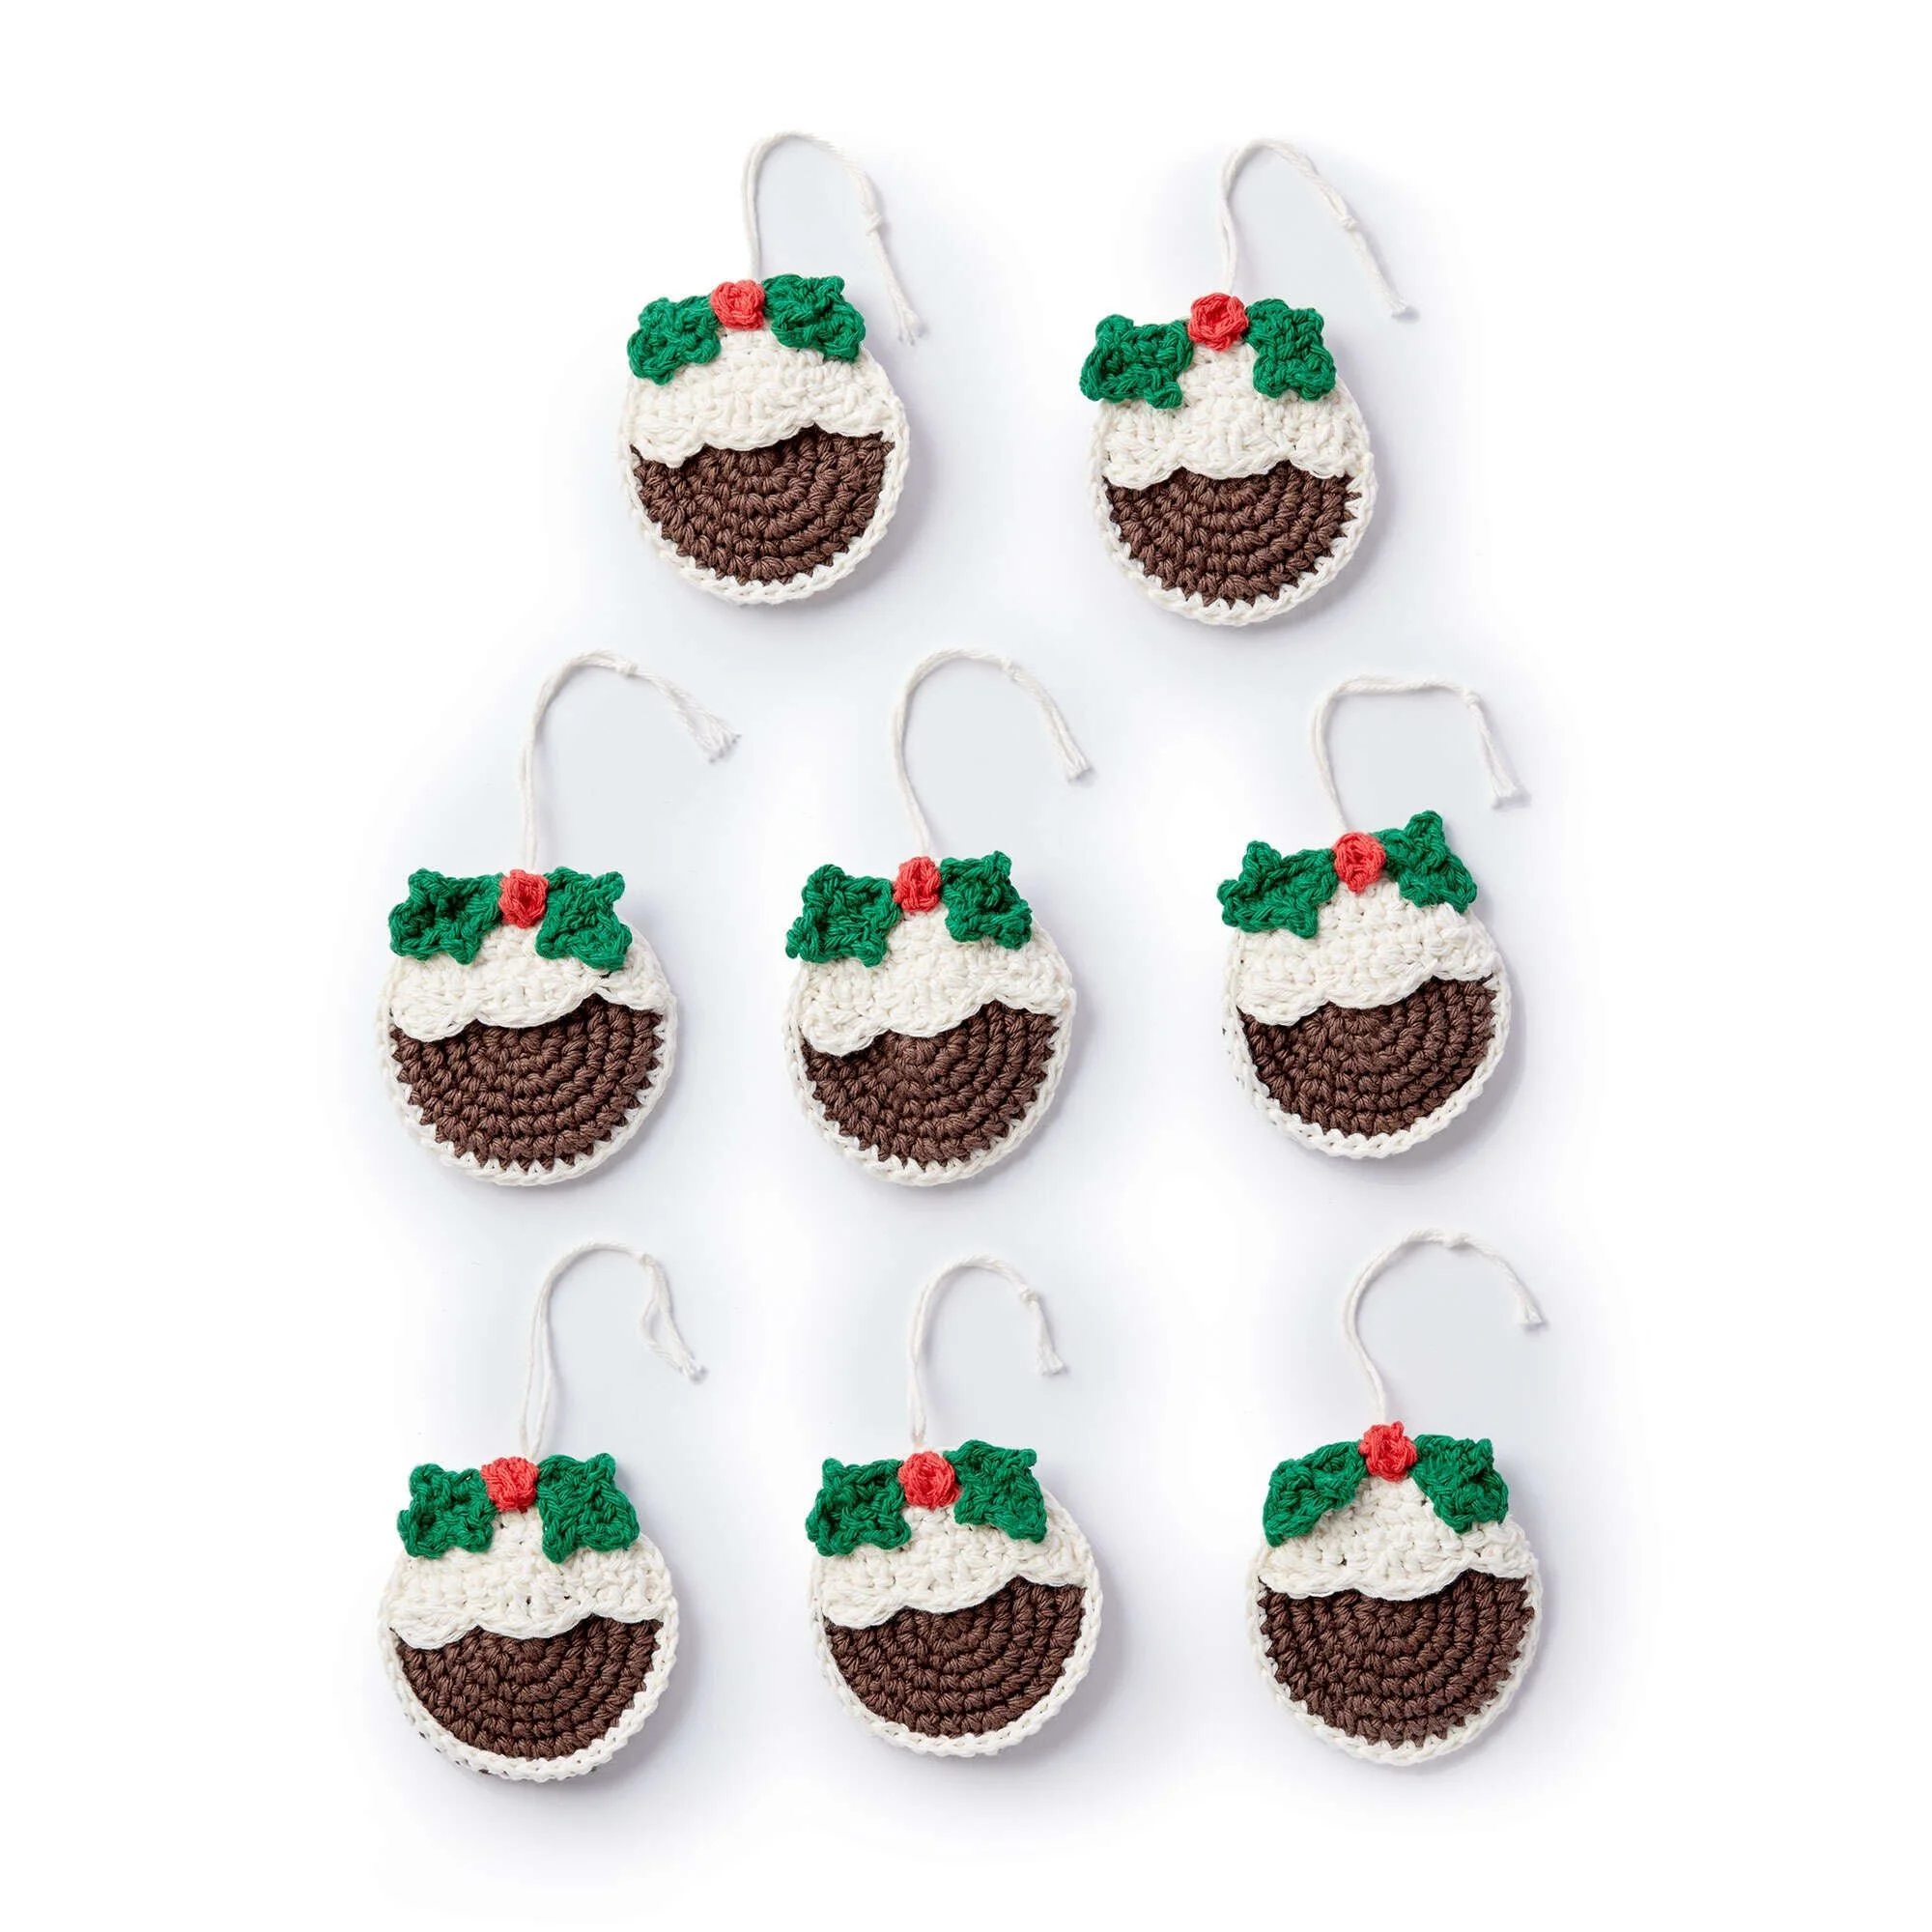
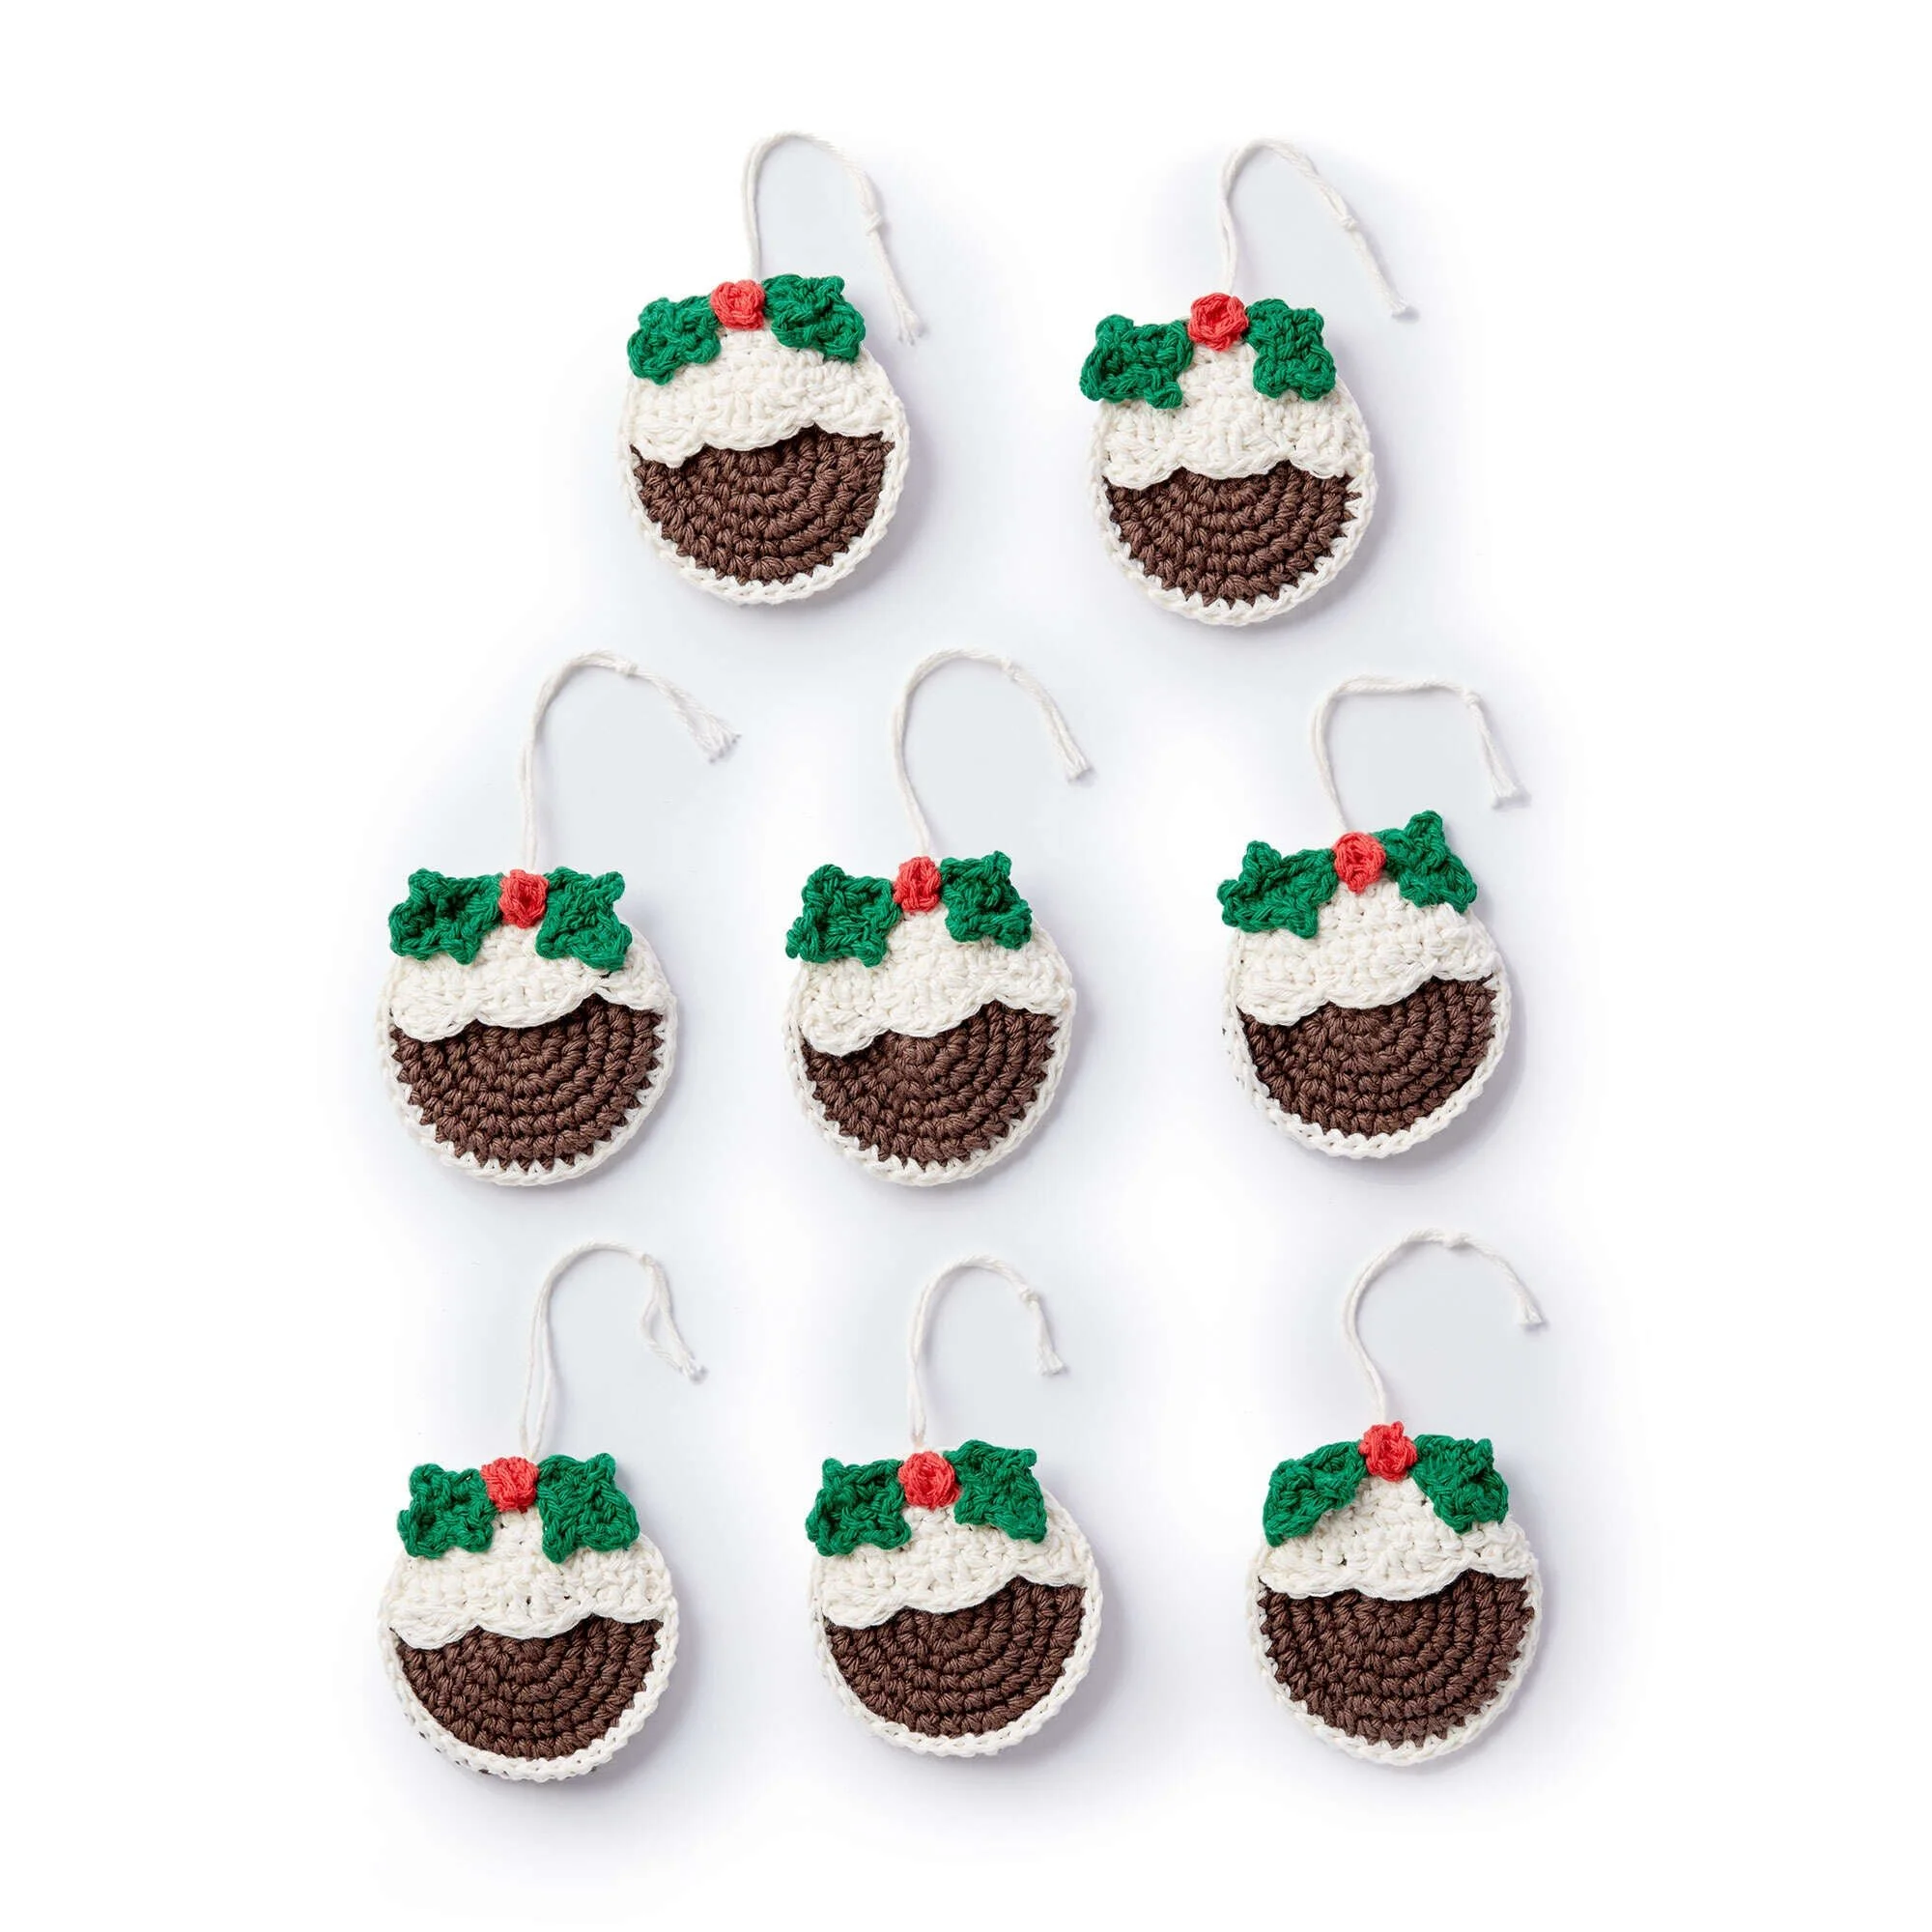
Create delightful holiday decorations with our Plum Pudding Crochet Ornaments Pattern. These charming crochet ornaments feature a textured pudding base crafted from Lily® Sugar’n Cream™ yarn, adorned with soft ecru icing, vibrant red cherries, and lovely dark pine leaves. With their whimsical design and beautiful color palette, these ornaments are perfect for adding a festive touch to your home or gifting to loved ones. The pattern is suitable for crocheters with basic skills, including working in rounds and basic stitch techniques.
Follow the written instructions alongside any provided photos for step-by-step guidance to complete your ornaments.
Project Details
- Crochet terminology: U.S.
- Skill level: Intermediate
- Finished size: Approximately 3.5 inches (8.9 cm) in diameter
- Construction method: Worked in rounds and assembled
- Gauge: Not specified; check your tension as you work
Materials and Tools
| Yarn option | Yarn and specifications | Amount |
|---|---|---|
| Contrast A | Warm Brown (01130) | 2 balls or 170 yds/155 m |
| Contrast B | Soft Ecru (01004) | 1 ball or 78 yds/71 m |
| Contrast C | Dark Pine (00016) | 1 ball or 28 yds/25.5 m |
| Contrast D | Red (00095) | 1 ball or 7 yds/6.5 m |
- Sizes U.S. D/4 (3.5 mm) and U.S. G/6 (4 mm) crochet hooks or size needed to obtain gauge.
Abbreviations
| Abbreviation | Meaning |
|---|---|
| ch | Chain |
| sc | Single Crochet |
| sl st | Slip Stitch |
| hdc | Half Double Crochet |
| dc | Double Crochet |
Preparation and Techniques
Working in a spiral
This pattern uses continuous rounds for shaping the pudding, which means you will not join at the end of each round. Consider using a stitch marker to mark the first stitch of each round for reference.
Changing yarn colors
When switching between colors, ensure you carry the unused color along the edge. This will keep your work clean and organized, minimizing the appearance of loose yarn ends.
Complete Pattern Instructions
Pudding (make 2)
With A and larger hook, ch 2.
| Round | Instructions | Stitches |
|---|---|---|
| 1 | 6 sc in 2nd ch from hook. Join with sl st to first sc. | 6 sc |
| 2 | Ch 1. 2 sc in same sp as last sl st. 2 sc in each sc around. Join with sl st to first sc. | 12 sc |
| 3 | Ch 1. 1 sc in same sp as last sl st. *2 sc in next sc. 1 sc in next sc.* Rep from * to last sc. 2 sc in last sc. Join with sl st to first sc. Turn. | 18 sc |
| 4 | Ch 1. 2 sc in same sp as last sl st. *1 sc in each of next 2 sc. 2 sc in next sc.* Rep from * to last 2 sc. 1 sc in each of last 2 sc. Join with sl st to first sc. | 24 sc |
| 5 | Ch 1. 1 sc in same sp as last sl st. *2 sc in next sc. 1 sc in each of next 3 sc.* Rep from * to last 3 sc. 2 sc in next sc. 1 sc in each of last 2 sc. Join with sl st to first sc. Turn. | 30 sc |
| 6 | Ch 1. 2 sc in same sp as last sl st. *1 sc in each of next 4 sc. 2 sc in next sc.* Rep from * to last 4 sc. 1 sc in each of last 4 sc. Join with sl st to first sc. Fasten off. | 36 sc |
Icing
With B and larger hook, ch 5.
| Row | Instructions | Stitches |
|---|---|---|
| 1 | (WS). 1 sc in 2nd ch from hook. 1 sc in each of next 3 ch. Turn. | 4 sc |
| 2 | Ch 1. 2 sc in first sc. 1 sc in each sc to last sc. 2 sc in last sc. Turn. Rep last row 3 times more. | 12 sc |
| Final row | (RS) Ch 2 (counts as hdc). 2 dc in first sc. Skip next 2 sc. Sl st in next sc. Skip next sc. (2 dc in next sc) twice. Skip next sc. Sl st in next sc. Skip next 2 sc. (2 dc. 1 hdc) in last sc. Fasten off. | – |
Leaf (make 2)
With C and smaller hook, ch 6.
| Round | Instructions | Stitches |
|---|---|---|
| 1 | 1 sc in 2nd ch from hook. 1 sc in each of next 2 ch. Ch 3. Sl st back into last sc worked – picot made. 1 sc in next ch. 3 sc in last ch (left tip). Working into opposite side of ch, 1 sc in each of next 2 ch. Picot. 1 sc in each of last 2 ch. Join with sl st to first sc. Fasten off, leaving a long end for sewing. | – |
Cherry
With D and smaller hook, ch 2.
| Round | Instructions | Stitches |
|---|---|---|
| 1 | 5 sc in 2nd ch from hook. Join with sl st to first sc. Fasten off, leaving a long end for sewing. | – |
Assembly and Finishing
Sew the pieces together
Place WS of 2 Pudding pieces facing each other. Position Icing on top and pin pieces together. Join A with sl st through all thicknesses at the left corner of Icing. Ch 1. Work 1 round of sc around outer edge to join all pieces. Join with sl st to first sc. Fasten off. Sew Leaves and Cherry in position.
Hanging Loop
Cut a 10″ [25.5 cm] length of B. Fold in half and attach to the top of the Pudding. Knot together leaving approximately 1″ [2.5 cm] ends.
Practical Tips
- Check your tension: This ensures your ornaments are consistent in size. Test on a swatch before beginning on the pudding.
- Use a contrast color for the loop: It can enhance the overall aesthetic. Bright colors can create a fun pop against natural decor.
- Pinning pieces together: Helps keep everything lined up correctly while you join; this avoids uneven seams.
- Blocking: Gently steam block your finished pieces to help them hold their shape and give a neat finish to your work.
Troubleshooting
- Uneven edges: This may be due to tight stitches. Try loosening your grip or swapping for a larger hook.
- Color bleed: If your colors are significant, wash your project before assembling to set the dyes properly.
- Incorrect stitch counts: Double-check each round against the instructions as you go to avoid errors early on.
Care and Storage
Keep your finished ornaments in a cool, dry place. When washing is necessary, hand wash in cold water and lay flat to dry. Avoid wringing out the ornaments to maintain their shape. Store them in acid-free tissue paper to prevent any color bleeding from occurring during a lengthy storage period.
Frequently Asked Questions
What is the best yarn to use for these ornaments?
For the best results, stick to Lily® Sugar’n Cream™ yarn as it provides the right texture and durability for holiday ornaments.
Can I make these ornaments with different colors?
Absolutely! Feel free to customize with your chosen colors. The beauty of these ornaments lies in their versatility, making them perfect for any decor theme.
How do I ensure my stitches are evenly spaced?
Maintain consistent pressure on your yarn and keep an eye on the stitch count. Using a stitch marker at the start of each round can also help keep track of your placement.
Will these ornaments hold up over time?
Yes, if you follow the care instructions post-creation, these ornaments should hold their shape and vibrancy for many seasons.
Can I use a different type of yarn?
While you can substitute other yarns, ensure they have similar weight and texture. Adjust your hook size if necessary, and always create a swatch first to ensure the fit.