
Get 30+ FREE Crochet Patterns — Join Our Newsletter
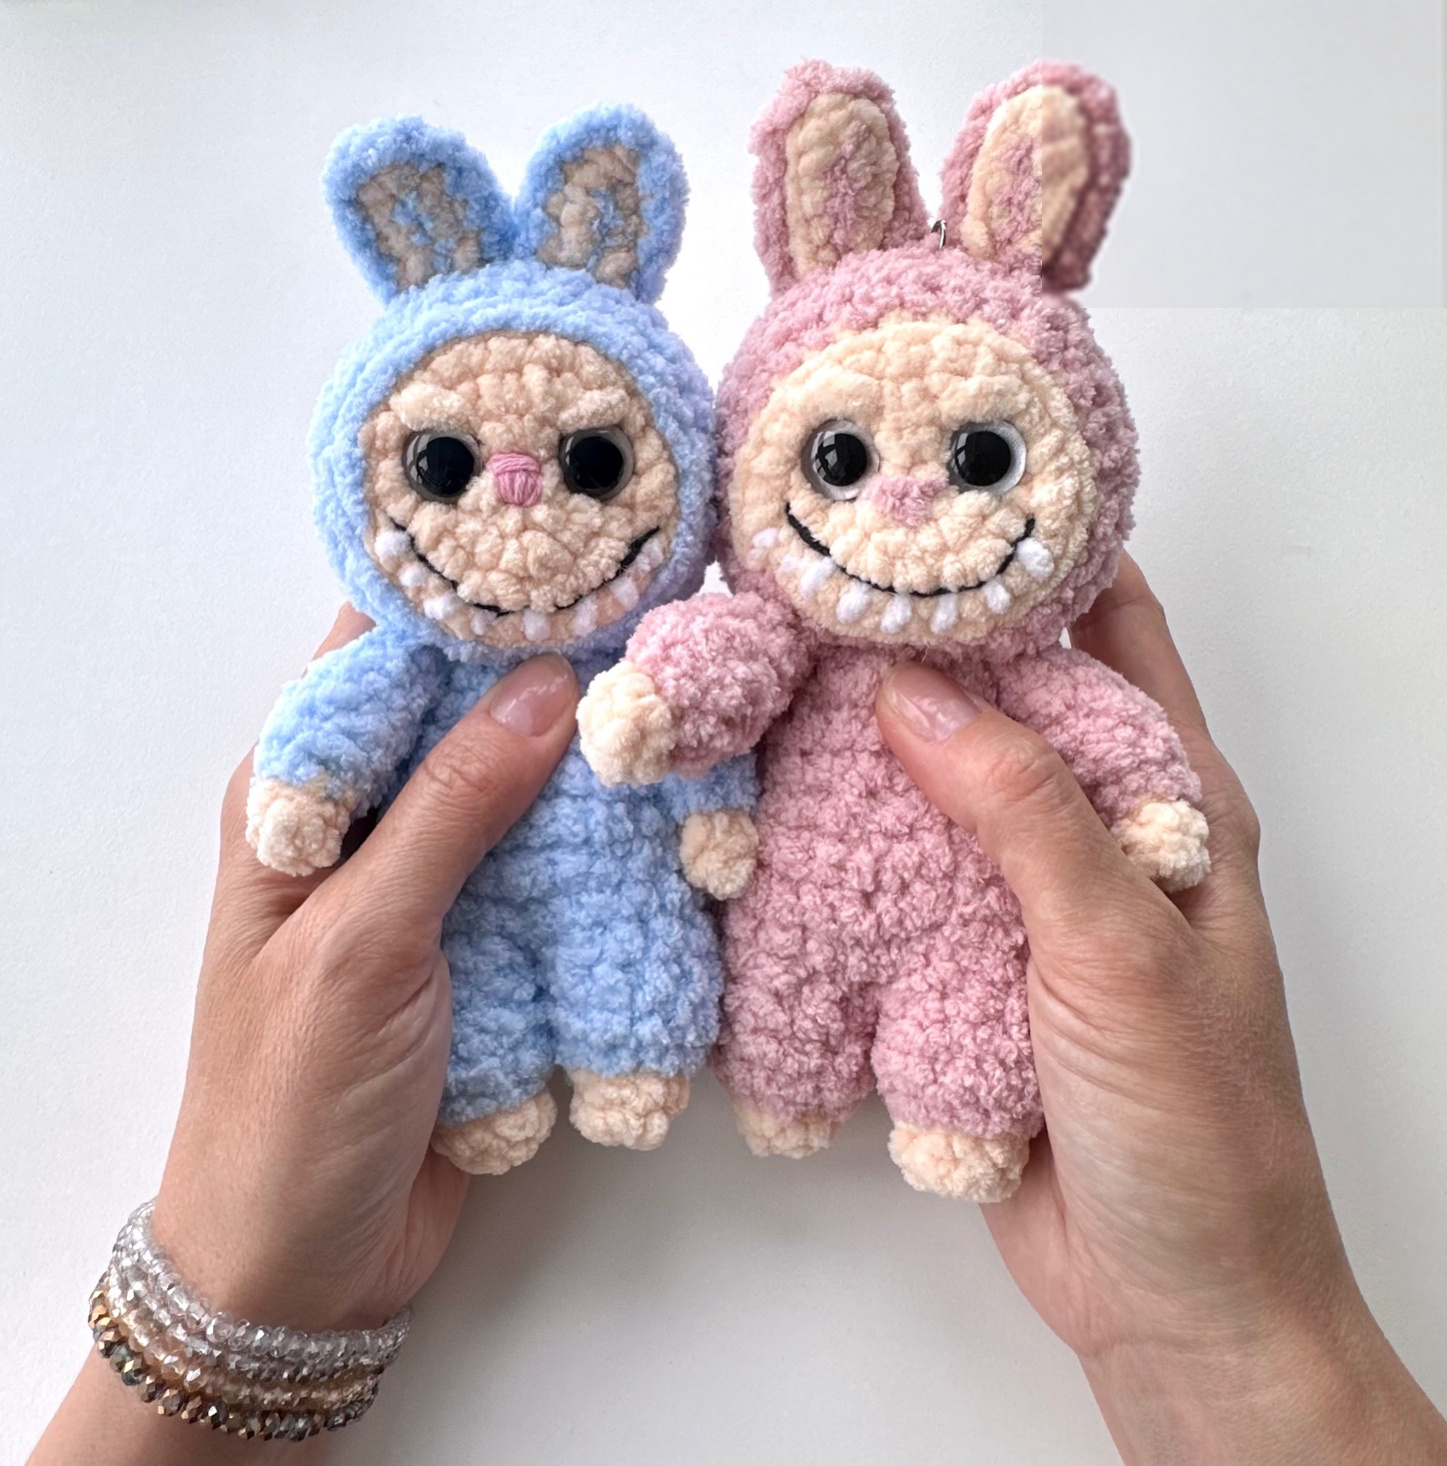
Free Labubu Crochet Pattern with Photo Steps
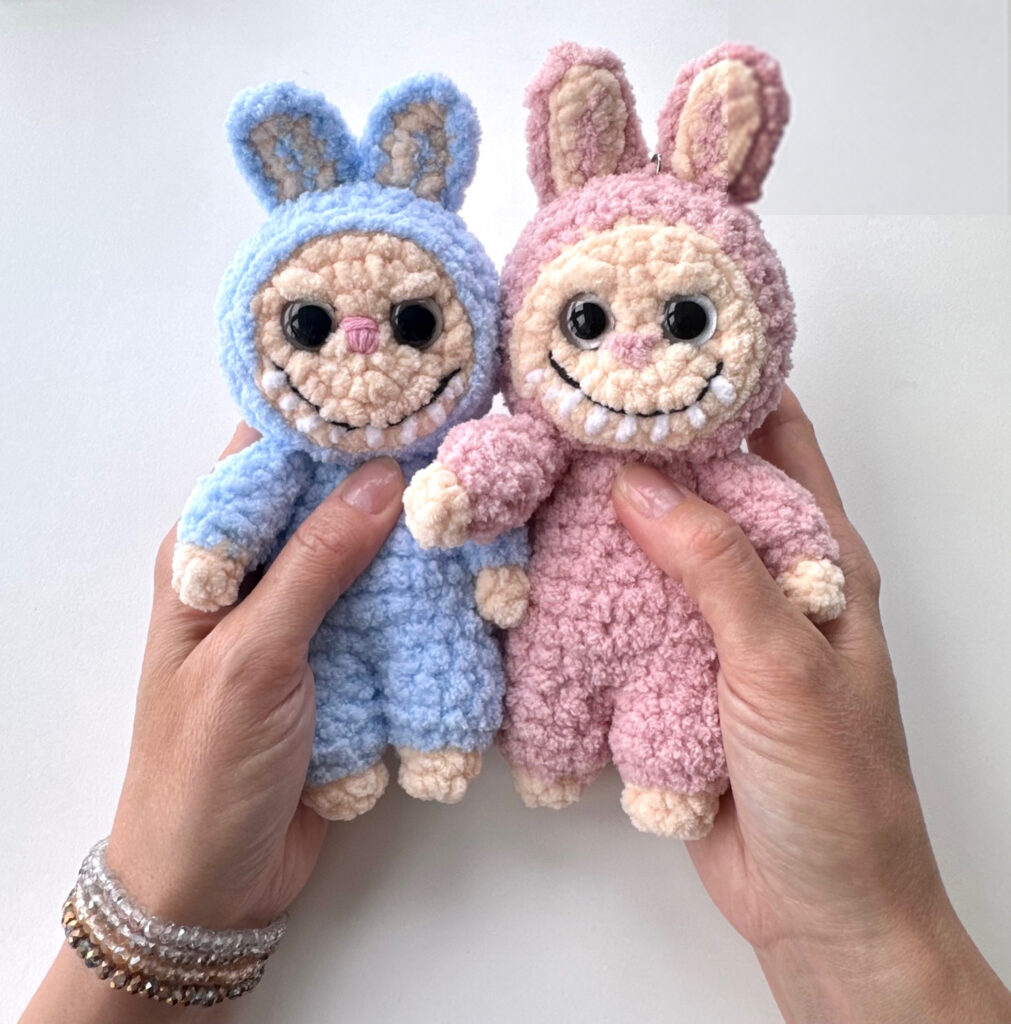
Make a soft Labubu-style amigurumi with tall ears, a round peach face, a pink embroidered nose and a toothy smile. This Labubu crochet pattern walks through the ears, head, arms, legs and body, followed by sewing, face shaping and embroidery. Follow the written instructions alongside the project photographs as you work.
Project Details
- Terminology: US crochet terms.
- Skill level: easy; basic crochet and sewing skills are required.
- Finished size: approximately 8 inches / 20 cm including the ears, using the listed plush yarn and a G/6 (4 mm) hook.
- Construction: pieces are worked continuously in a spiral, with specific joining and closing steps given below.
Materials and Tools
Choose the US or Turkish yarn options below. The quantities shown are the listed amounts for each yarn.
| Yarn option | Yarn and specifications | Amount |
|---|---|---|
| US main yarn | Little Bunny; 100 m (109 yd) / 100 g; color 2079-05 | 30 g |
| US contrasting yarn | Premier Parfait Chunky; 120 m (131 yd); color 1150-32 Shell | 10 g |
| Turkish main yarn | Alize Softy Plus; 120 m / 100 g; color 181 blue | 30 g |
| Turkish contrasting yarn | Himalaya Dolphin Baby; 120 m / 100 g; color 80333 | 10 g |
- Black or brown cotton yarn and pink cotton yarn for embroidering the face.
- White plush yarn for the teeth.
- G/6 (4 mm) crochet hook.
- 14 mm glitter safety eyes.
- Fiberfill or polyester stuffing.
- Tapestry needle.
- Scissors.
- Long plastic needles for positioning the head during sewing.
- YarnArt Jeans or another durable yarn for tightening the muzzle.
For a smaller doll, use a 2 mm hook with Alize Softy and YarnArt Jeans yarns. The instructions remain the same, and the finished height is approximately 5 inches including the ears. Other yarns may also be used; a larger hook with suitable yarn produces a larger toy while retaining the same proportions.
Abbreviations
| Abbreviation | Meaning |
|---|---|
| ch | Chain |
| sc | Single crochet |
| inc | Increase |
| dec | Decrease |
| sl st | Slip stitch |
| hdc | Half double crochet |
| dc | Double crochet |
| MR | Magic ring |
| rnd(s) | Round(s) |
| st(s) | Stitch(es) |
| BLO | Work in the back loops only |
| (…) × n | Repeat the instructions in parentheses n times |
| = number | Total number of stitches stated for the round |
Preparation and Techniques
Working in a Spiral
Work the pieces continuously without ending each round with a slip stitch or beginning each round with a chain. Follow the explicit joining and folding instructions when they occur. A magic ring may be used to start a piece, or chain 2 and work the required single crochet stitches into the second chain from the hook. The individual instructions below specify their starting chains. Crochet tightly so the stuffing does not show through the stitches.
Changing Yarn Color
- Work in color 1 until the final yarn-over of the last stitch before the change. Complete that stitch by drawing color 2 through the loops.
- Leave color 1 behind until it is needed again. Continue crocheting with color 2.
- To change back, complete the final yarn-over of the last stitch in color 2 with color 1, then leave color 2 behind.
Ears
Back Pieces: Make Two
With pink fluffy yarn and a G/6 (4 mm) hook, chain 5.
| Row | Instructions | Stitches |
|---|---|---|
| 1 | 1 sc in the second chain from the hook, 2 sc, then 3 sc into the next chain. Continue on the other side of the foundation chain: 3 sc. | 9 |
Cut the yarn.
Front Pieces: Make Two
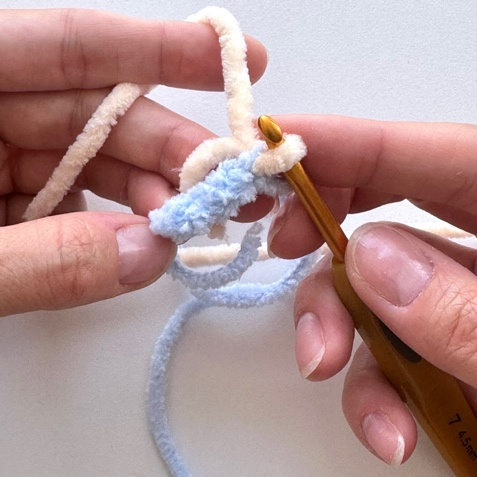
With blue fluffy yarn and a G/6 (4 mm) hook, chain 5. Change to peach yarn without cutting the blue yarn.
| Row | Instructions | Stitches |
|---|---|---|
| 1 | With blue yarn, 1 sc in the second chain from the hook, 2 sc, then 3 sc into the next chain. Continue on the other side of the foundation chain: 3 sc. | 9 |
Cut the peach yarn.
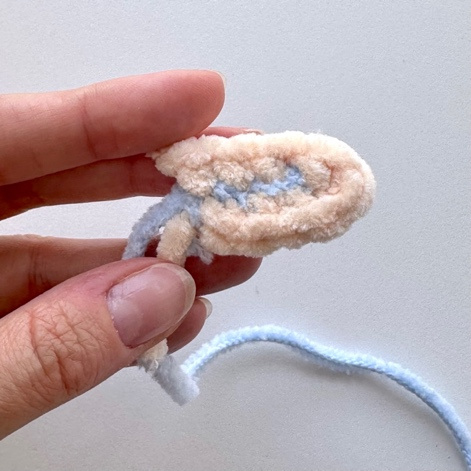
Join the Ear Pieces
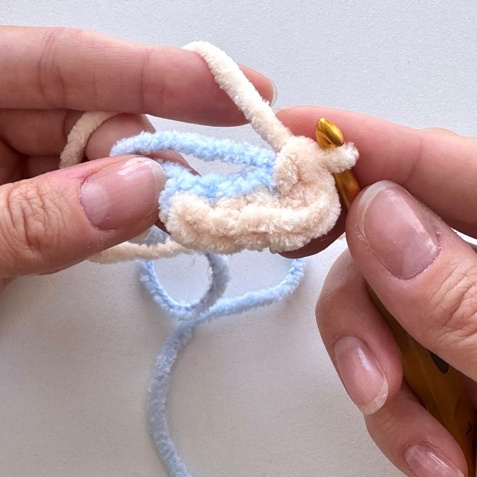
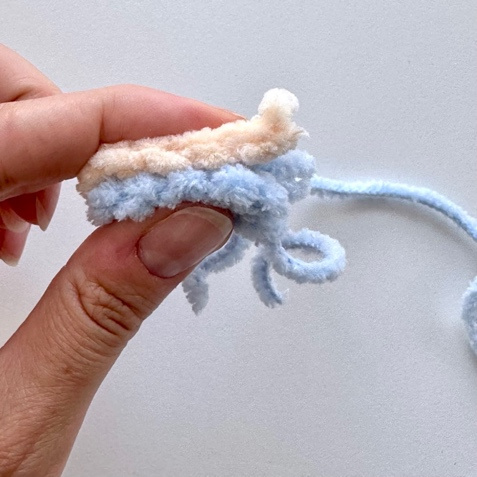
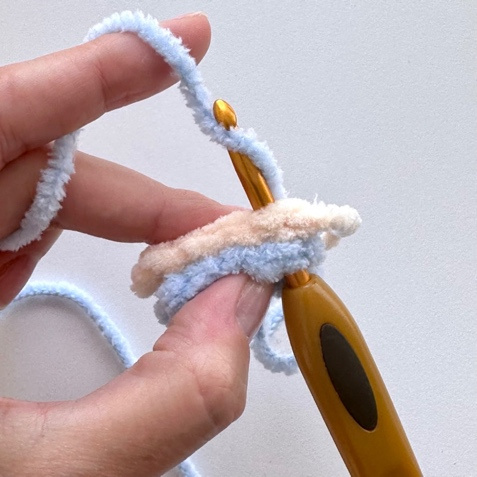
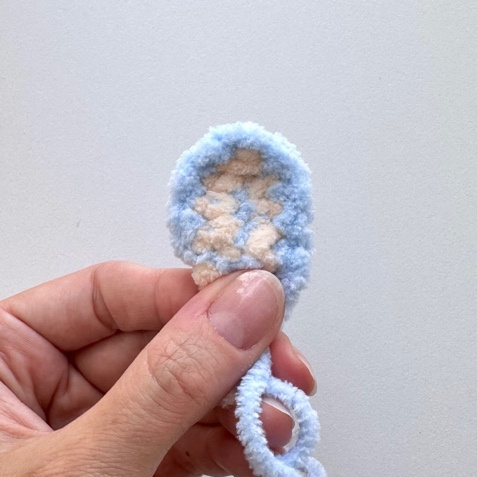
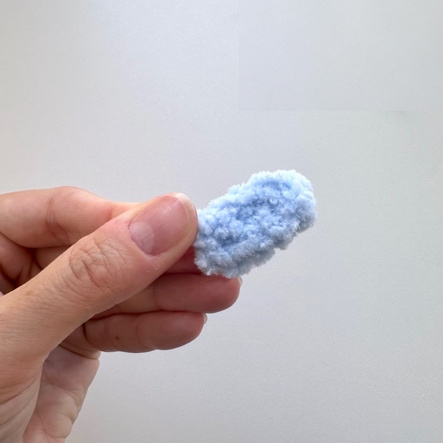
Place one back piece and one front piece together. With blue fluffy yarn, work 9 sc around the pieces to join them. Fasten off and cut the yarn. Repeat for the second ear.
More Easy Crochet Projects to Try
Explore the Yepim collection of 30+ easy crochet patterns for beginners and choose your next project.
Explore 30+ Easy Crochet Patterns →
Head
With peach plush yarn and a G/6 (4 mm) hook, chain 2.
| Round | Instructions | Stitches |
|---|---|---|
| 1 | 6 sc into the second chain from the hook. | 6 |
| 2 | (inc) × 6. | 12 |
| 3 | (inc, 1 sc) × 6. | 18 |
| 4 | (inc, 2 sc) × 6. | 24 |
Change from peach to blue yarn.
| Round | Instructions | Stitches |
|---|---|---|
| 5 | BLO: (inc, 3 sc) × 6. | 30 |
Insert the eyes between Rounds 2 and 3.
| Round | Instructions | Stitches |
|---|---|---|
| 6–7 | 30 sc in each round. | 30 |
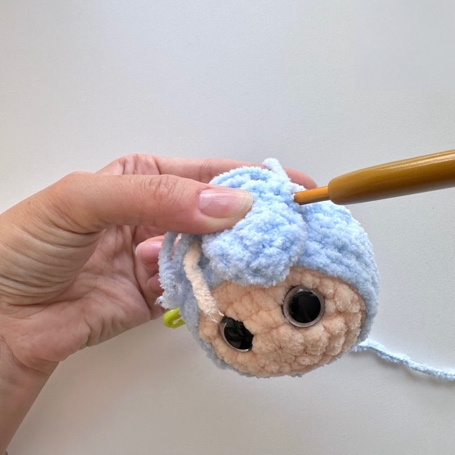
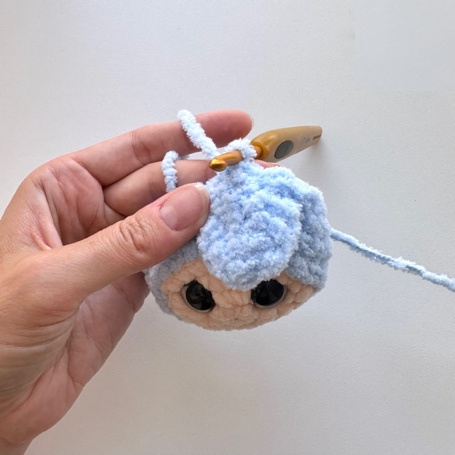
| 8 | 21 sc; join the first ear with 3 sc through both ear and head; join the second ear with 3 sc through both ear and head; 3 sc. | 30 |
| 9–10 | 30 sc in each round. | 30 |
| 11 | (dec, 3 sc) × 6. | 24 |
| 12 | (dec, 2 sc) × 6. | 18 |
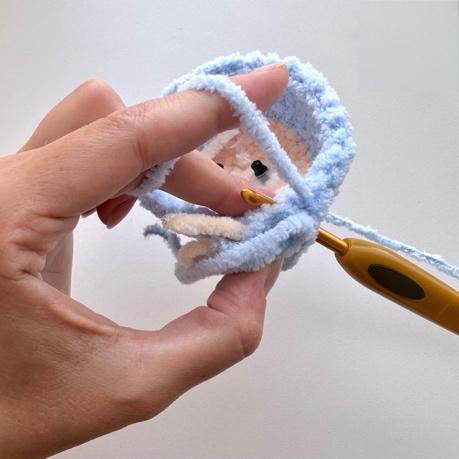
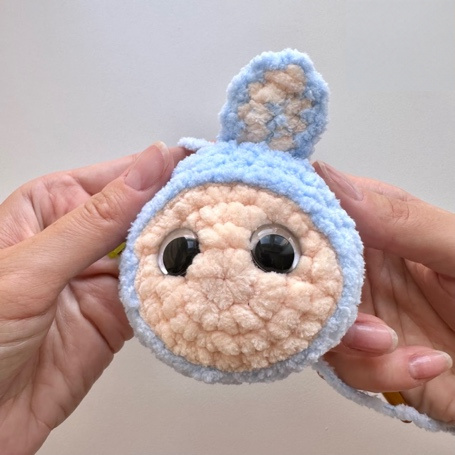
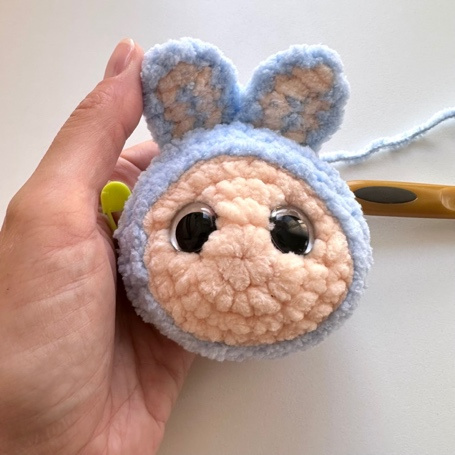
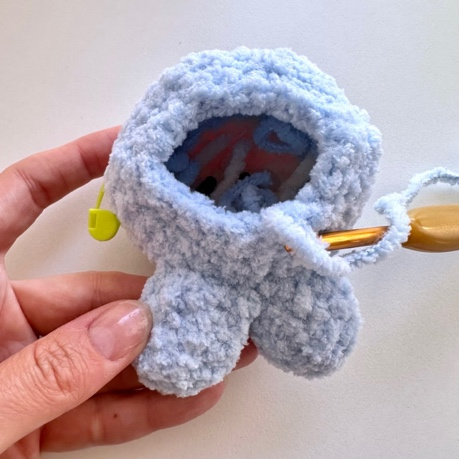
Stuff the head.
| Round | Instructions | Stitches |
|---|---|---|
| 13 | (dec, 1 sc) × 6. | 12 |
| 14 | (dec) × 6. | 6 |
Fasten off and cut the yarn.
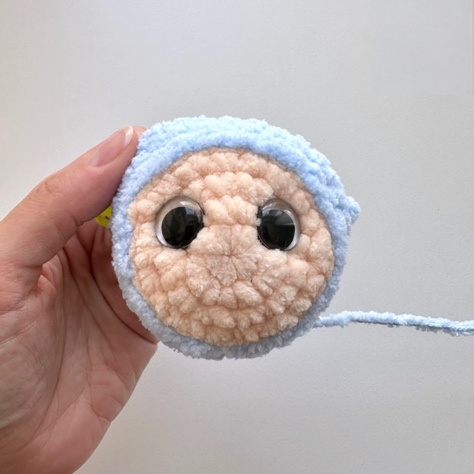
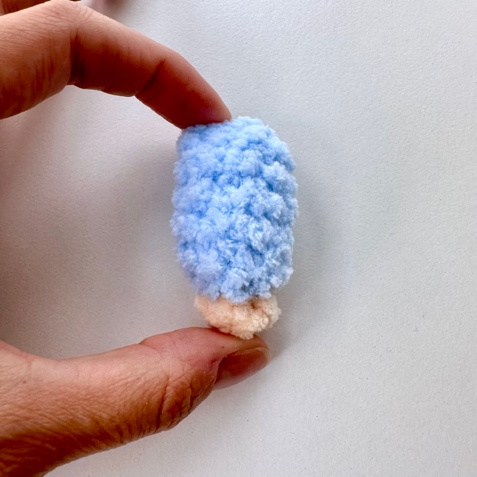
Arms: Make Two
With peach plush yarn and a G/6 (4 mm) hook, chain 2.
| Round | Instructions | Stitches |
|---|---|---|
| 1 | 6 sc into the second chain from the hook. | 6 |
| 2 | 6 sc. | 6 |
| 3 | (inc, 2 sc) × 2. | 8 |
Change from peach to blue yarn.
| Round | Instructions | Stitches |
|---|---|---|
| 4–6 | 8 sc in each round. | 8 |
Stuff the arm.
| Round | Instructions | Stitches |
|---|---|---|
| 7 | (dec, 2 sc) × 2. | 6 |
| 8 | Fold the arm in half and work 3 sc through both sides of Round 7. | 3 joining sc |
Fasten off and cut the yarn. Make a second arm in the same way.
Legs and Body
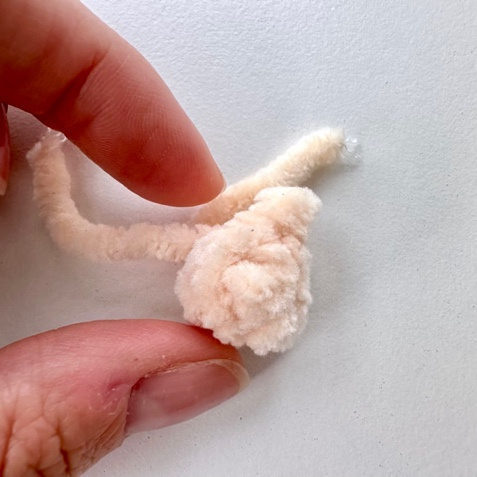
First Leg
With peach yarn and a G/6 (4 mm) hook, chain 2.
| Round | Instructions | Stitches |
|---|---|---|
| 1 | 6 sc into the second chain from the hook. | 6 |
| 2 | 6 sc. | 6 |
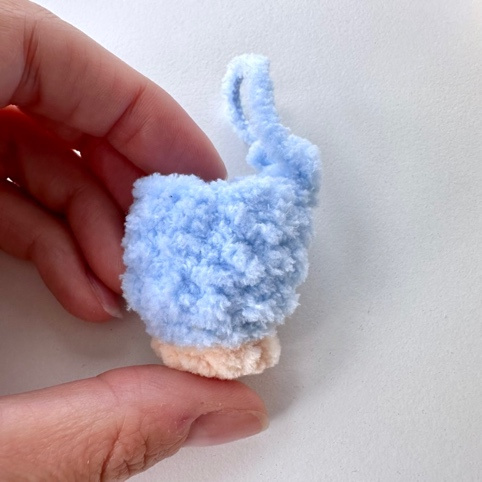
Change from peach to blue yarn.
| Round | Instructions | Stitches |
|---|---|---|
| 3 | BLO: (inc) × 6. | 12 |
| 4–6 | 12 sc in each round. | 12 |
Fasten off, leave a tail approximately 10 cm long and cut the yarn. The first leg is complete.
Second Leg and Joining
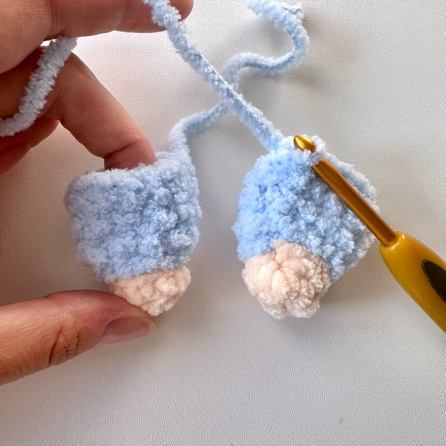
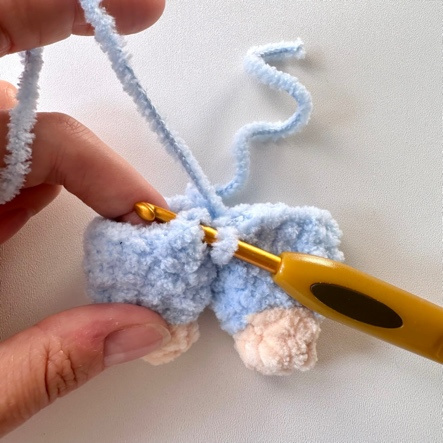
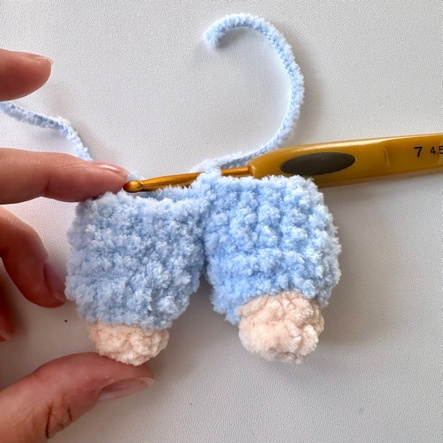
Repeat Rounds 1–6 for the second leg. Do not cut the yarn after the second leg. Using the working yarn, join to the first leg with a slip stitch. This point becomes the beginning of the round.
| Round | Instructions | Stated stitches |
|---|---|---|
| 7 | 12 sc in the stitches of the first leg, 9 sc in the stitches of the second leg. | 24 |
| 8–10 | 24 sc in each round. | 24 |
Shape the Body and Attach the Arms
| Round | Instructions | Stitches |
|---|---|---|
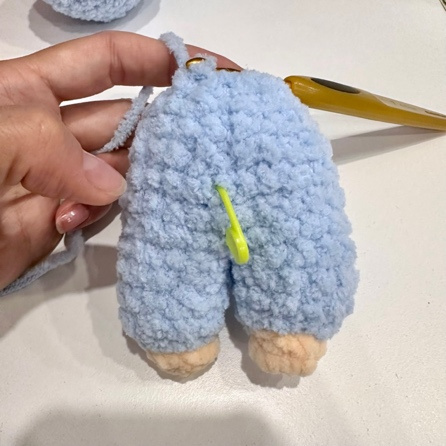
| 11 | (dec, 2 sc) × 6. | 18 |
| 12–13 | 18 sc in each round. | 18 |
| 14 | (dec, 1 sc) × 6. | 12 |
Stuff the legs and body.
| Round | Instructions | Stitches |
|---|---|---|
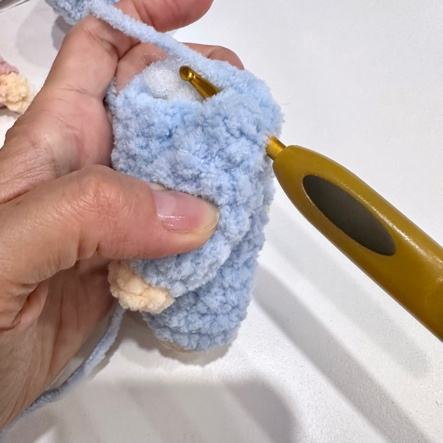
| 15 | 2 sc; 3 sc through the loops of an arm and the body; 3 sc; 3 sc through the loops of the other arm and the body; 1 sc. | 12 |
Fasten off and leave a long tail for sewing.
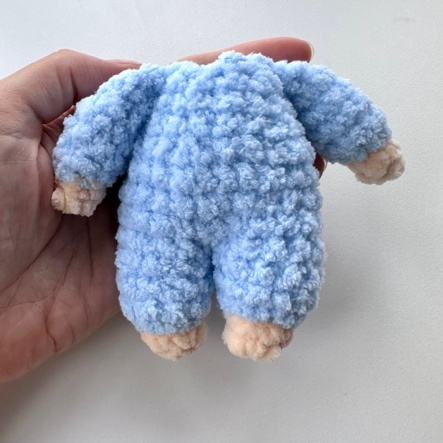
Assembly and Finishing
Sew the Head to the Body
Use long plastic needles to hold the head in position, then sew the head to the body using the long yarn tail.
Tighten the Muzzle
Use YarnArt Jeans or another durable yarn for tightening. Plush yarn is not recommended for this step.
- Leave a yarn tail at the starting point in the neck area. Pass the needle through the head and bring it out near one eye.
- Run the yarn beneath the eye, insert the needle again and bring it out at the same starting point in the neck area.
- Insert the needle one loop to the left or right and repeat the process beneath the second eye.
- Pull both yarn ends so the eyes sink slightly into the head. Tie a knot, then use a hook to hide the ends inside the head.
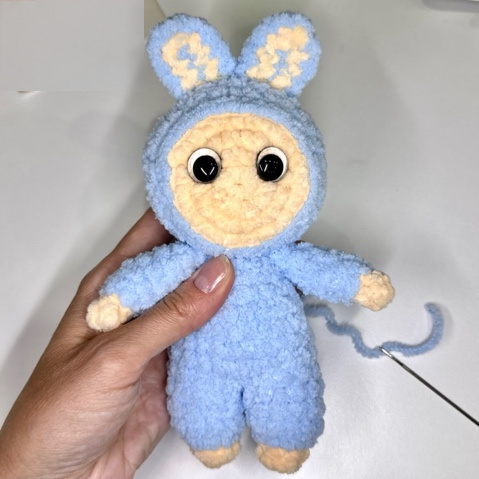
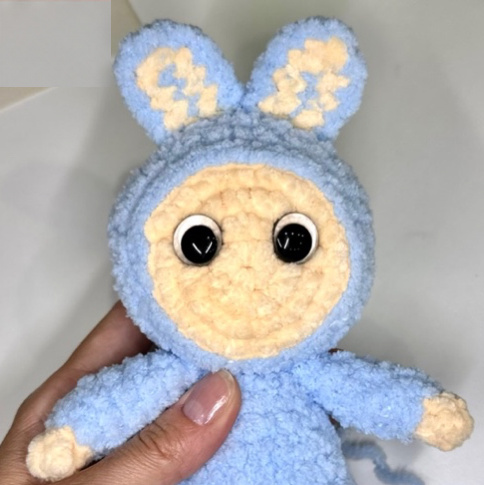
Embroider the Nose
With pink cotton yarn, make 5–7 short vertical stitches between the eyes, positioned between Rounds 1 and 2. Add one horizontal stitch.
Embroider the Smile and Teeth
Embroider the smile with black thread, then embroider the teeth with white plush yarn.
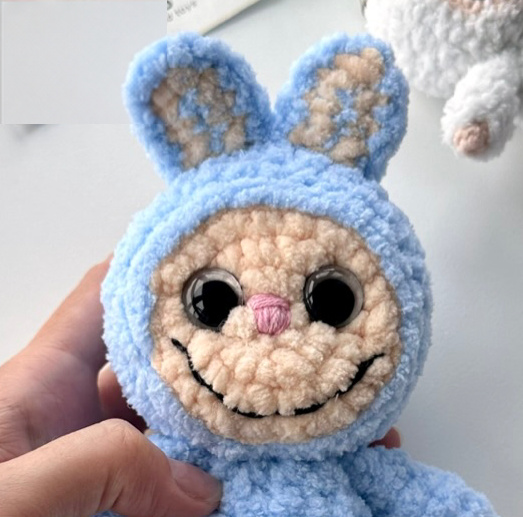
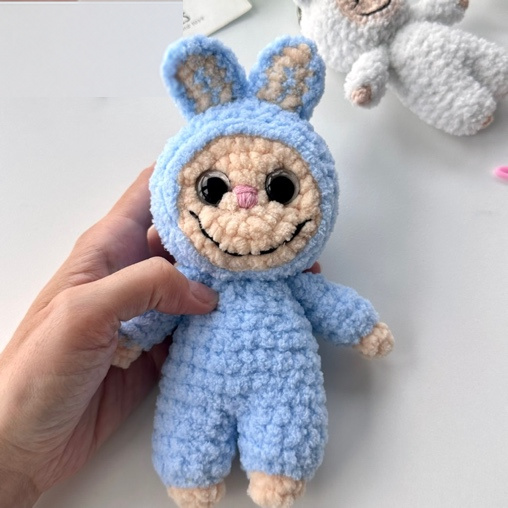
Your crochet doll is complete.
Frequently Asked Questions
How Large Is the Finished Doll?
With the original plush yarn and a 4 mm hook, the doll measures approximately 8 inches / 20 cm including its ears.
Can I Make a Smaller Version?
Yes. Use a 2 mm hook with Alize Softy and YarnArt Jeans yarns for a version approximately 5 inches tall including the ears. The pattern instructions remain the same.
Are the Rounds Joined?
The pieces are worked in continuous spirals. Follow the separate instructions for joining the legs, joining ear layers, closing the arms and attaching the ears and arms.
Which Yarn Should I Use for Shaping the Face?
Use YarnArt Jeans or another durable yarn for tightening the muzzle. Avoid plush yarn for this step.



